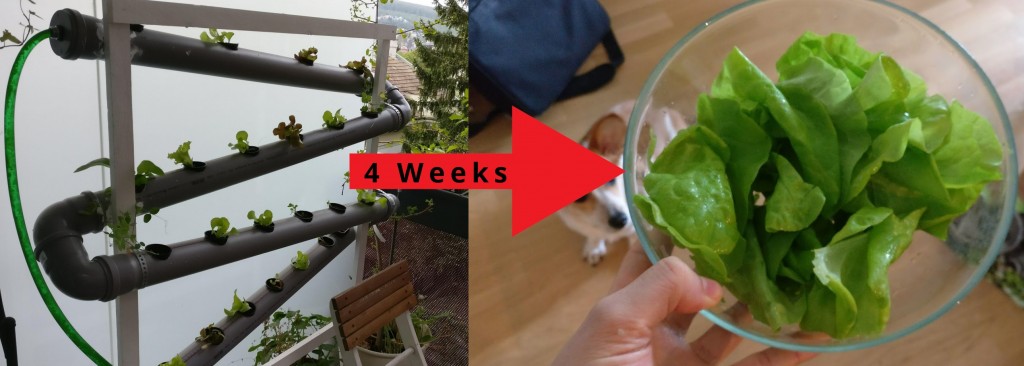
I wanted to do this project for years but only recently decided to give it a try. Over the last few months my girlfriend and I were building it and the results are awesome.
What you'll need
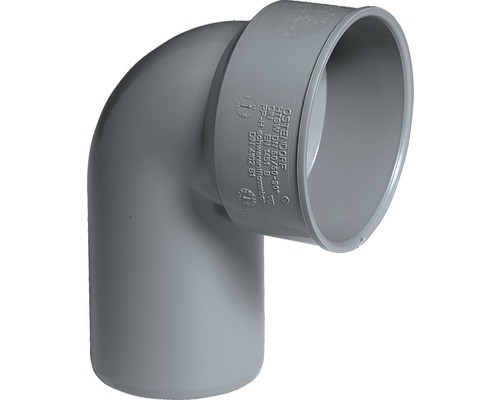
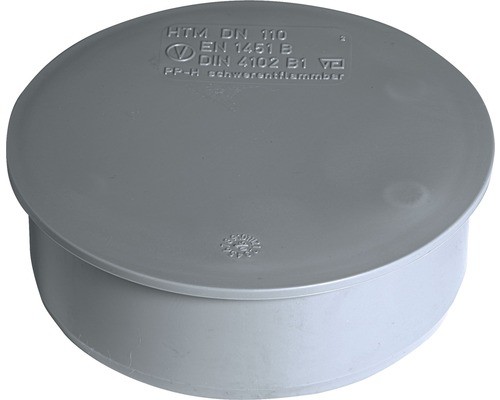
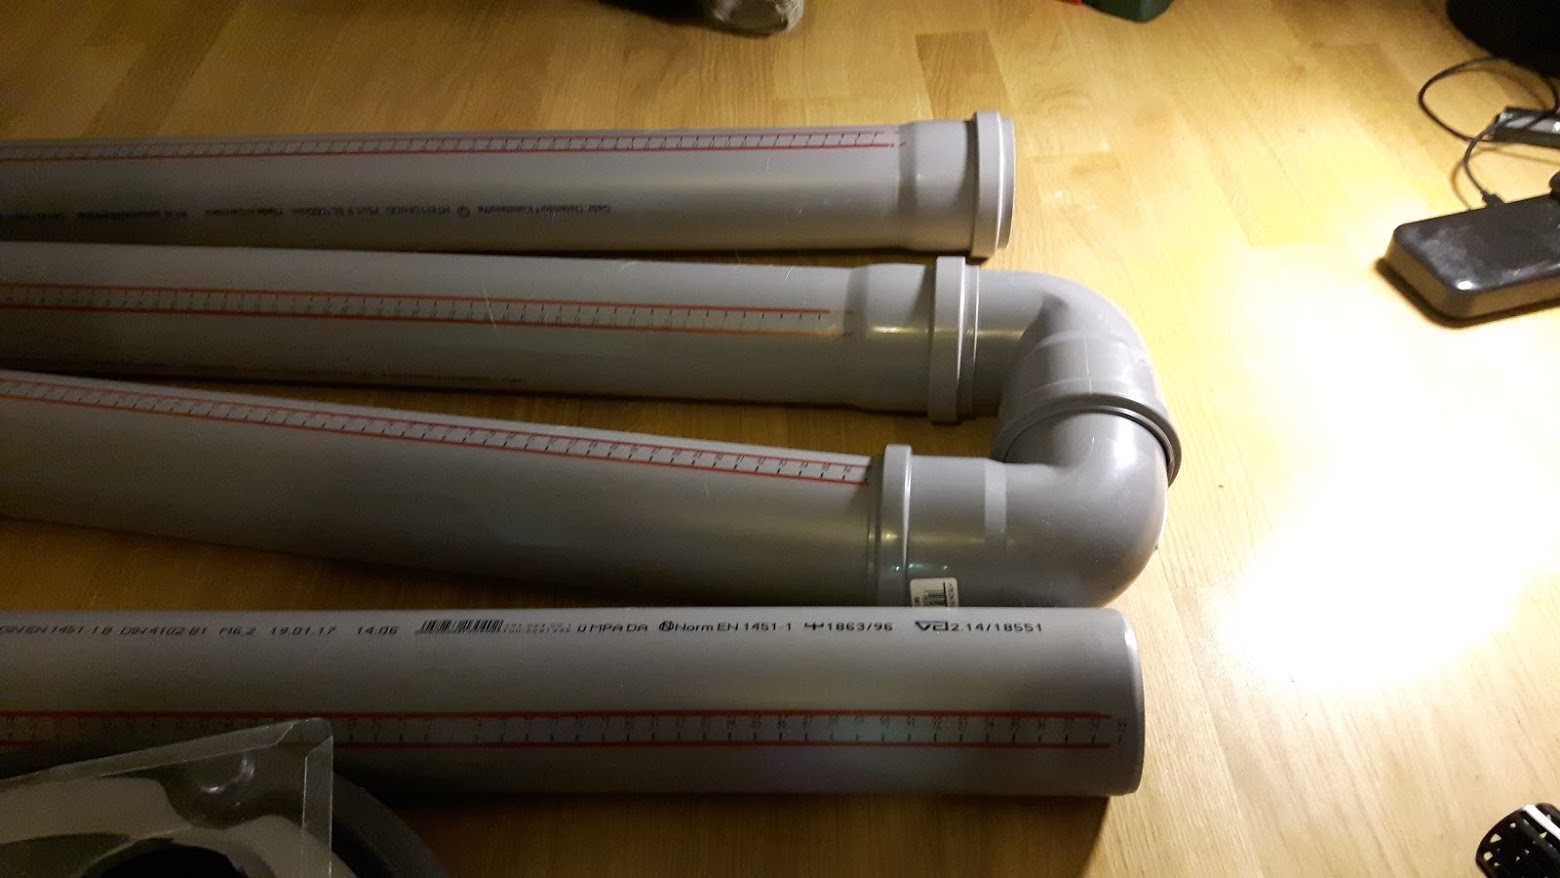
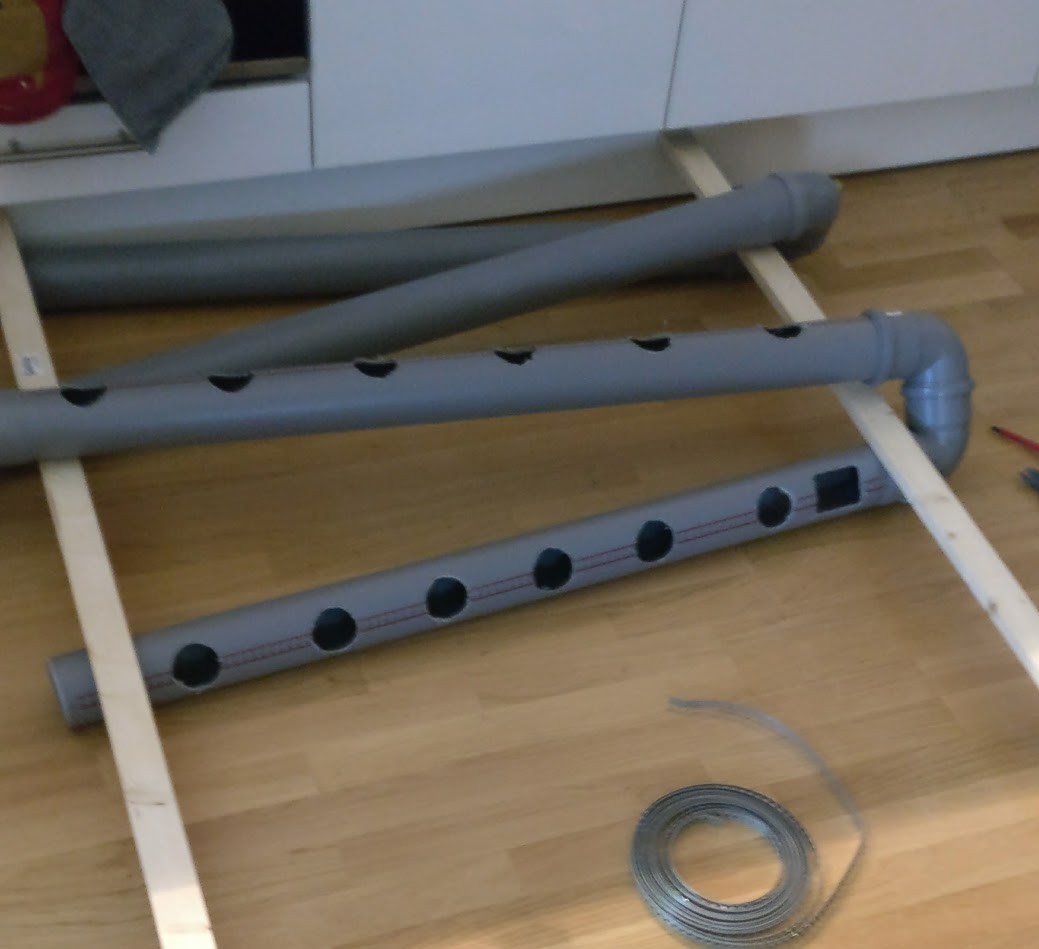
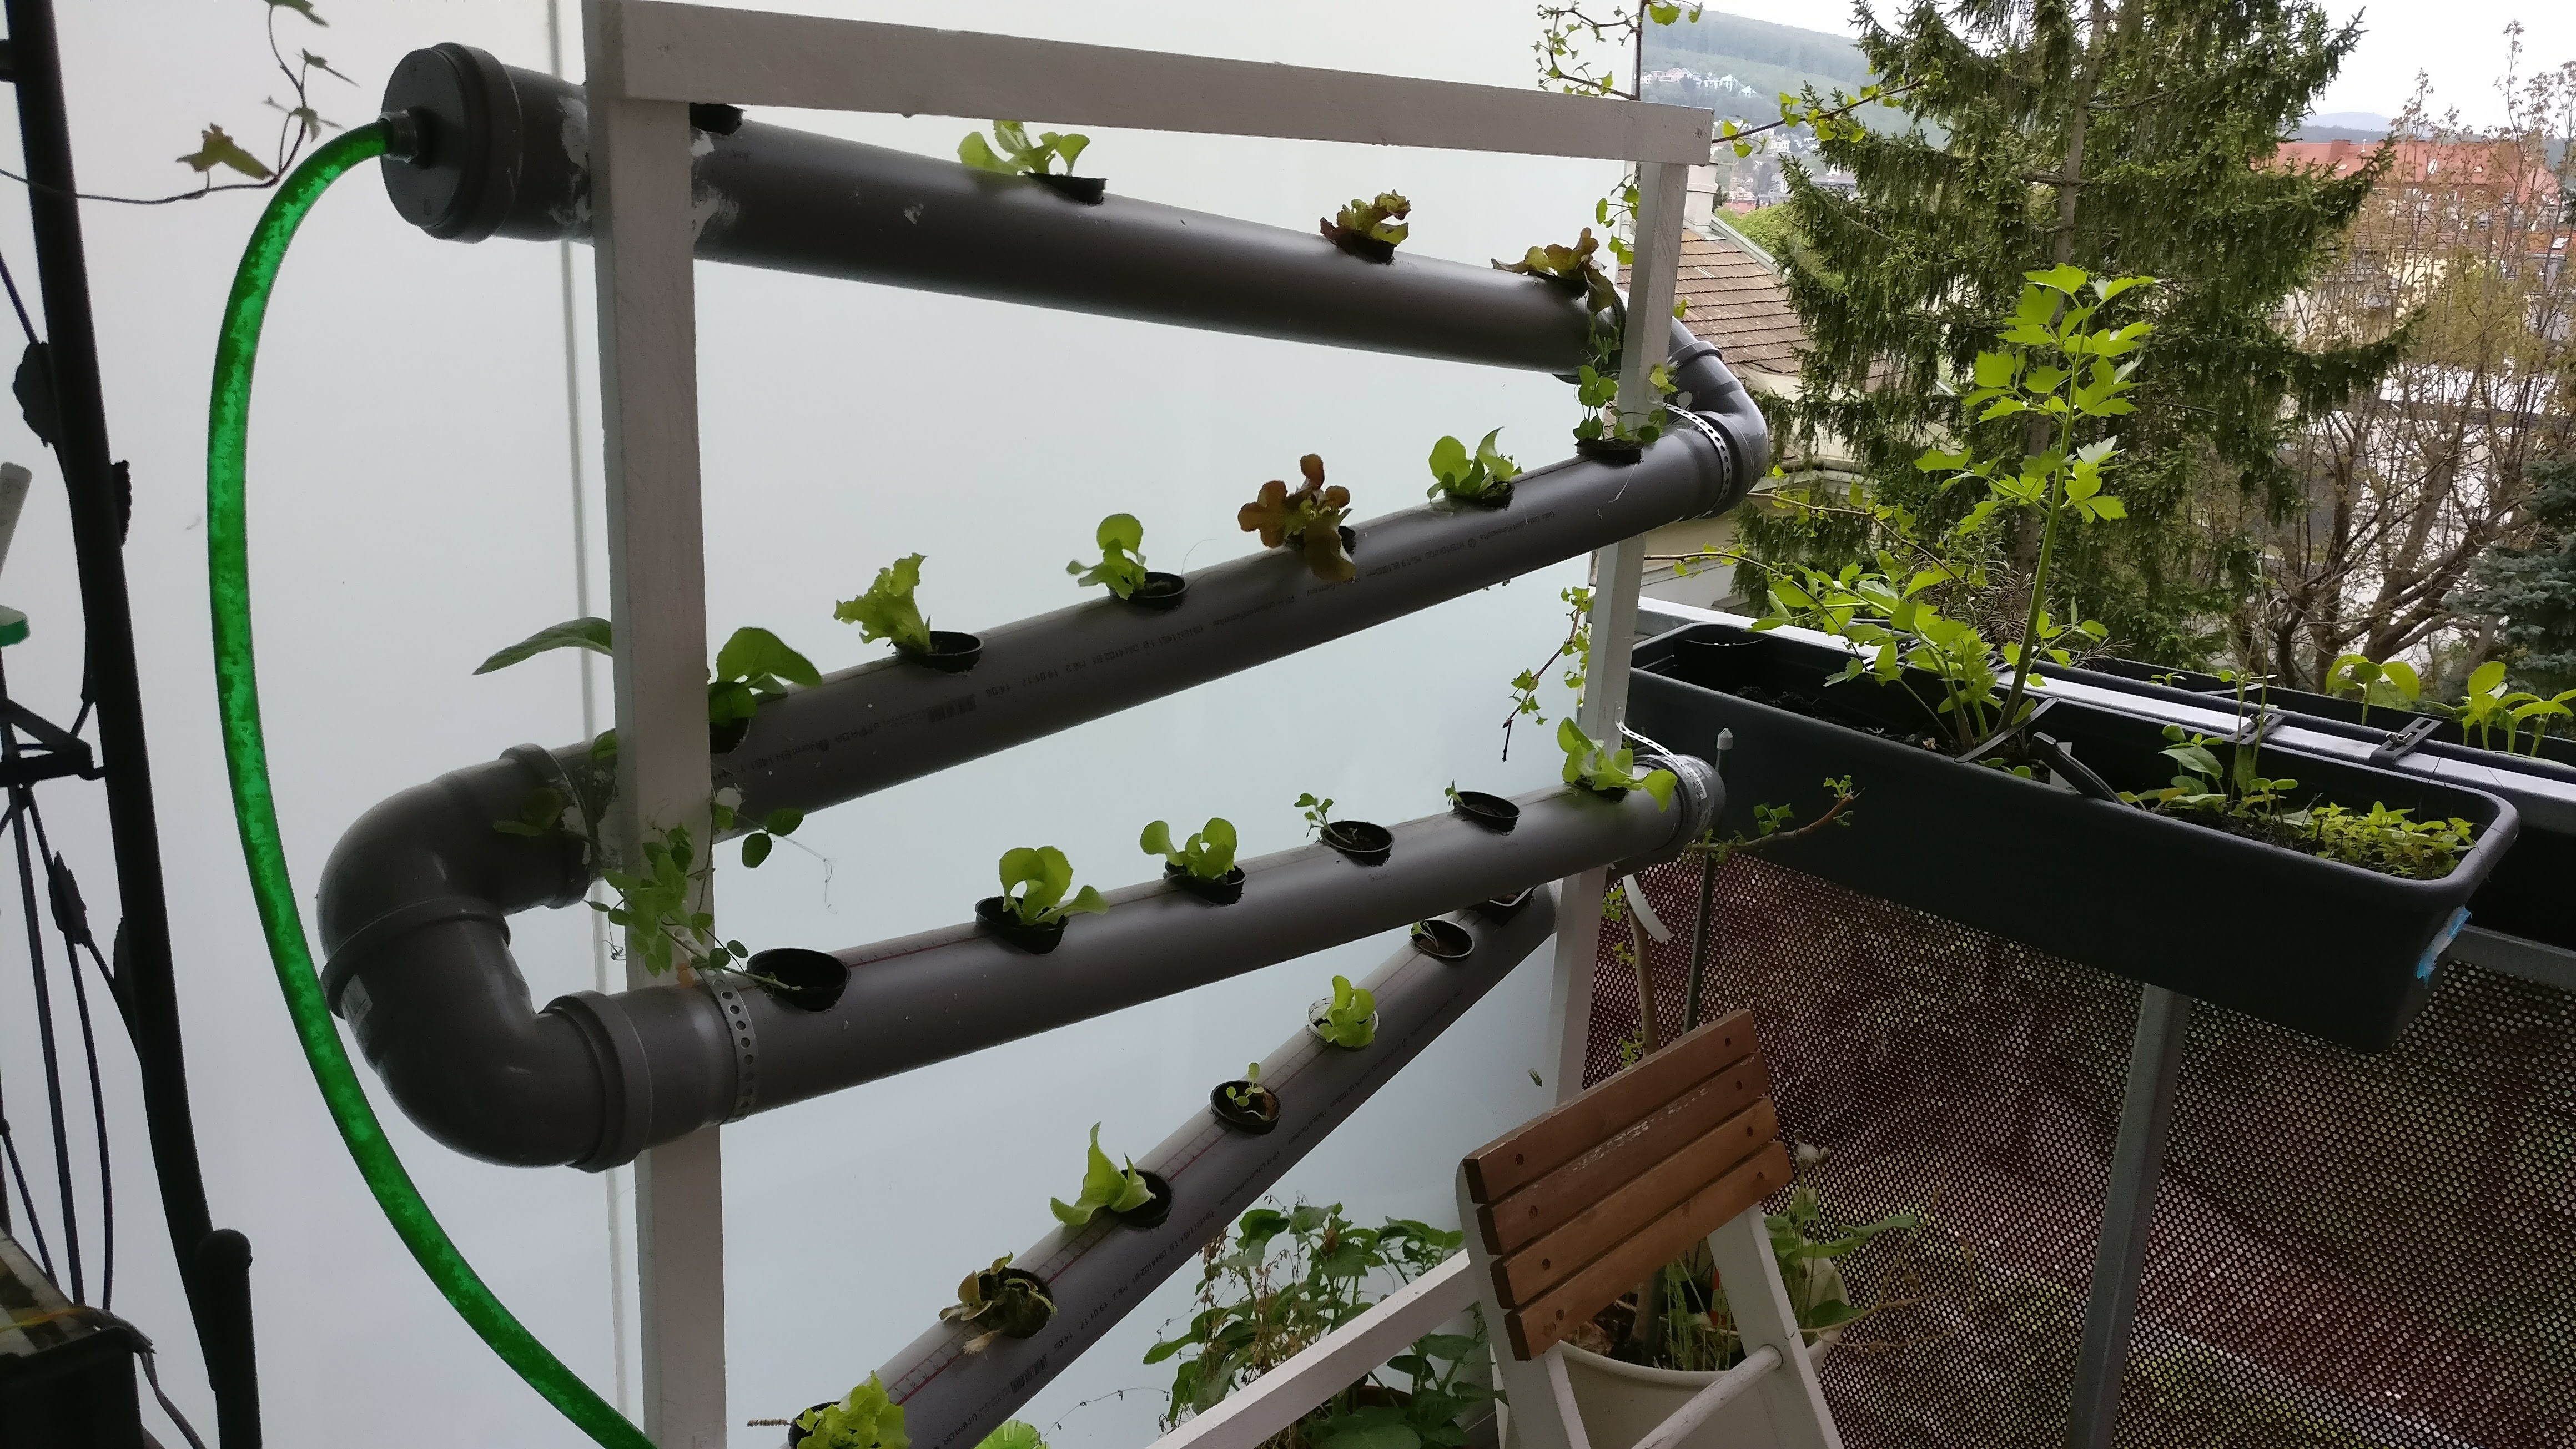
1. Pipes
There is an ongoing war about PVC vs other pipes. The most important factor is that the pipes need to be food safe. Many PVC pipes are not, but even those who are might leak toxic material over the years (especially if exposed to the sun). To be safe we decided to use high temperature polypropylene (PP) Pipes which can be used in temperatures up to 90°C (194°F) and still won't leak any toxics. They're still pretty cheap.
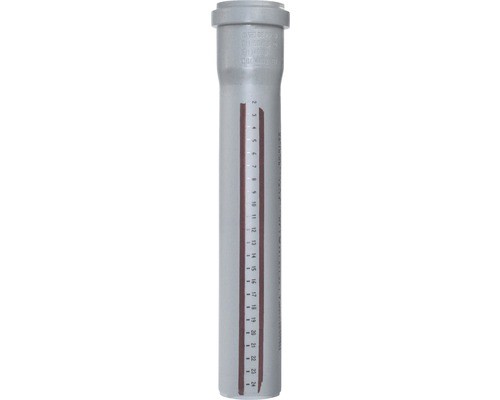
Cost: 23.19€
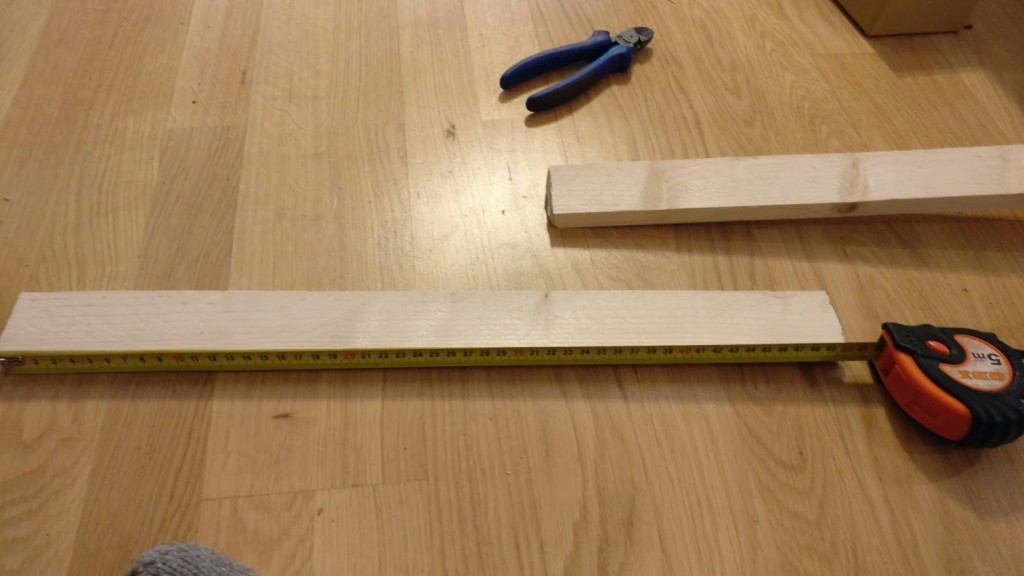
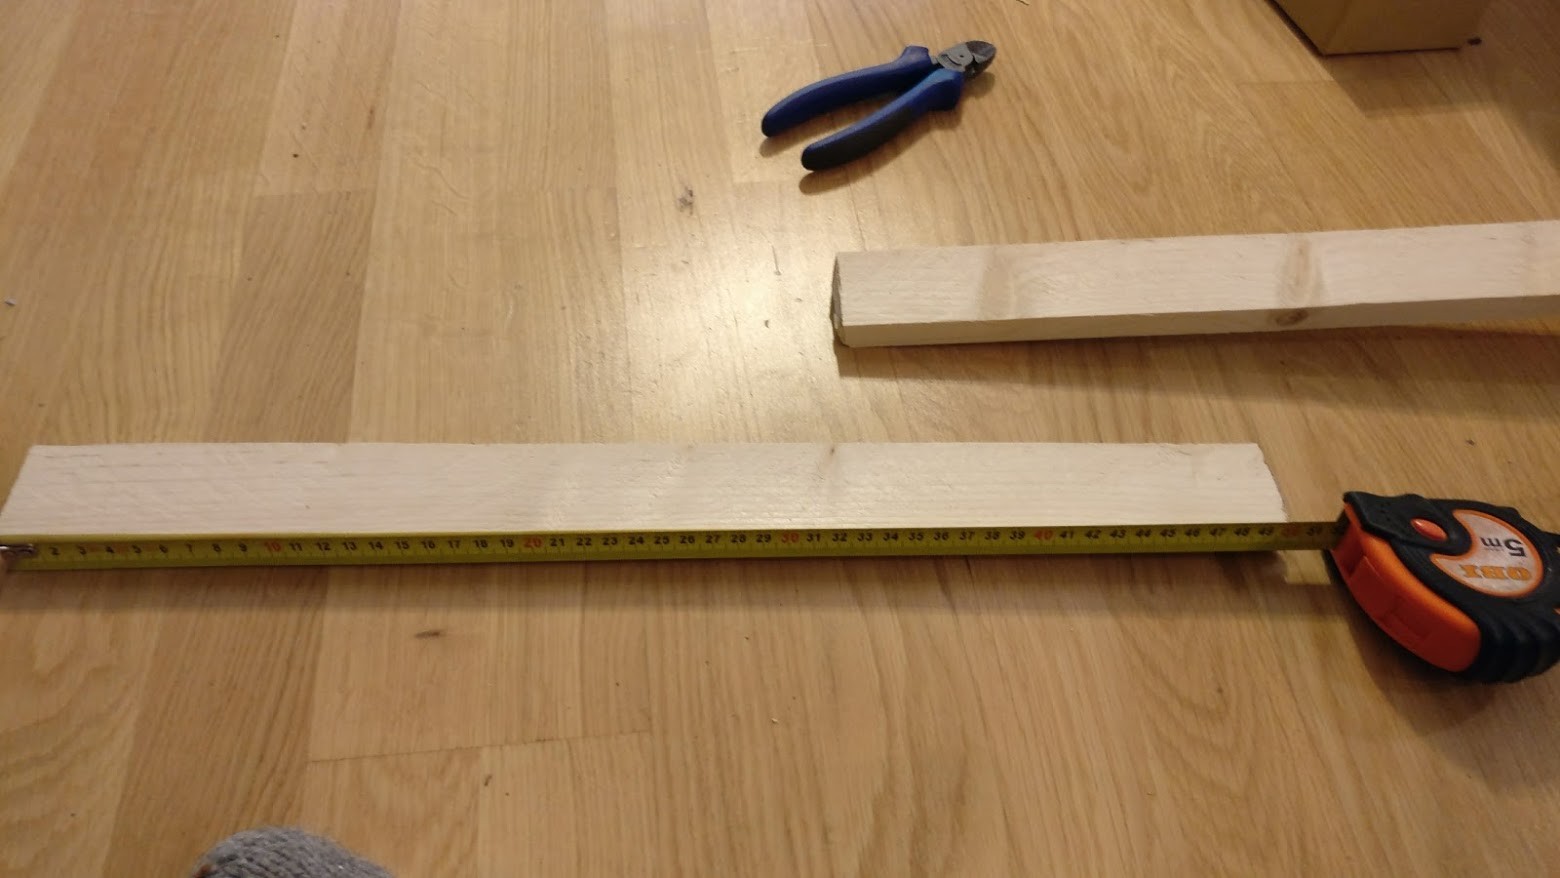
2. A frame
We made a simple frame out of 3x 2m wood slats.

Cost: 5,94€
3. Destilled or rain water
Since we can't collect the rain water, we bought 3x 5l distilled water from our local hardware shop. Distilled water is better for hydroponic systems than tap water because the minerals from the tap water can clog the small roots and ultimately kill the plants.
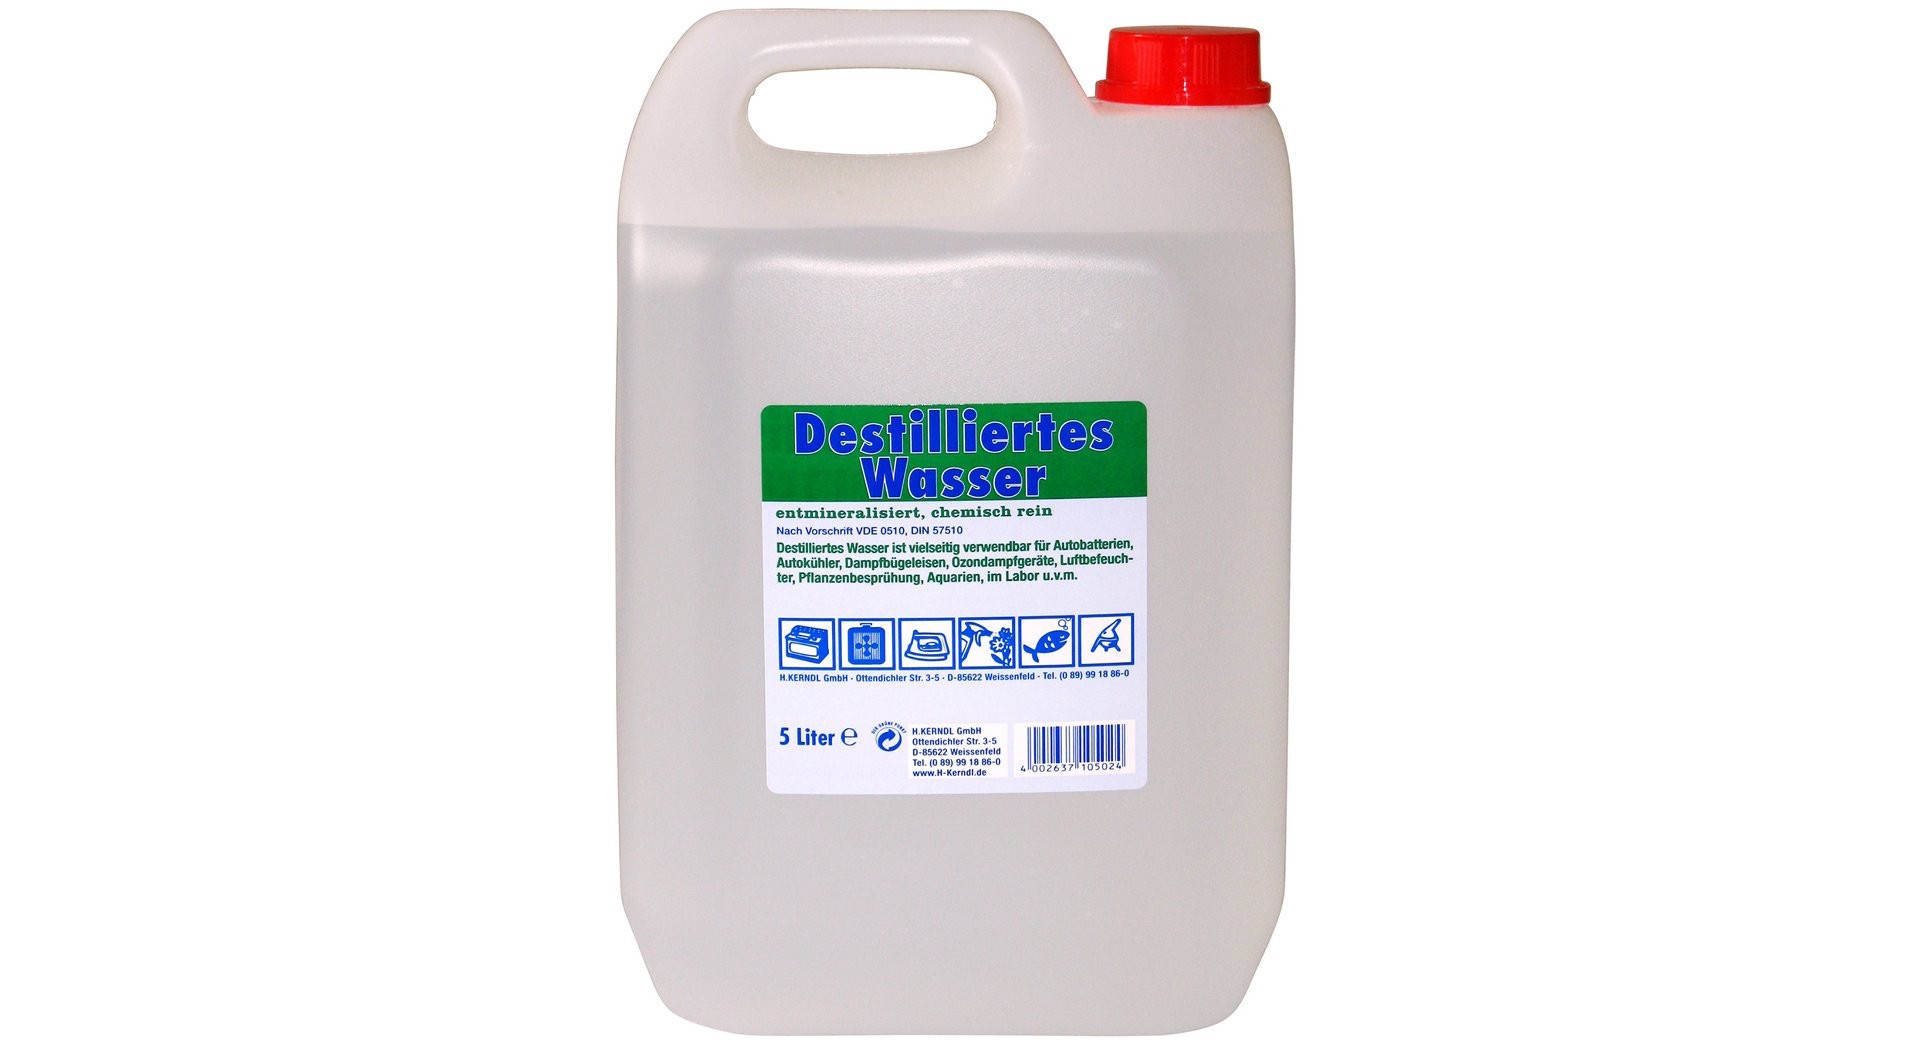
Cost: 4.77€
4. Water pump
You can use an aquarium pump but you have to make sure the pump can push the water high enough.
I use an submerged aquarium pump which can pump 1.2m high, which is enough for the height of this project.
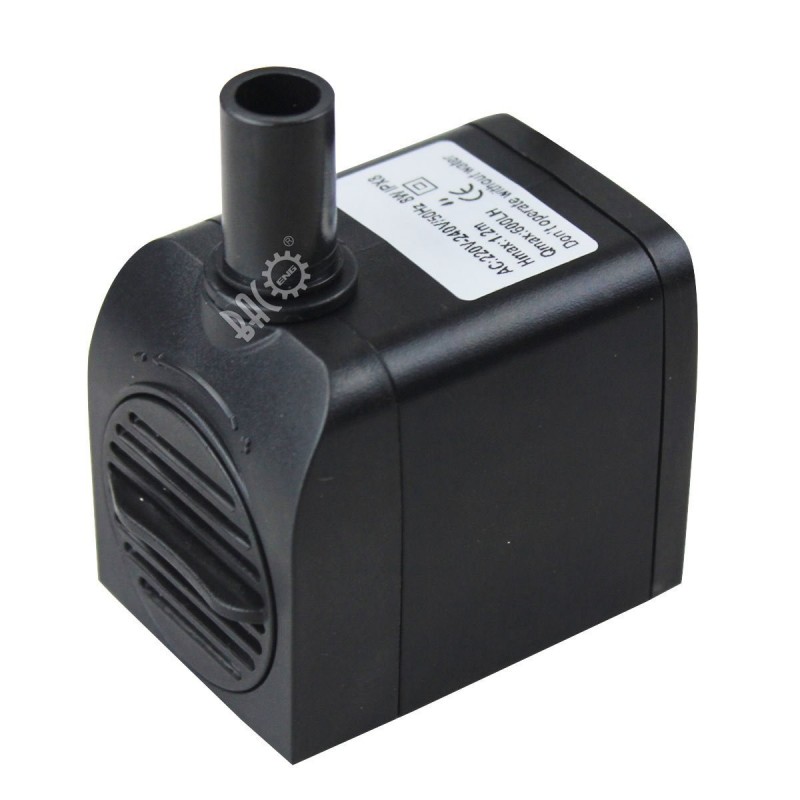
Cost: 15€
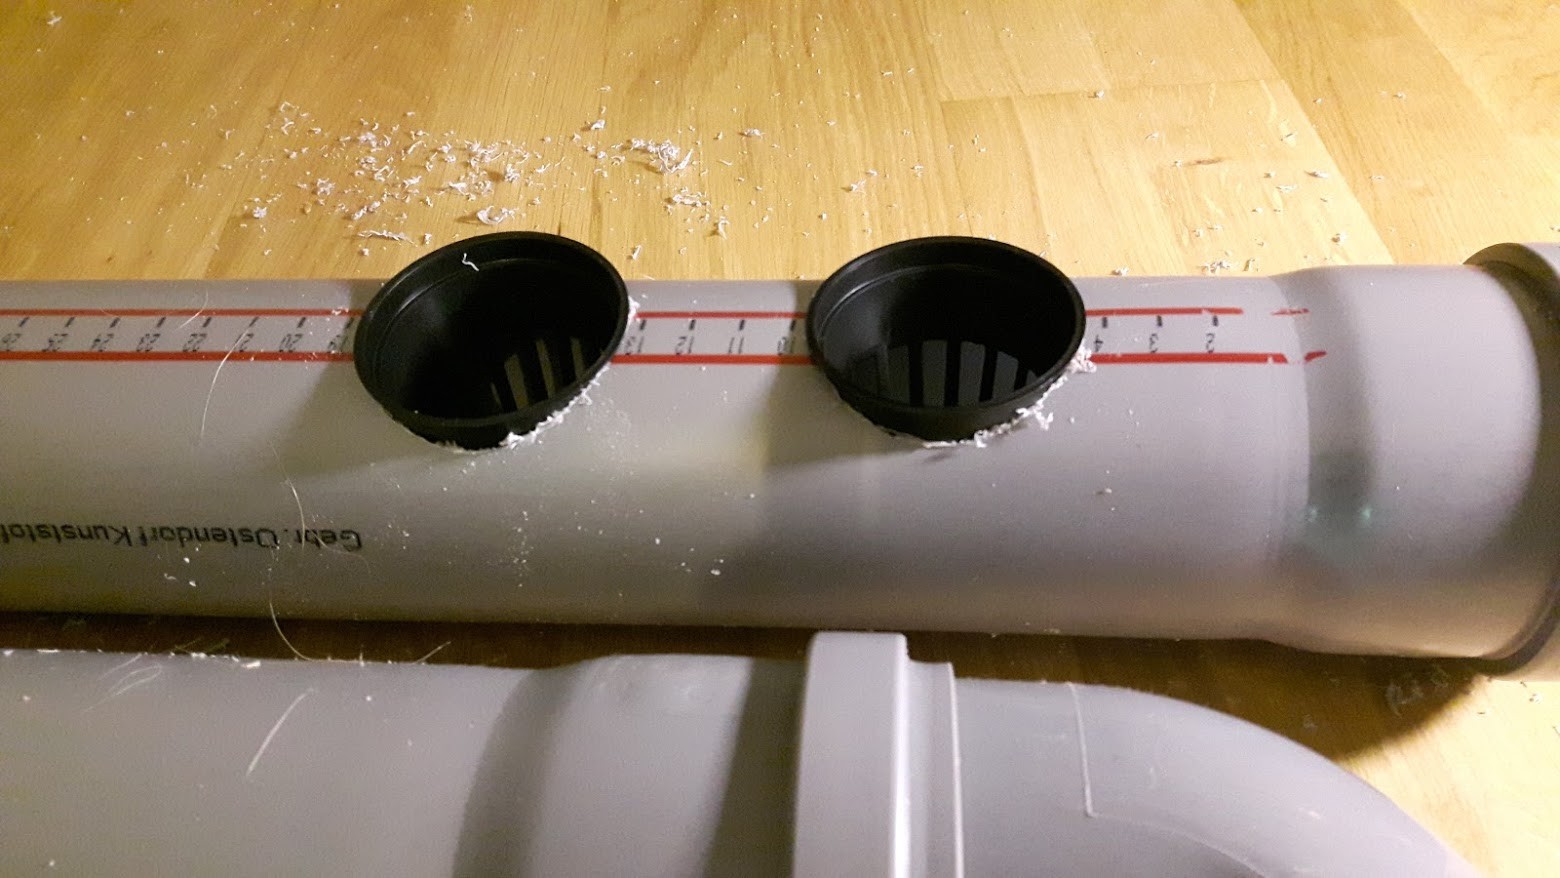
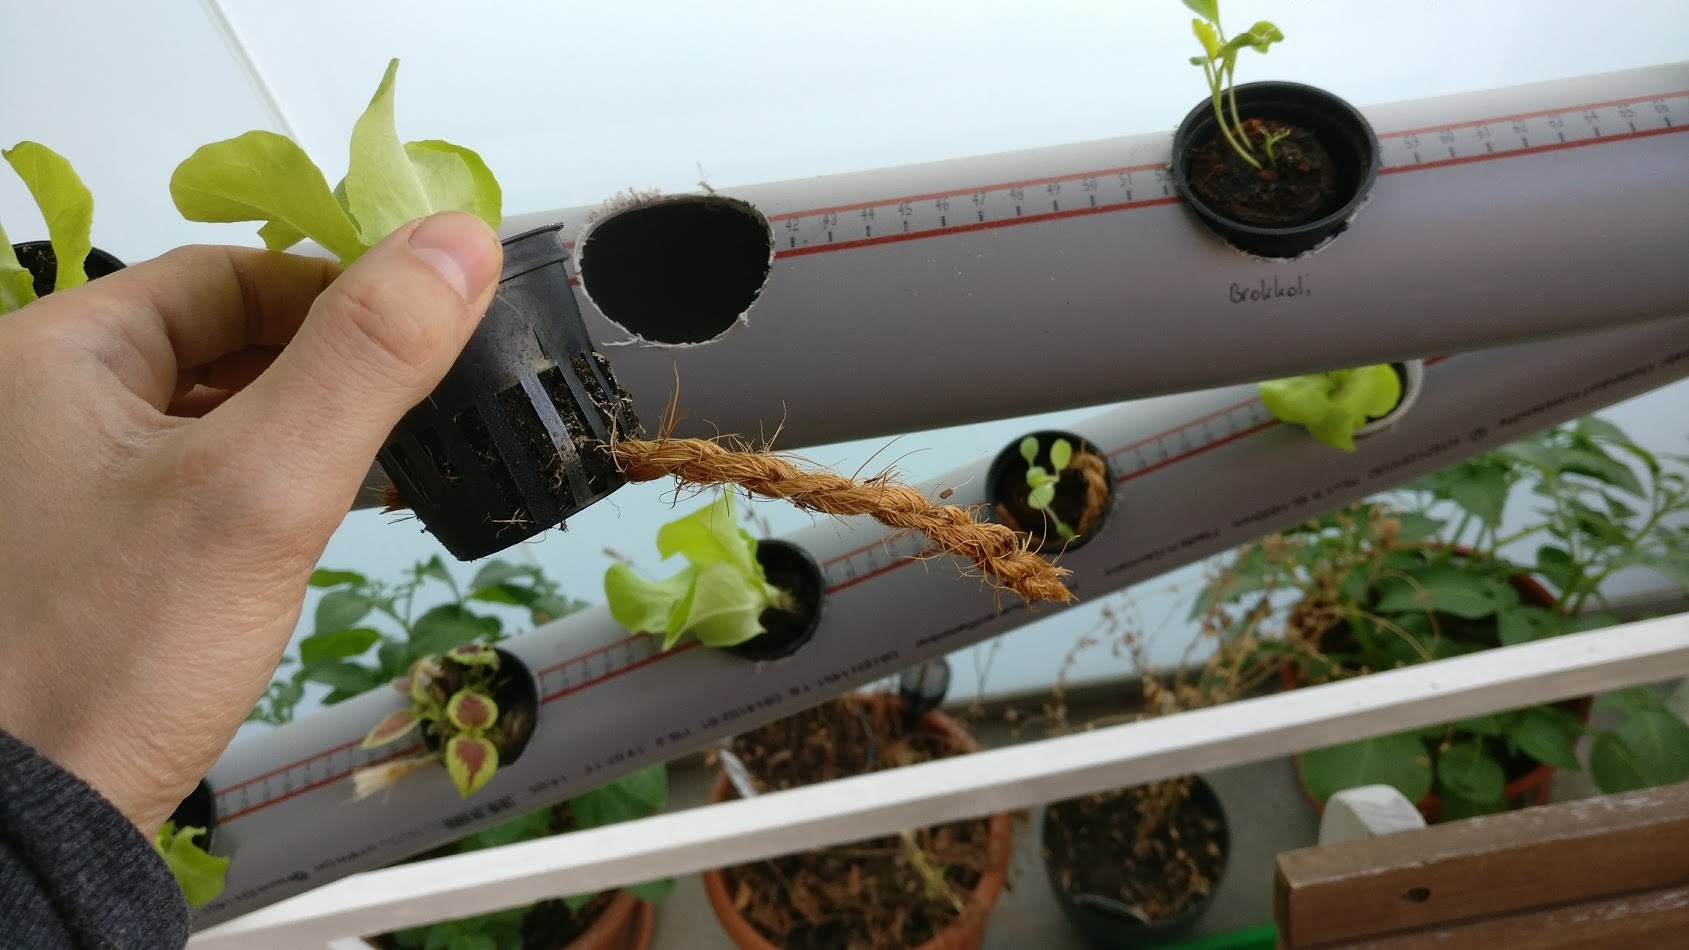
5. Net cups
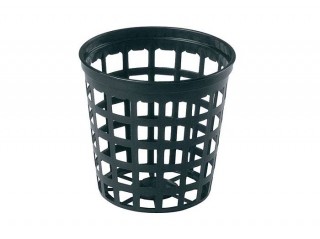
Cost: 6€
Total cost: 54,90€
Let's build it
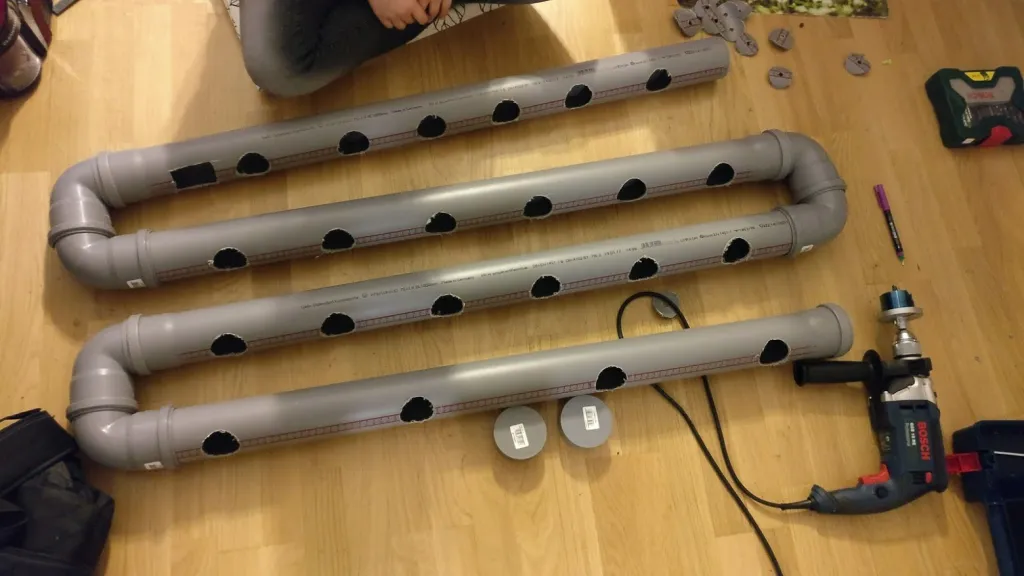
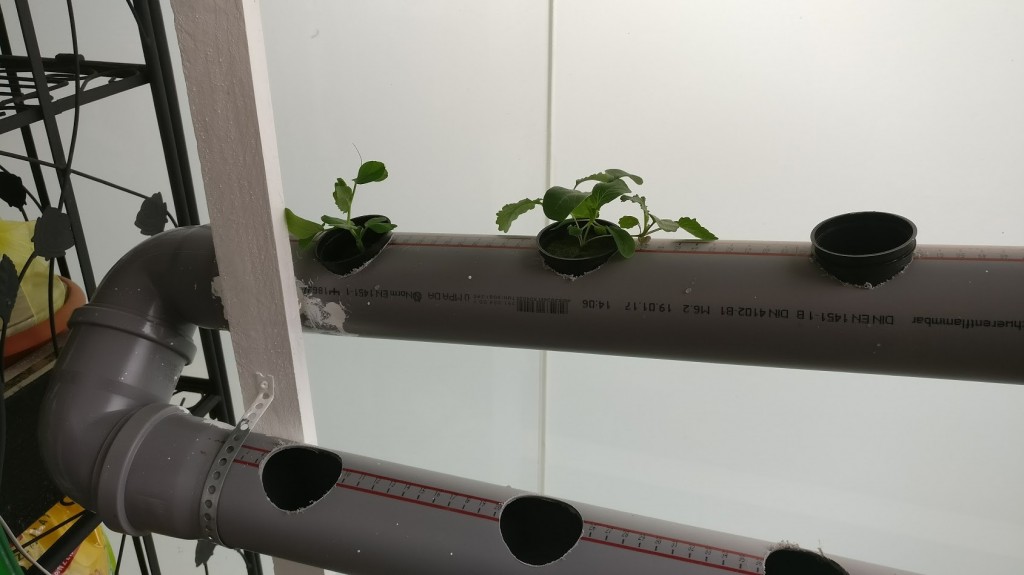
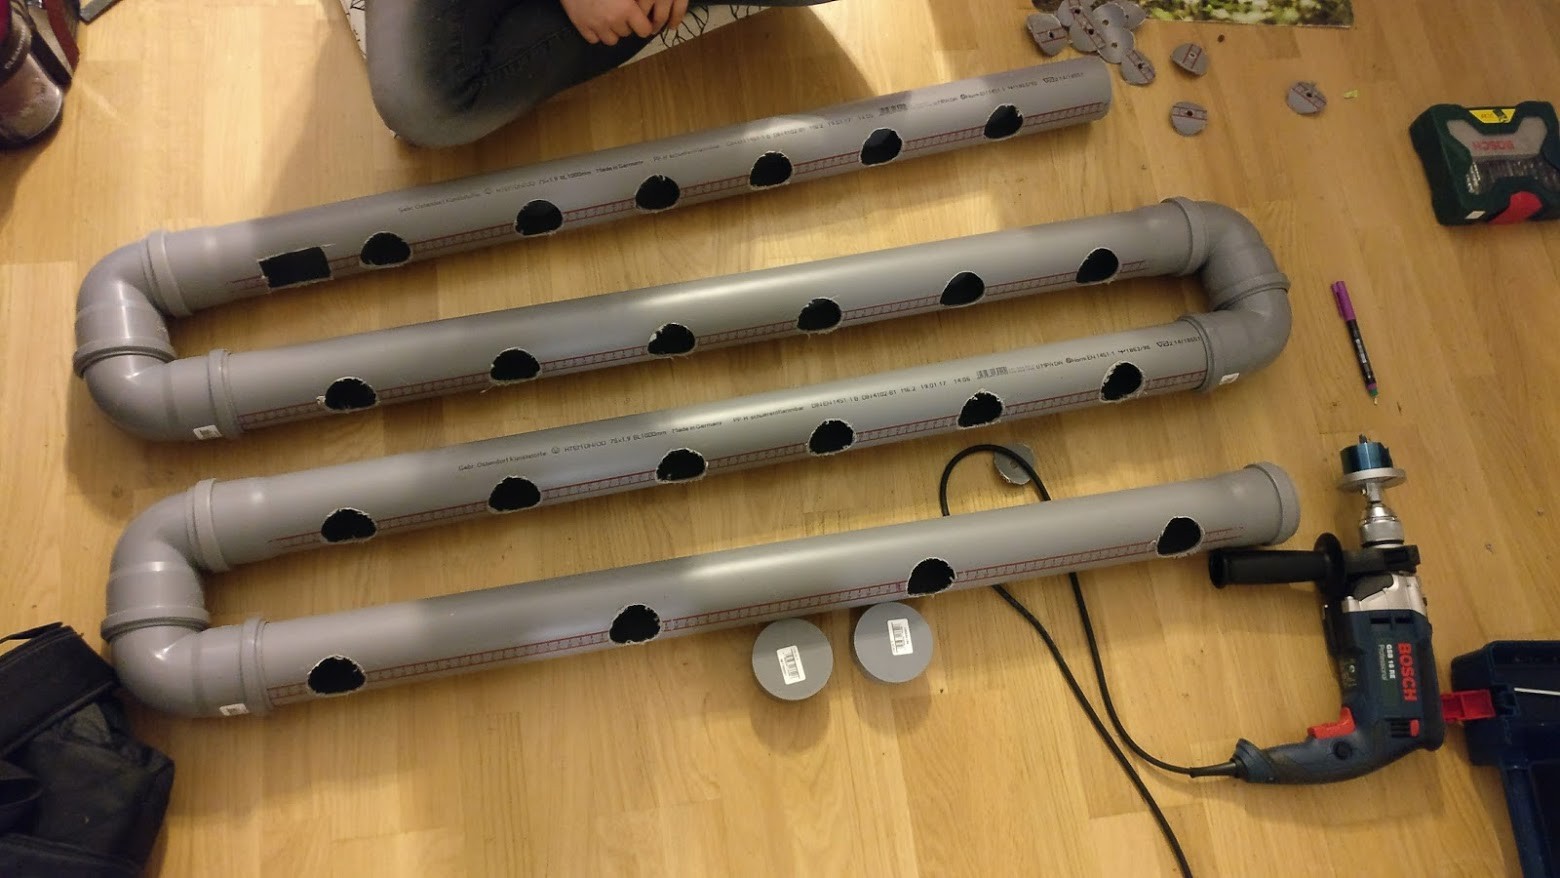
Step 1: cut holes in the pipes
These will hold the net cups. We cut 5cm (radius: 2.5cm) holes with 10cm space between them.
This means you have room for 6 plants per pipe.


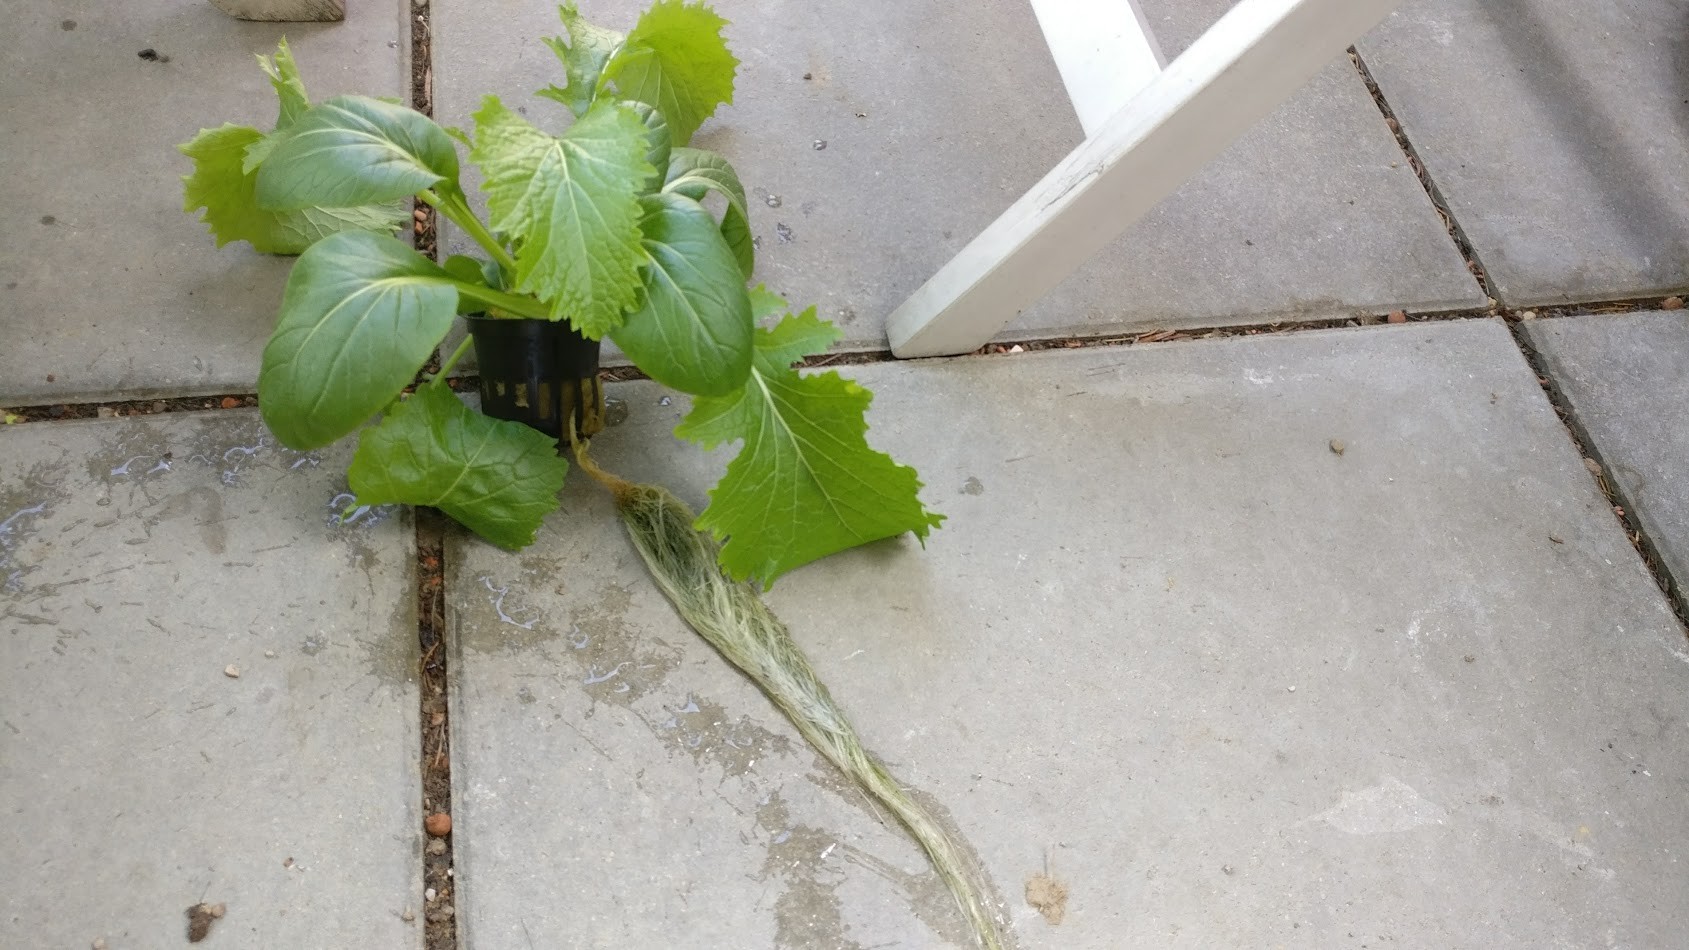
It doesn't matter that the cups don't reach the bottom of the pipe since the plants will already have longer roots when they get in the tubes. If you don't plan to pre-treat them, you can build small dams, use bigger cups, smaller pipes or use small ropes as you'll see later.
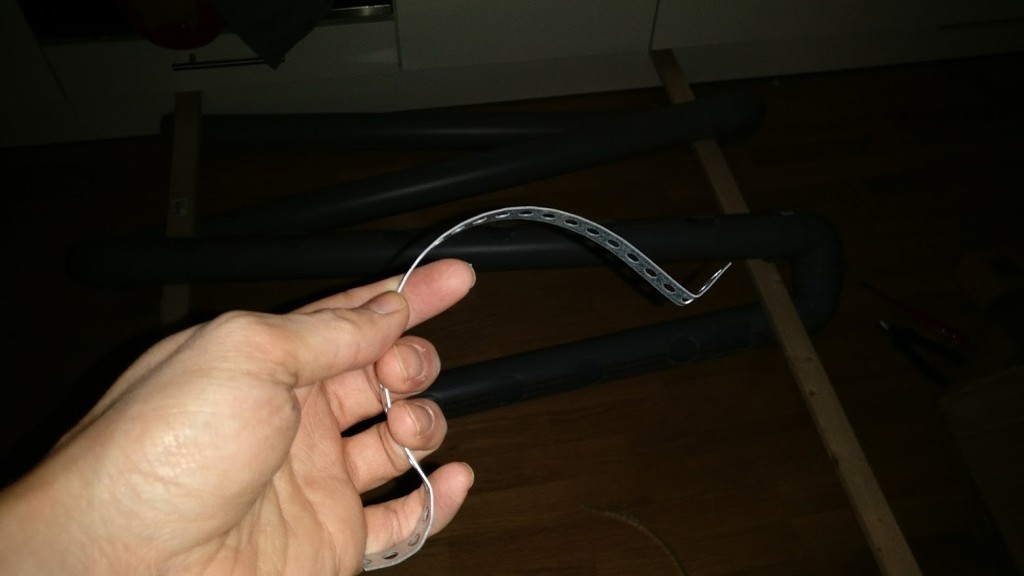
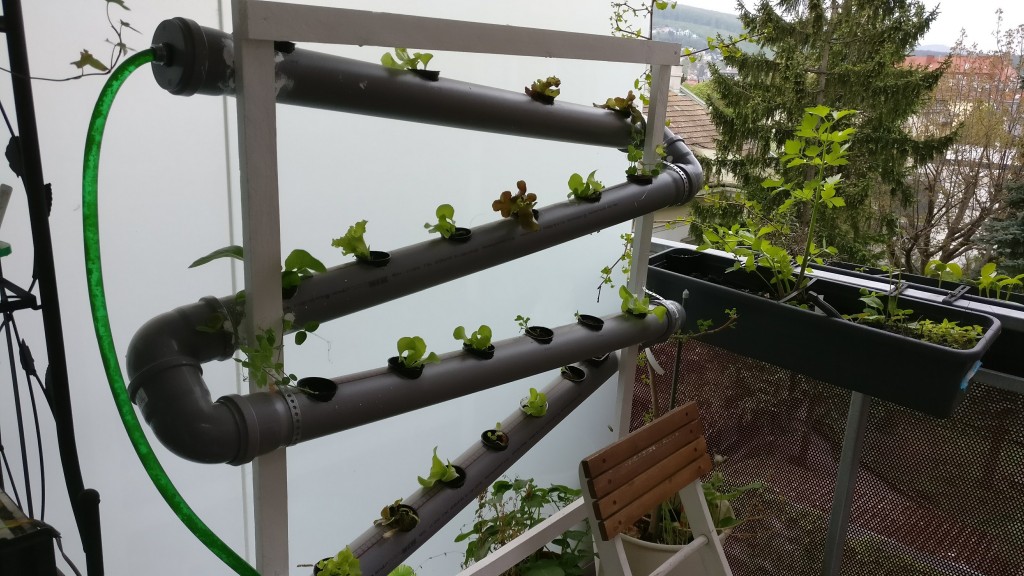
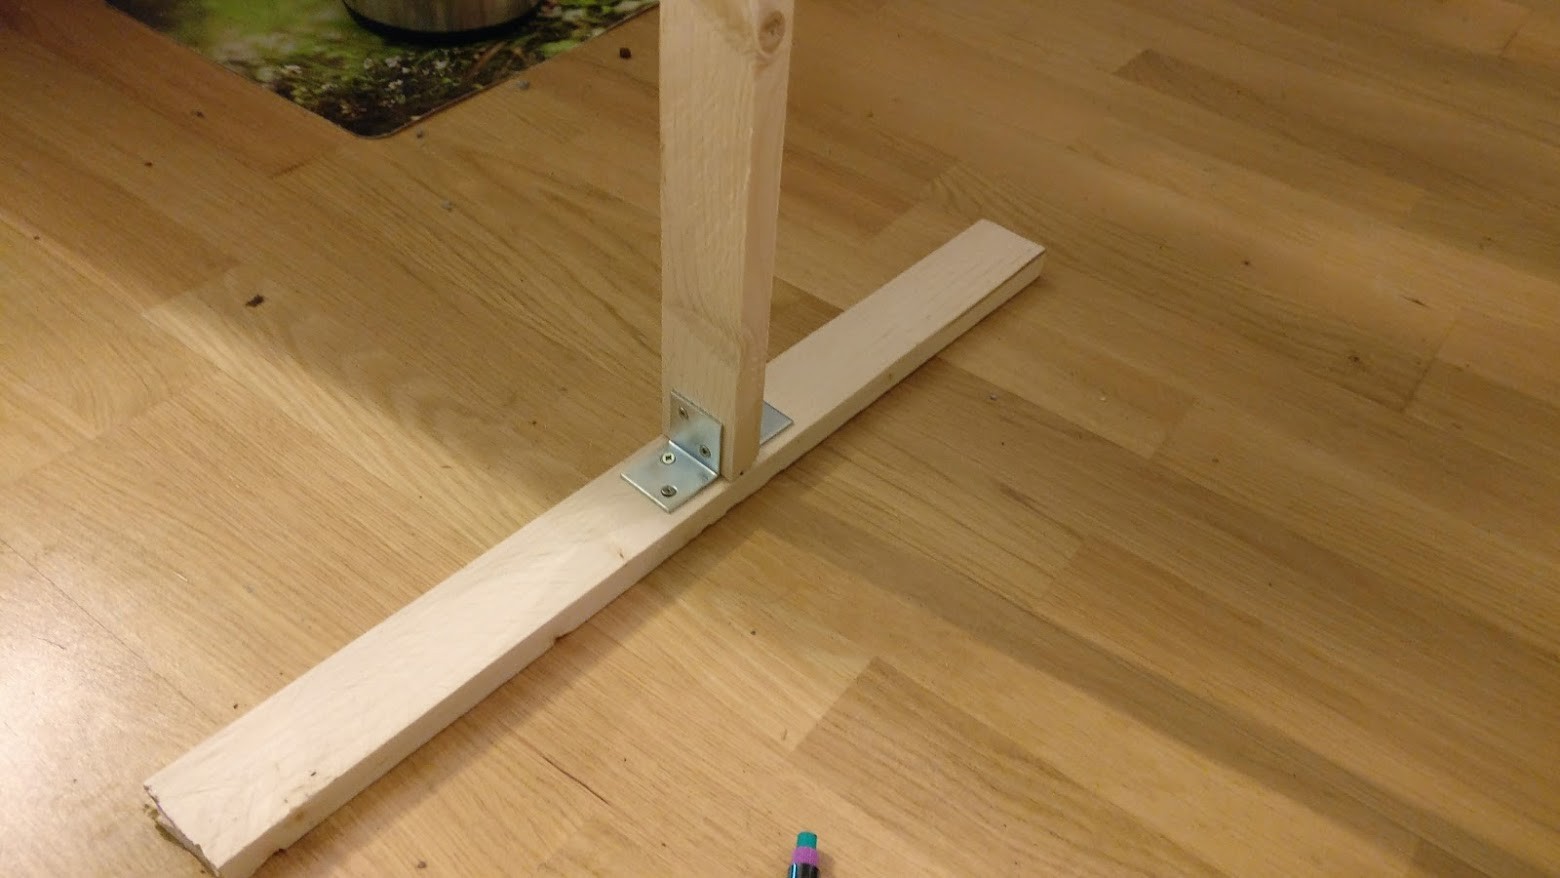
Step 2: Build a frame to support it
We fiddle'd the wood through the piping system like this

From the forementioned wood slats we cut two 50cm pieces off. These will be the "feet" and the rest of the slats will be mounted on them.


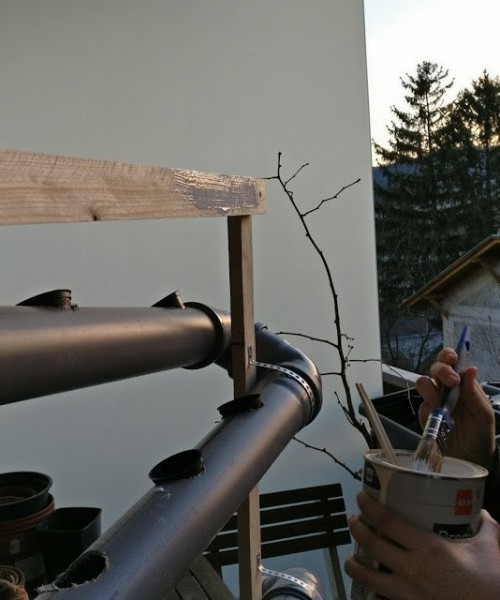

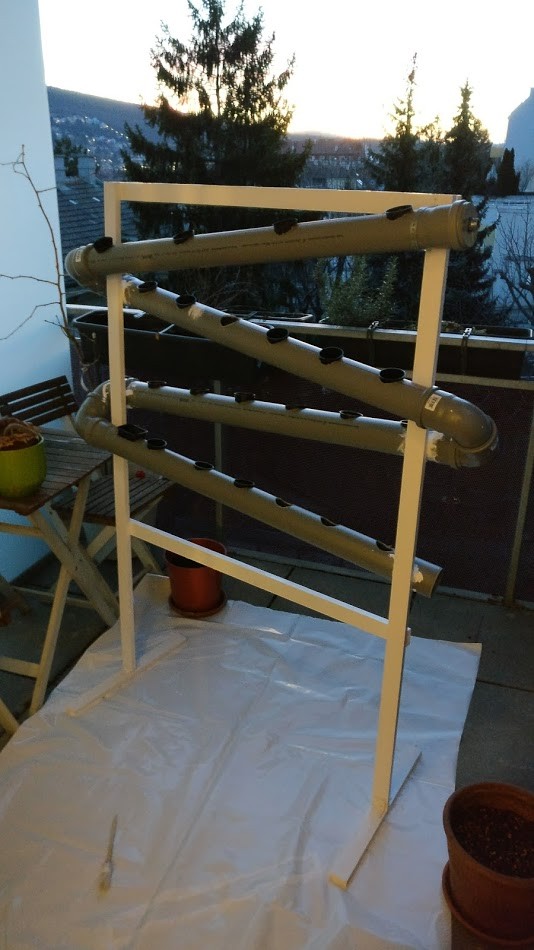
We let the paint dry for two days before we put plants in.
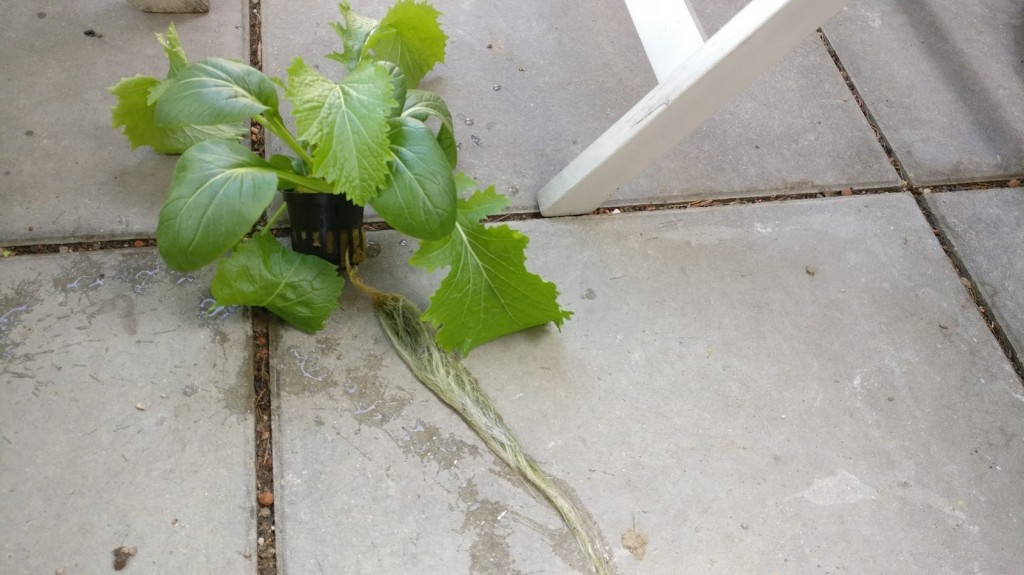
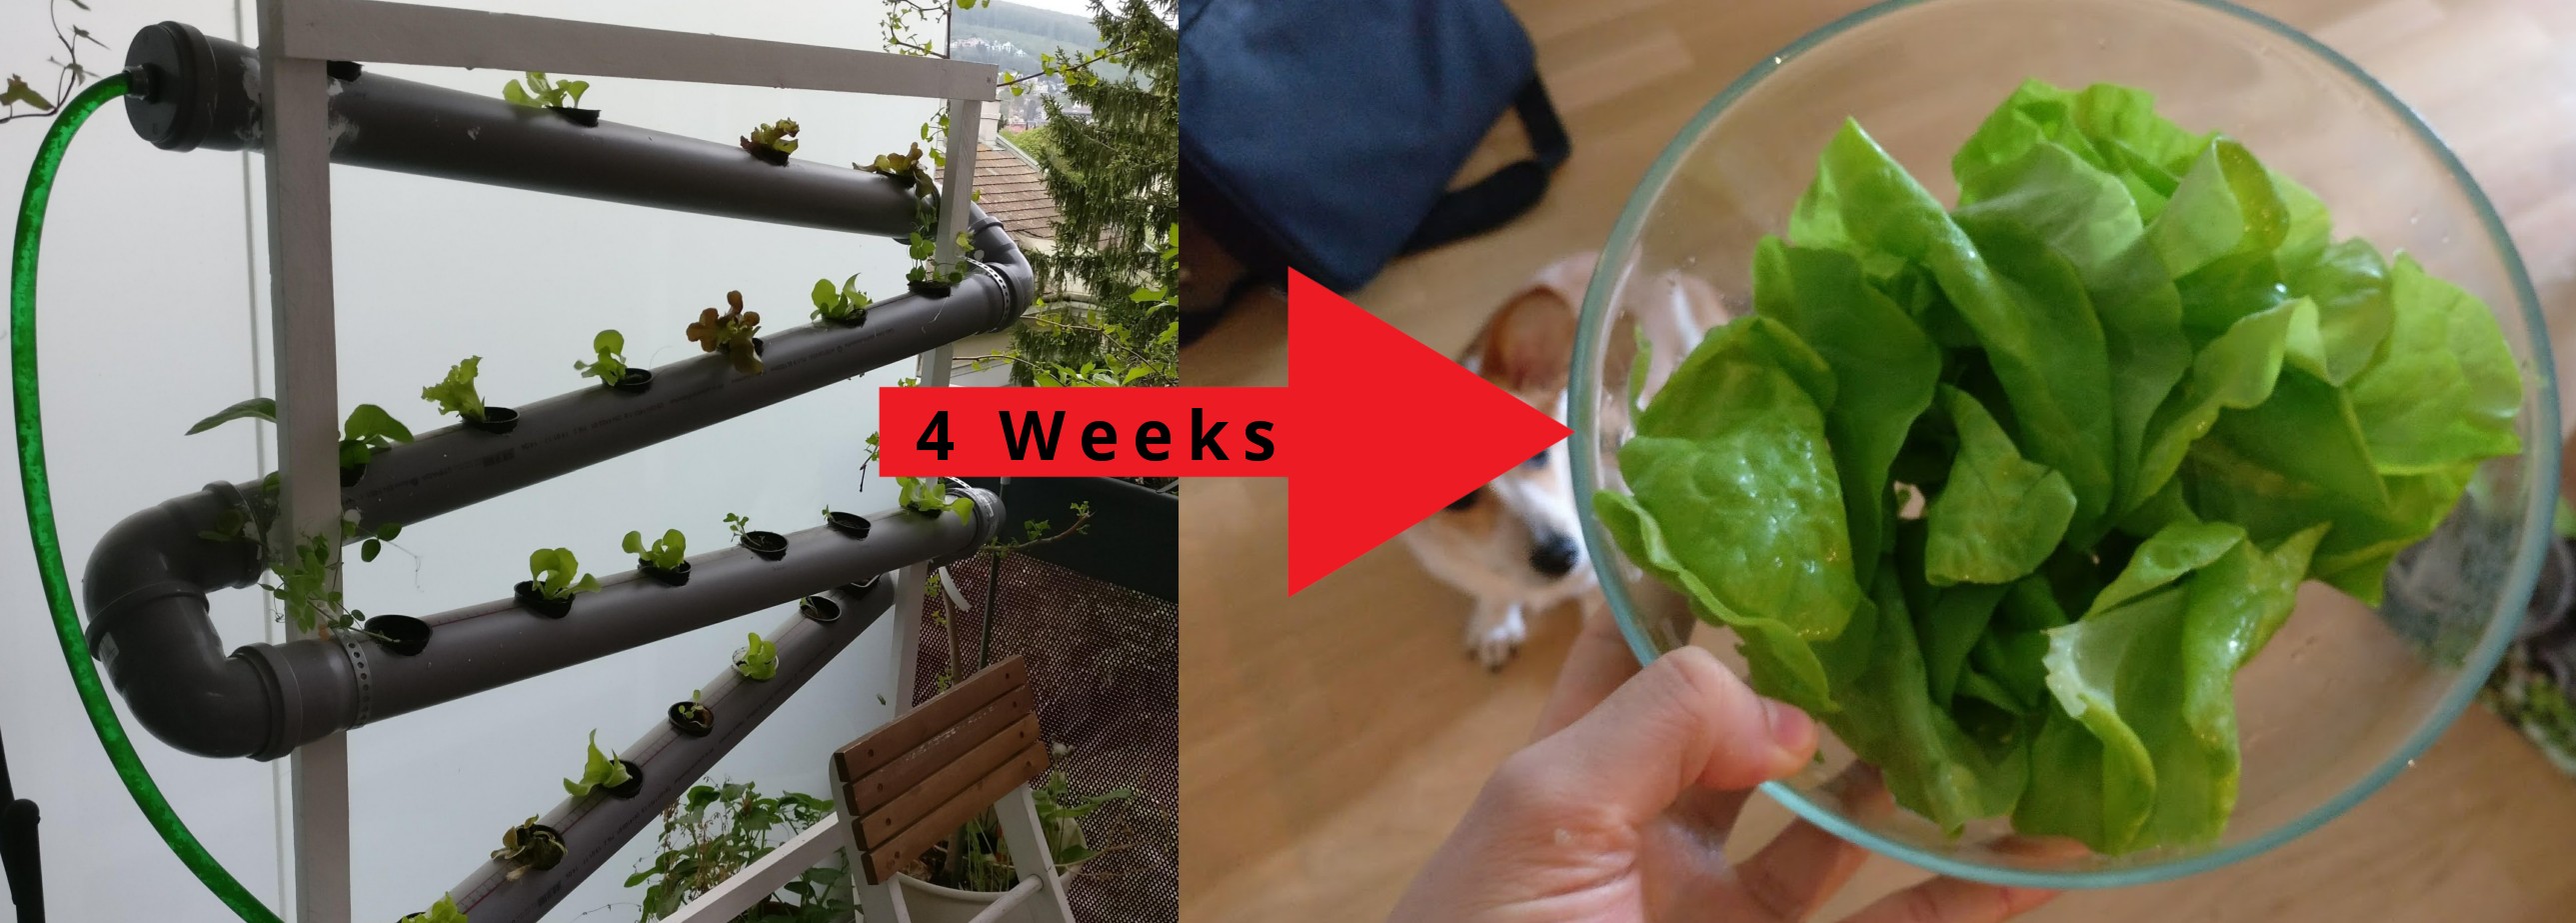
Step 3: Put plants in it and wait

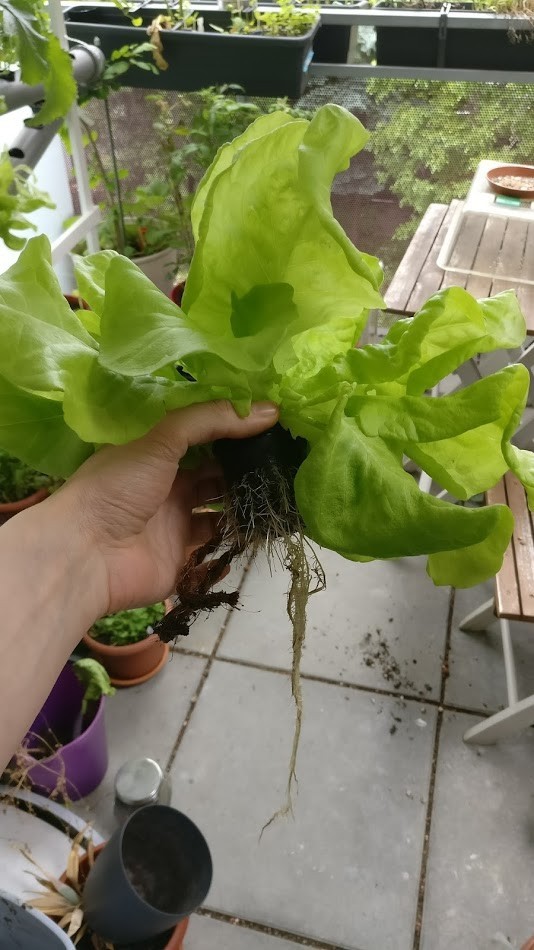
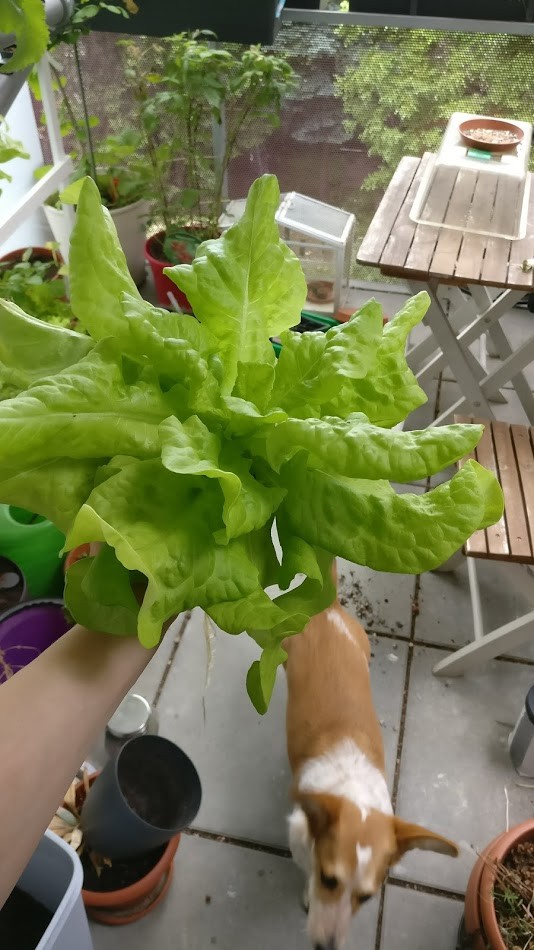
Final step: Harvest when ready
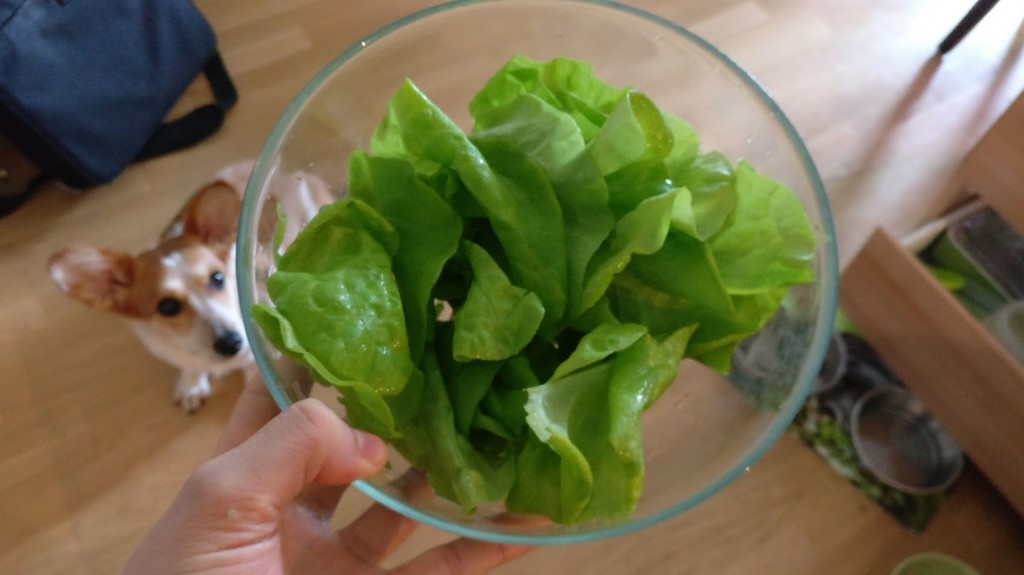
This project was a full success and didn't need any maintenance after construction. I didn't think it was this easy to grow your own food.
Bonus pics:


Comment using SSH! Info
