Two years ago I made a project where I used a Raspberry Pi to collect temperature data from in and outside my home.
Today I've gone wireless with my new Raspberry Pi 2 to collect data from the balcony. To make it sort-of weather proof I put it in a small case.
I use Raspbian because I've always been a Debian guy but this will probably work with most distributions
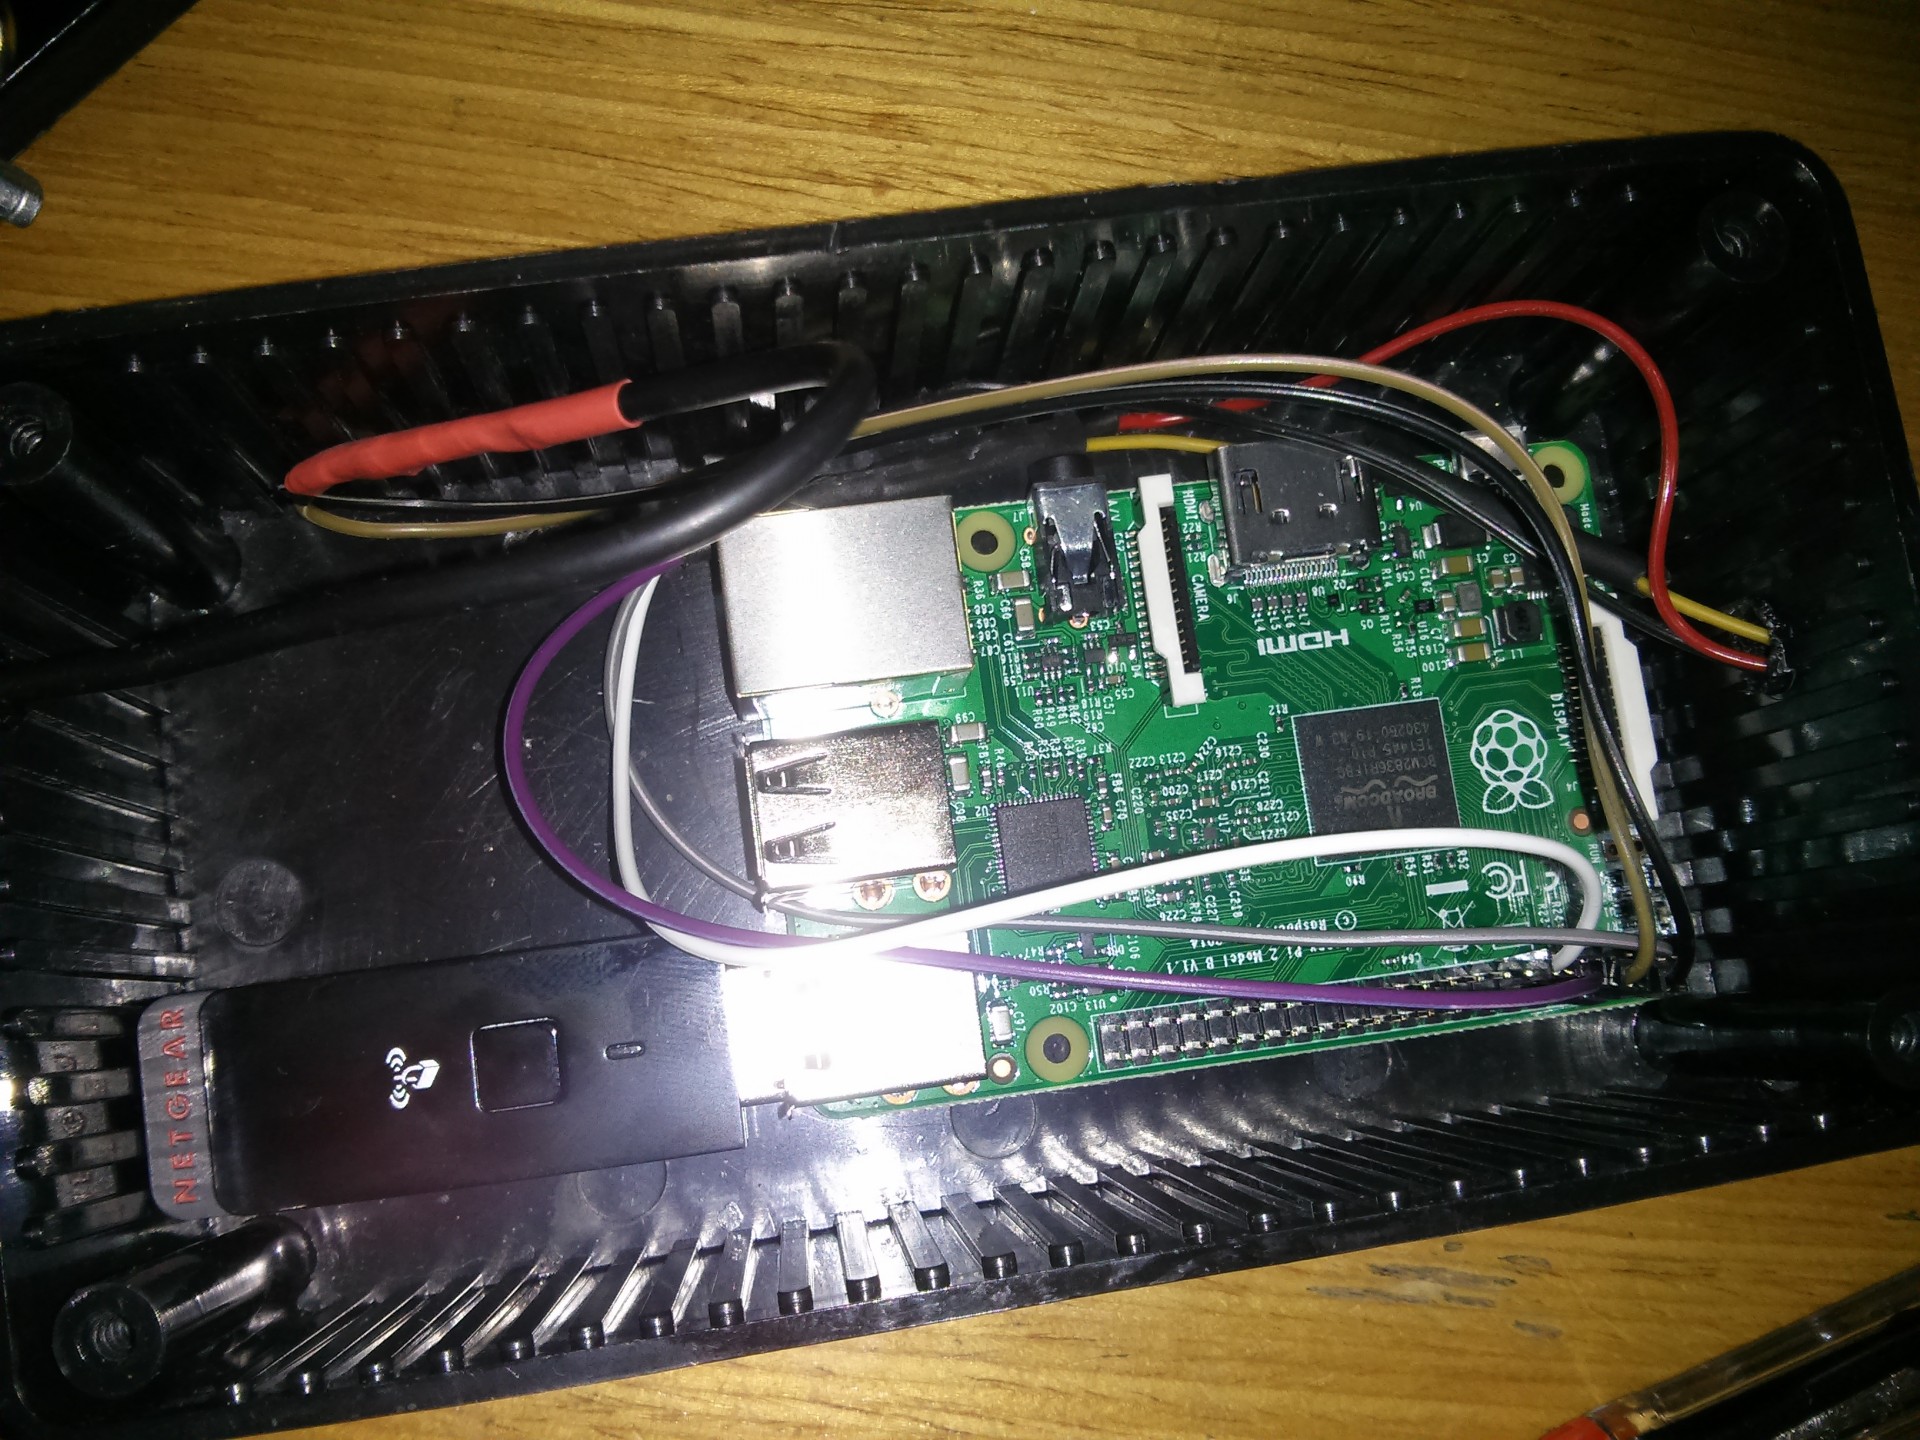
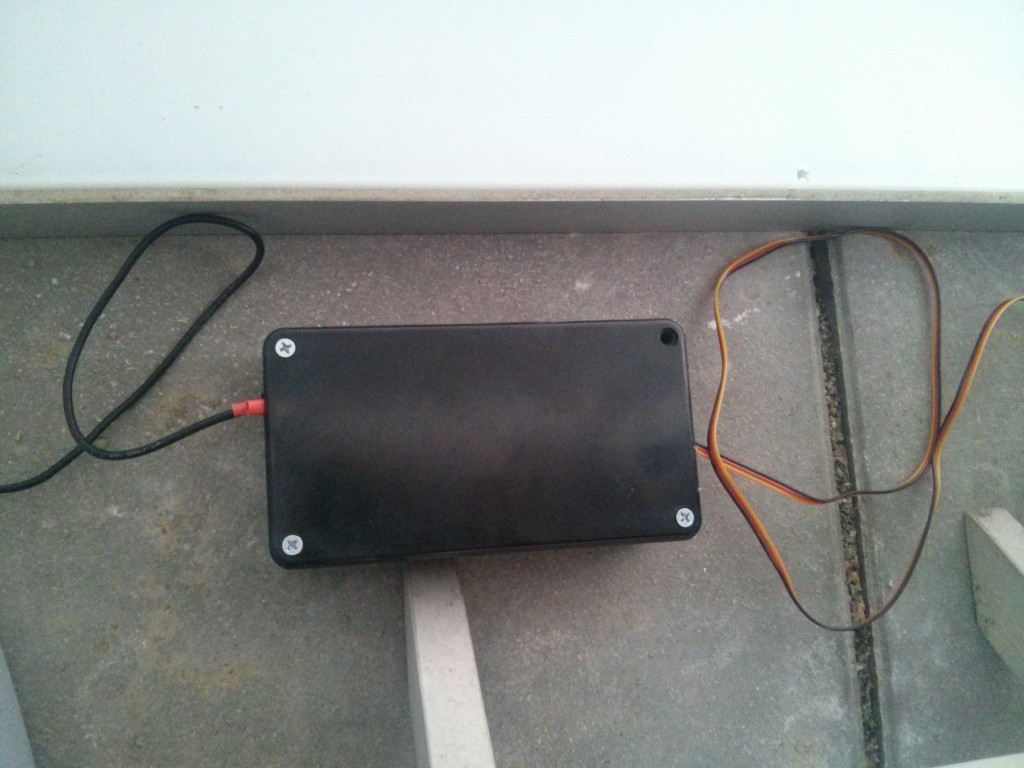
1 - The case

I used a cheap plastic case from my local hardware store (the black one). It's pretty solid and thanks to the four screws it closes very tightly. I made two holes: one where the sensor cable comes out and for the power cable to go in.
2 - Read the temperature
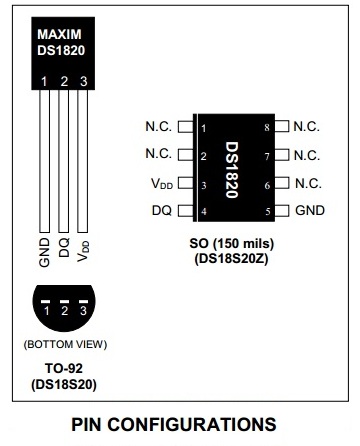
I use a DS1820 1-wire temperature sensor since it's so easy to use with the raspberry.
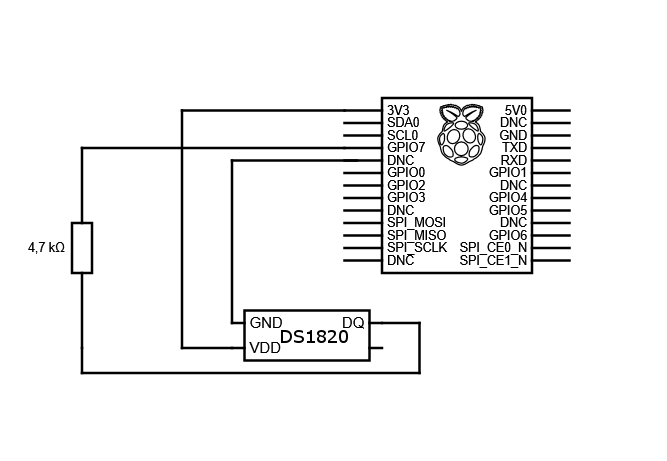
The circuit for the Pi is pretty simple:
Prepare your Pi
On the Pi 2 you have to upgrade the firmware before you can use 1-wire (modprobe w1 commands won't work anymore)
Upgrade your firmware
sudo apt-get update
sudo apt-get dist-upgrade -f
sudo rpi-update
sudo reboot
Then add the following line in the end of /boot/config.txt
dtoverlay=w1-gpio-pullupAfter another reboot you'll be able to use the temperature sensor.
Read the temperature
Enter the following command and see if your sensor is working
ls /sys/bus/w1/devices If you see something like this you did everything right
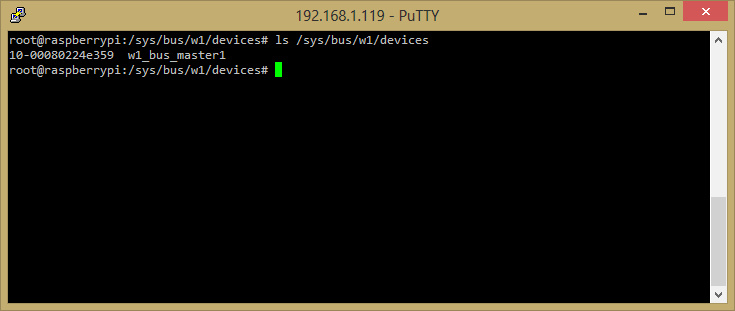
If you see the sensor folder (in my case it's 10-00080224e359) you're ready to get data from your sensor! Every sensor has a different ID so yours will be different from mine! Keep that in mind when you copy the commands.
Next lets see if it's really working by reading the w1_slave file inside your sensors directory:
cat /sys/bus/w1/devices/10-00080224e359/w1_slave 
The temperature is right in this file at t=28750 which means 28.750°C. You can now log your temperature inside or outside (or even in water if your sensor is water proof).
3 - The power supply

Since the USB Cable didn't fit in the case I had to improvise: I took an old 5v 1A phone charger from an old Nokia phone, cut the connector and connected them to the +5 and GND GPIO pins of the Pi.
Yes, you can power the Raspberry Pi (1 and 2) by applying power to the +5v GPIO pin and grounding the GND pin but you should probably use a voltage regulator so it doesn't fry the board at some point.
4 - Automatically connect to the wifi
I used a cheap Netgear wifi dongle that came with some cheap router I once bought.. so no fancy hardware here.
Edit /etc/network/interfaces
nano /etc/network/interfaces
Add the following lines
allow-hotplug wlan0
iface wlan0 inet dhcp
wpa-conf /etc/wpa_supplicant/wpa_supplicant.conf
iface default inet dhcp
Edit wpa_supplicant.conf
Here you will enter the connection details for your wifi
nano /etc/wpa_supplicant/wpa_supplicant.conf
Add:
network={
  ssid="YOUR_WIFI_NAME"
  psk="yourWifiKey"
  proto=RSN
  key_mgmt=WPA-PSK
  pairwise=CCMP
  auth_alg=OPEN
}
This should work for most users since it uses WPA2 with a pre-shared key. From now on your raspi should boot and connect to your wifi automatically
Here is my PiBox on my balcony:
Where to go from here
You could add your sensor to the Sensorcloud or write something yourself that displays the data - it's really up to you. Better start collecting your data now and think of something to do with it later :D

Comment using SSH! Info