This christmas I got this LED cactus lamp that seems to be in every store now. Since it's so light and cheaply made I thought it would be awesome for a small Raspberry Pi project
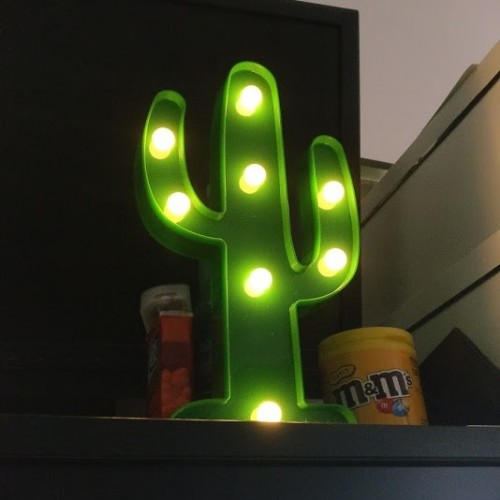
This will be the end result:
You can control the lamp (which now stands on my desk) via this link: https://cactus.haschek.at
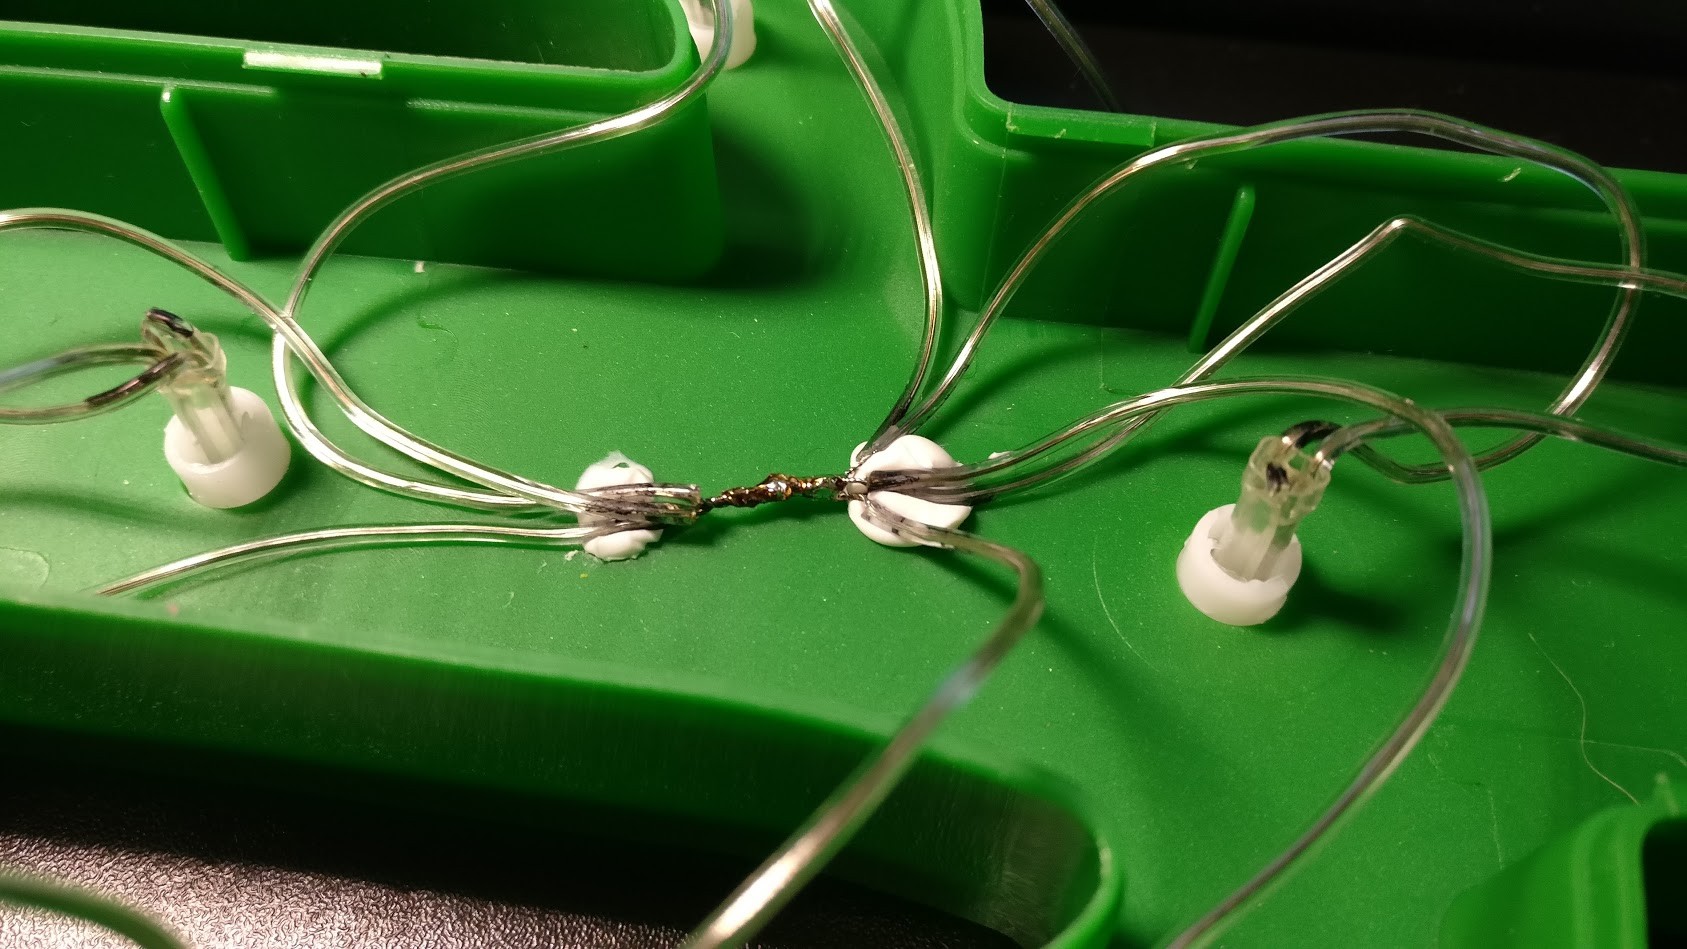
Taking it apart
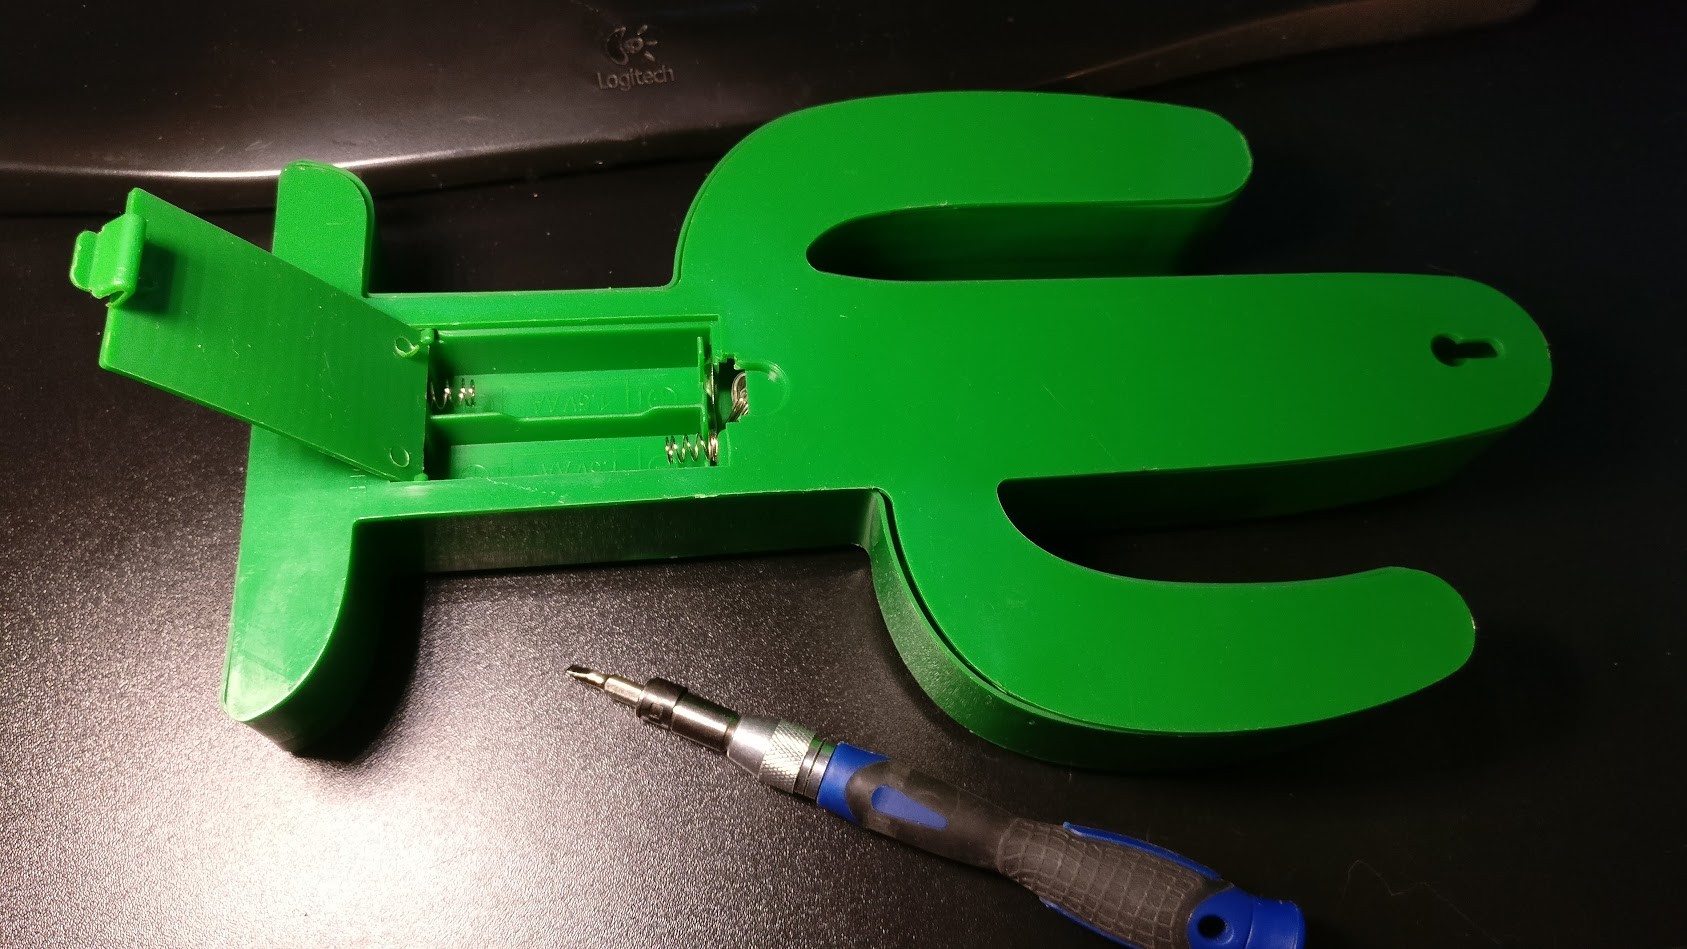
At first I took it apart to have a look at how it's wired. As expected it's just a bunch of LEDs wired in parallel. There isn't even a single resistor.

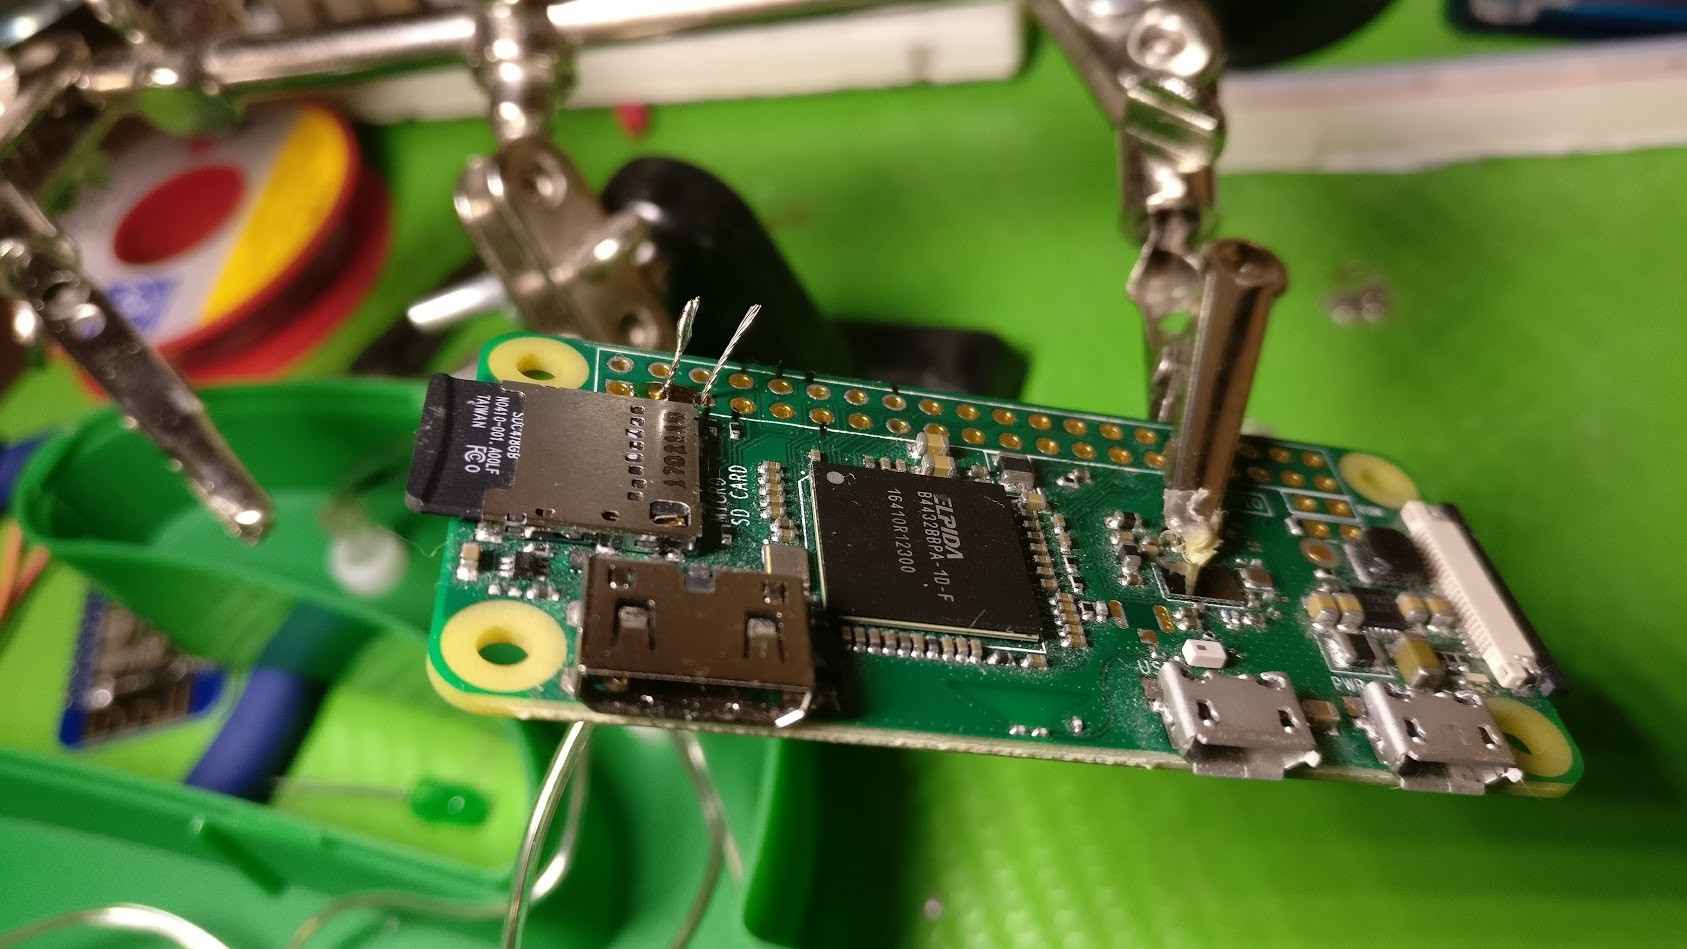
Adding the Raspberry Pi
For this project I used the Raspberry Pi Zero W because it's the smallest RasPi and it has wifi built-in. This will be awesome for hosting a small webserver that can control the LEDs of the cactus.
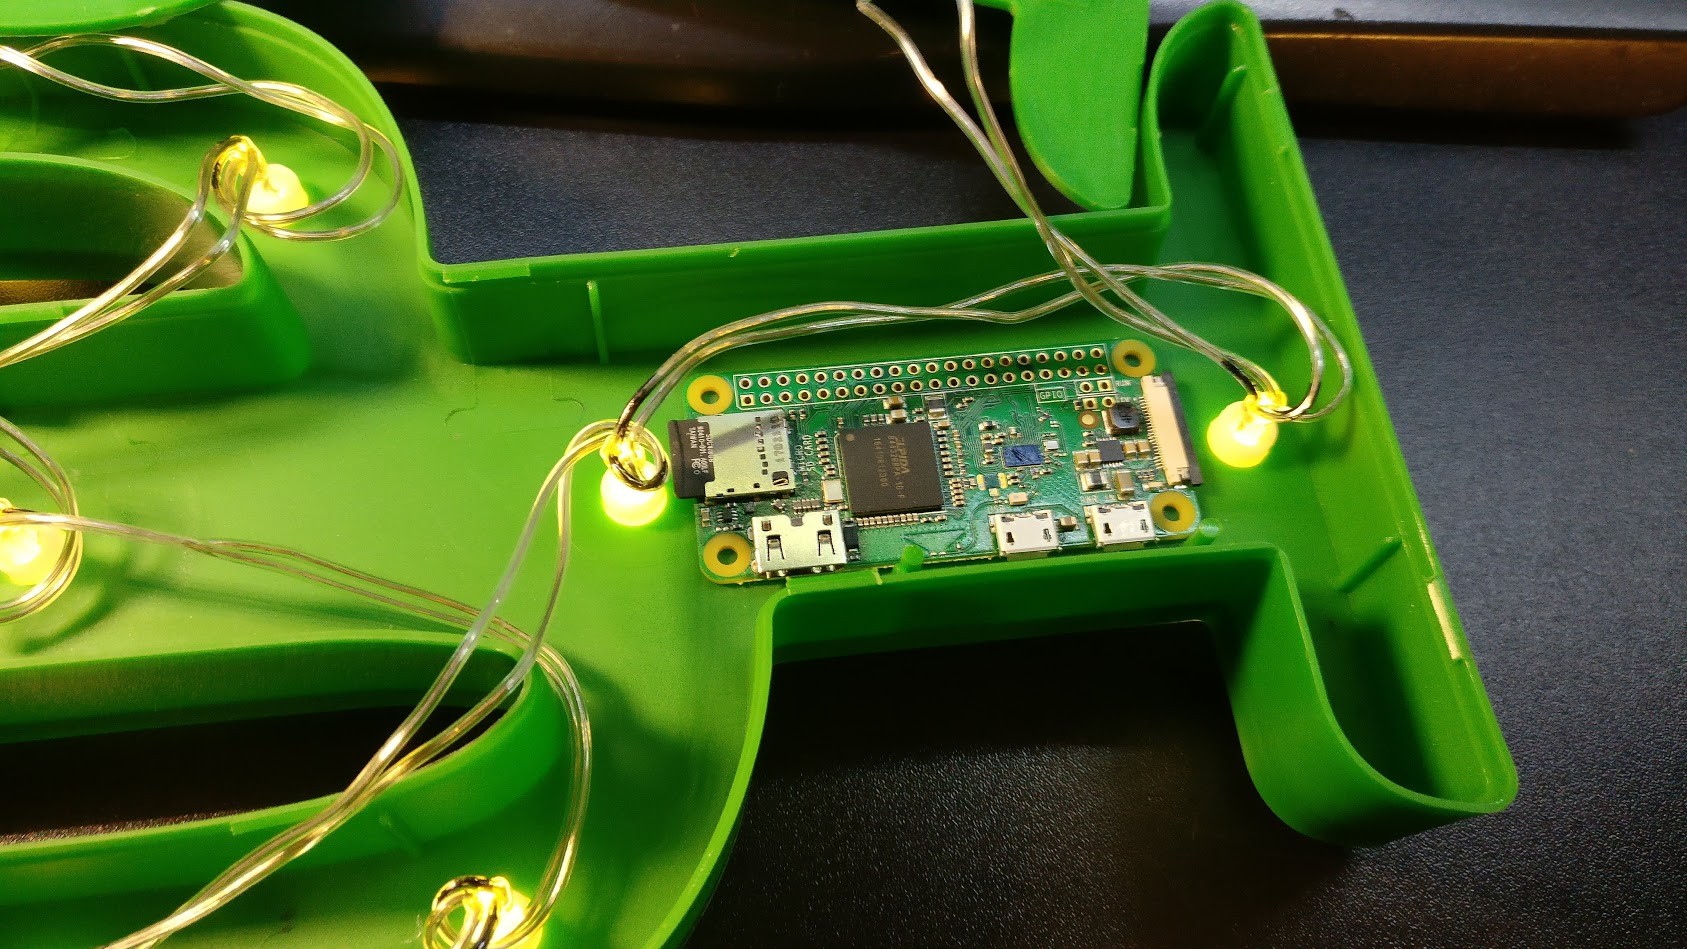
My plan is to connect all LEDs with a dedicated wire so we can control each LED individually.
Cable things
Before cutting the cables I marked the negative cable of each LED with a black marker

Then I cut the wires so I have one pair for each LED.
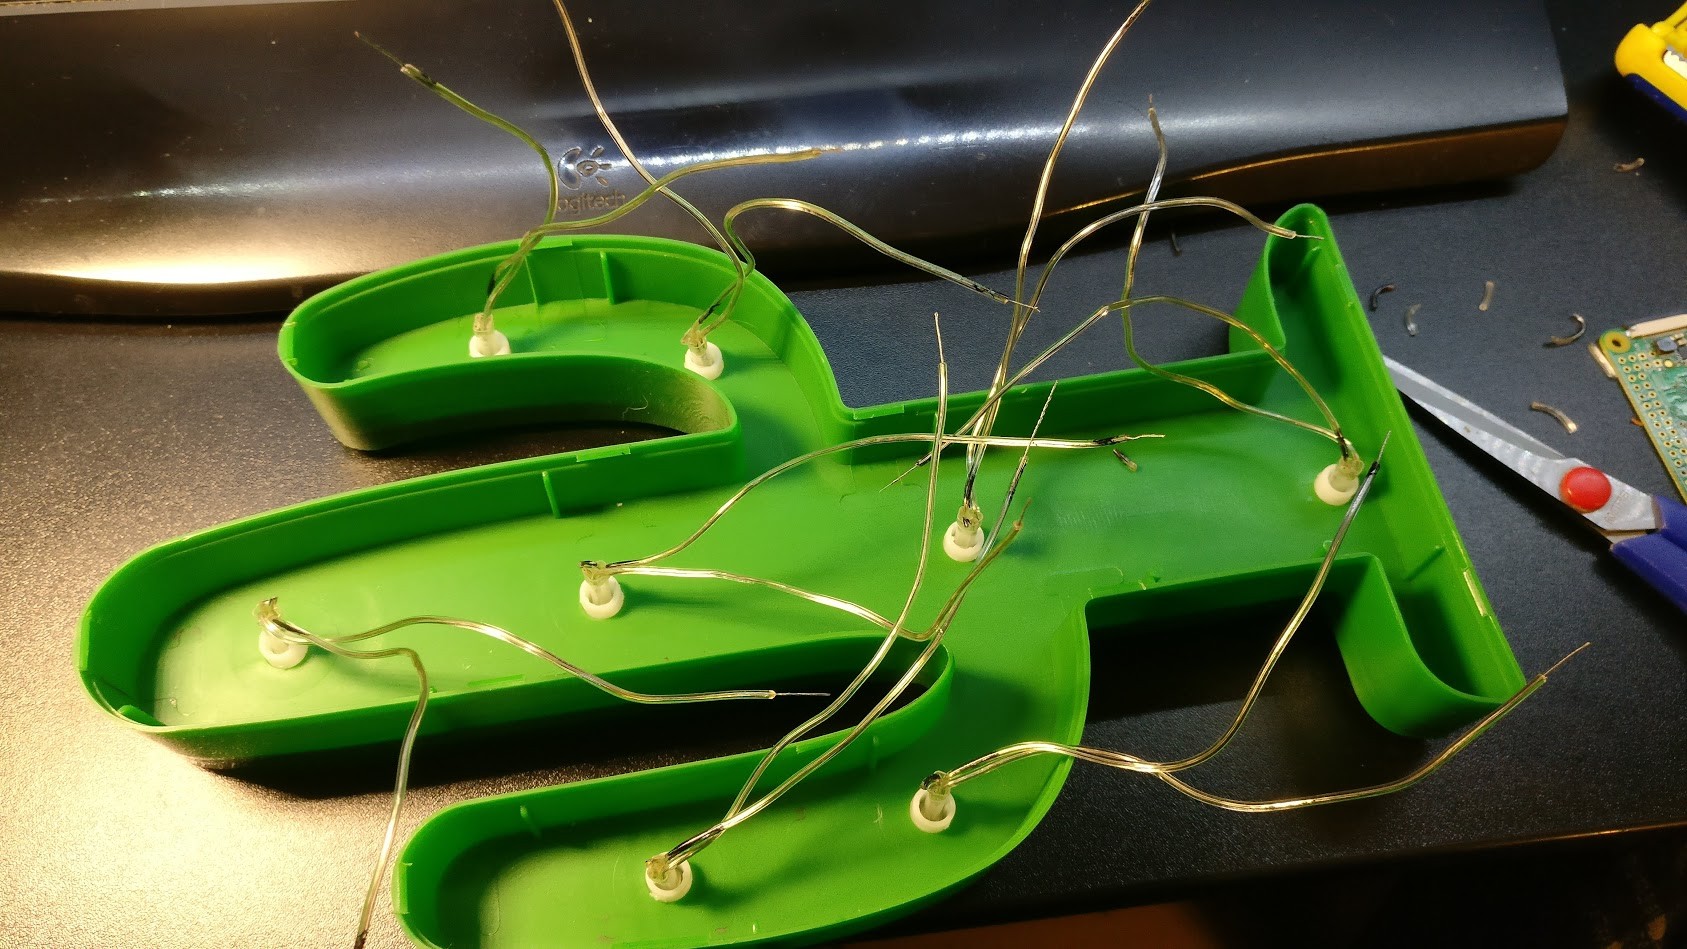
I soldered all negative wires together and glued them down to the case.

Connecting them to the Pi
Next step is to solder the individual positive wires to the GPIO ports of the Pi.
I used the following GPIO Pins: 2,3,4,14,15,17,18,23,27 according to this GPIO chart
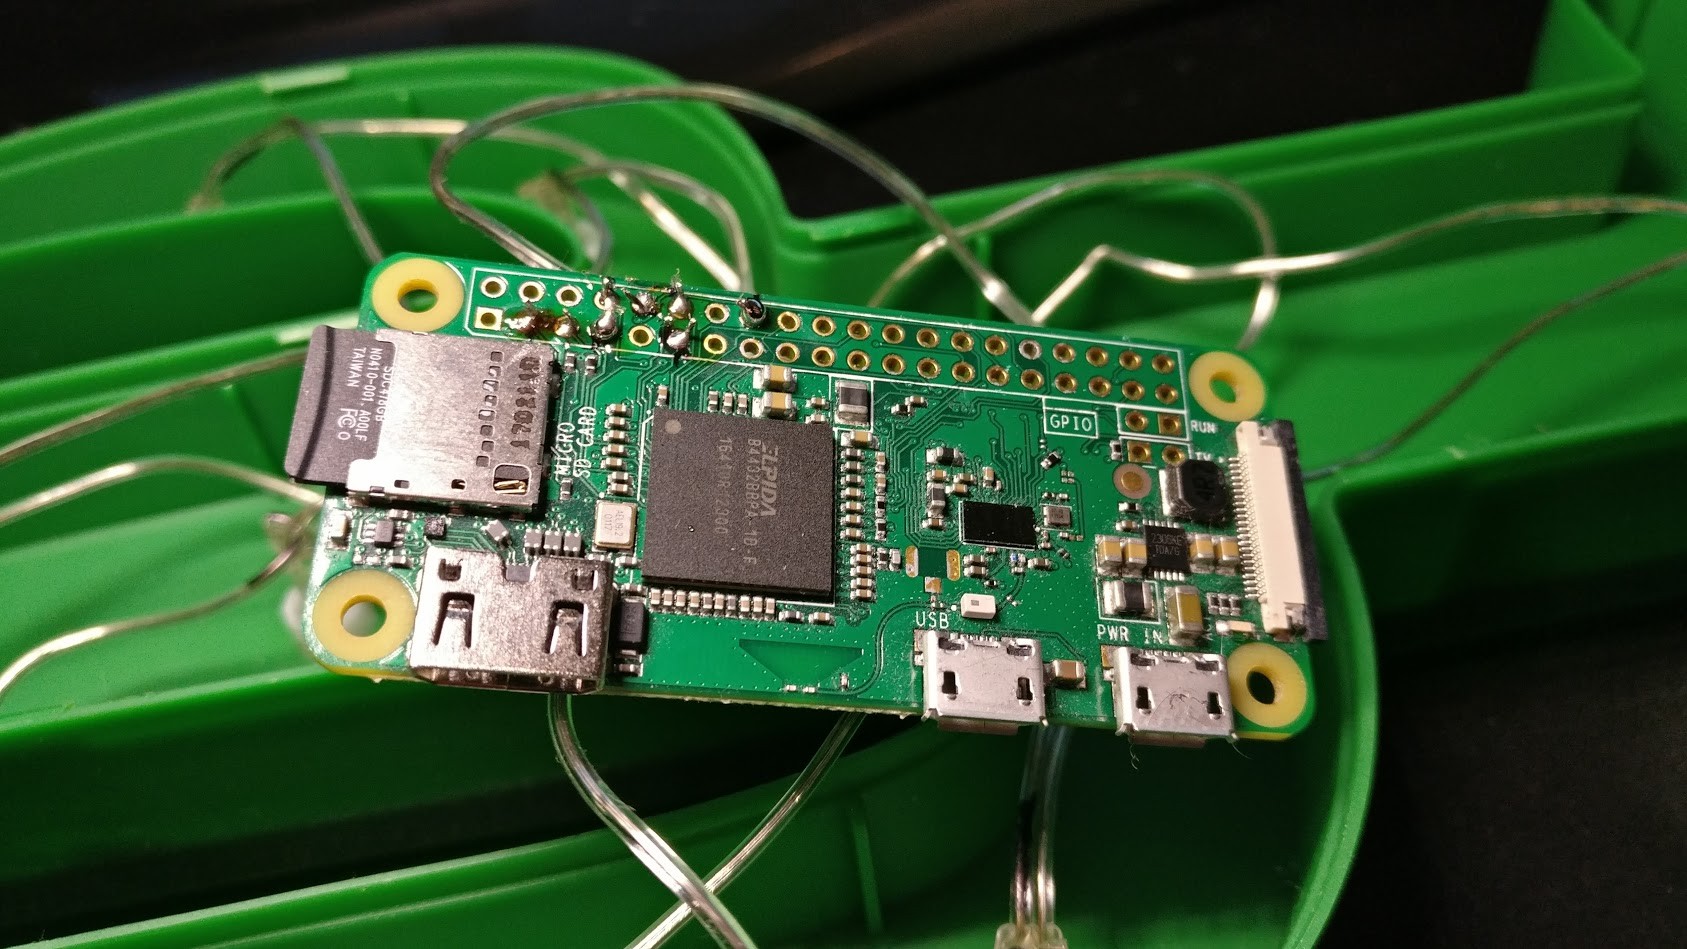
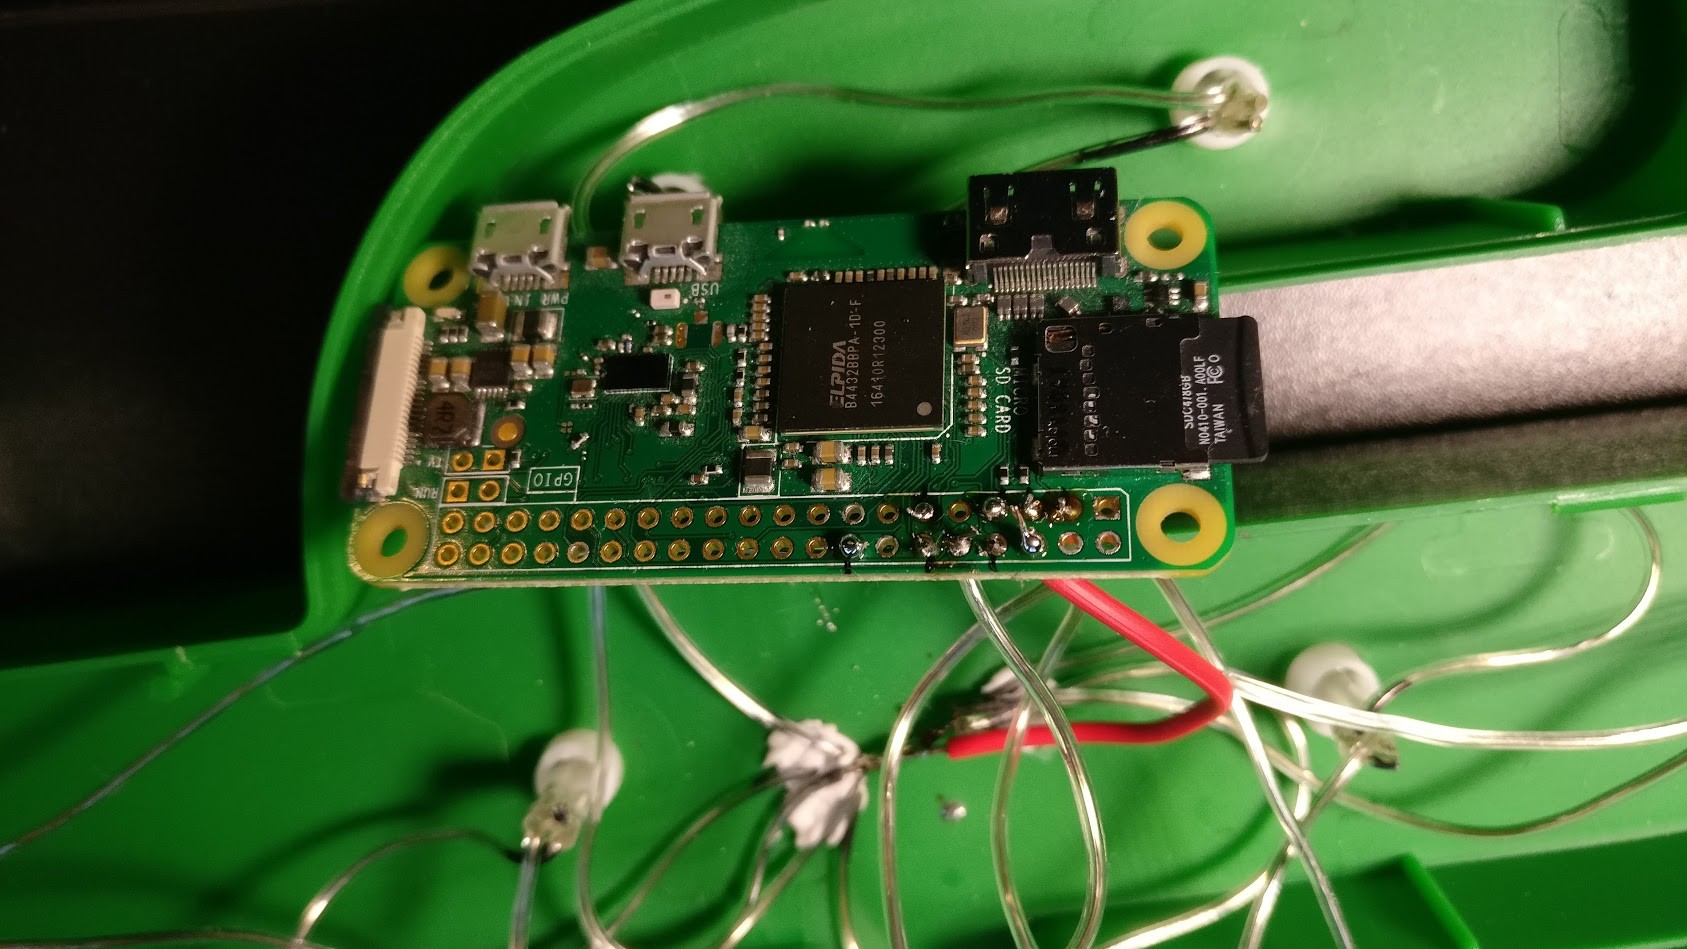
Last thing to solder is the negative wire which connects the RasPis ground GPIO to the marked black negative wires.
Let's control it!
To make things easier I do all of these things as root
Install everything we need
We'll control the cactus via a webbrowser so we'll install php and nginx first
apt-get -y install git wiringpi nginx php5-fpm
Then add safe_mode = Off after the first line in the /etc/php5/fpm/php.ini file.
Finally run the command visudo and add the following to the file www-data ALL=NOPASSWD: /usr/bin/gpio
Script 1: Initialize the GPIO ports
/root/gpio_init.sh
#!/bin/bash
/usr/bin/gpio mode 14 out
/usr/bin/gpio export 14 out

/usr/bin/gpio mode 15 out
/usr/bin/gpio export 15 out

/usr/bin/gpio mode 18 out
/usr/bin/gpio export 18 out

/usr/bin/gpio mode 17 out
/usr/bin/gpio export 17 out

/usr/bin/gpio mode 23 out
/usr/bin/gpio export 23 out

/usr/bin/gpio mode 2 out
/usr/bin/gpio export 2 out

/usr/bin/gpio mode 3 out
/usr/bin/gpio export 3 out

/usr/bin/gpio mode 4 out
/usr/bin/gpio export 4 out
Then make it exectuable and run it:
chmod +x gpio_init.sh
./gpio_init.sh
If you get an error with Pin 4 then go to the raspi-config and disable 1-Wire support (took me an hour to figure this out)
Now test if all LEDs are working
by using the following command for all GPIO pins you have used:
gpio -g write 23 1
gpio -g write 15 1
etc..
Invite your friends to control it!
I wrote a simple website which can be used to control the lights of the cactus. Get the code on Github
Here's a video of it in action:
How to get it running
Since we did all the config changes already you only have to download it and put it in the webservers folder like this:
cd
wget https://github.com/geek-at/cactus/archive/master.zip
unzip master.zip
cp -r cactus-master/* /var/www/html/.
Now just go to the URL of your Raspberry Pi in your favorite browser et voilá! Wifi controlled cactus is now your own.
I'll probably regret this but: Here, control my cactus! https://cactus.haschek.at/

Comment using SSH! Info
