I have recently developed a slight obsession over Alpine Linux. Everyone who had worked with Docker containers has probably read Alpine somewhere. Alpine Linux is so damn small and fast and by default it runs from RAM and is therefore perfect for docker containers or Rasberry Pis. Alpine has become my preferred image for Raspberry Pis because of its RAM disk root partition that only stores changes when you issue the lbu commit command and therefore doesnt corrupt SD cards when the Pi loses power.
The Homelab datacenter
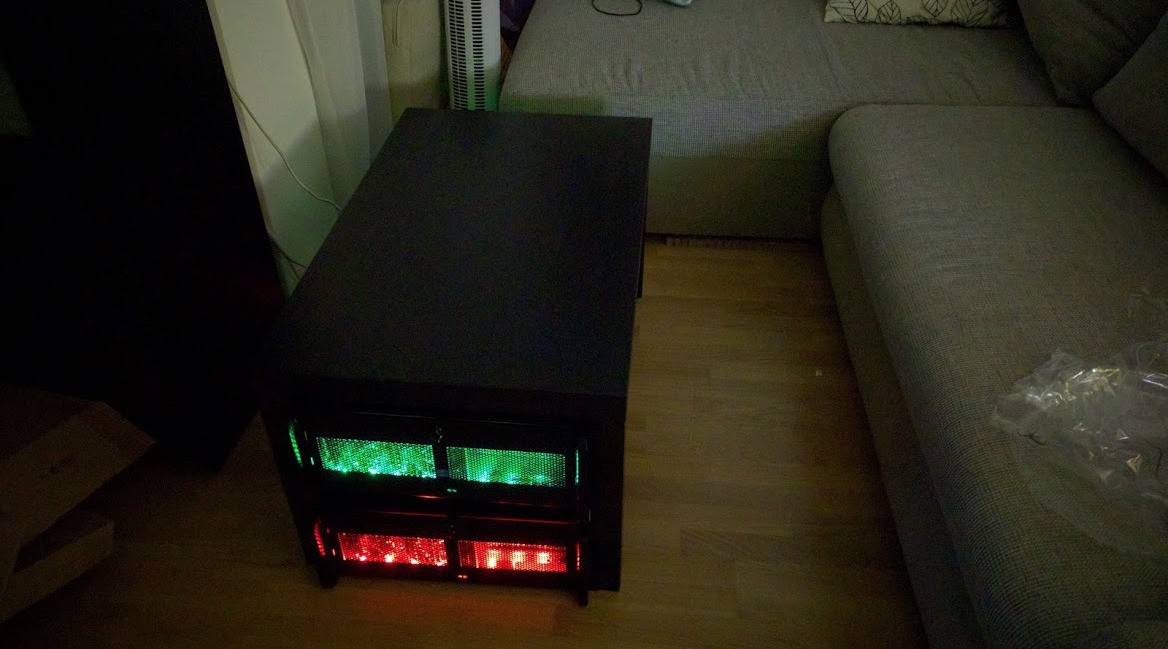
Just like every homelab enthusiast I love to play with hardware for fun and to learn more for my job as a sysadmin. I have experience with Windows Server and PXE booting but have never done that with linux. I started my carreer by running webservers on old ThinkPads with broken displays from under by bed and I always loved the idea of laptops as servers since they had UPS, display and keyboards builtin.
A new project was born.
The Goal: PXE booting Alpine with network or local storage, custom configs and optional GUI
The Setup
 Firewall                    SERVER                      Laptop
+----------------------+    +----------------------+    +----------------------+
| OS: PFsense          |    | OS: Debian 9         |    | The PXE Client       |
| IP: 192.168.1.1      |    | IP: 192.168.1.10     |    | we're testing with   |
| Services: DHCP       |    | Services: http,nfs,  |    |                      |
|                      |    |           tftp       |    |                      |
|                      |    |                      |    |                      |
+----------------------+    +----------------------+    +----------------------+
Step 1: Configuring DHCP for PXE
- Go to your PFSense web interface. Services -> DHCP Server
- Enter the IP of Server 1 in the TFTP Server and Next Server fields
- Check the "Enables network booting" checkbox
- Default BIOS file name: gpxe.kpxe
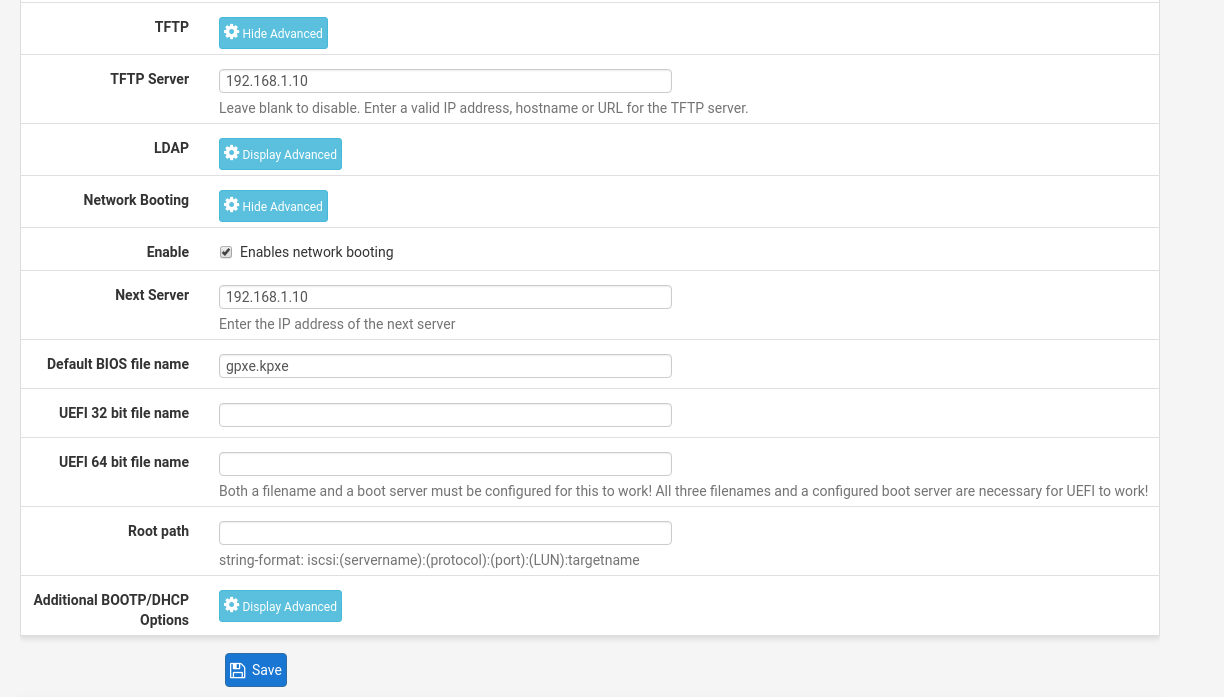
That's it. Save and you can close the tab.
Step 2: Setting up Server 1
Let's install all needed packages first, then create the folders we need to store our files.
If you already have a webserver running, you don't need lighttpd. Just make sure to point some web directory to /srv/pxe/
apt-get install tftpd-hpa nfs-kernel-server lighttpd
mkdir -p /srv/pxe/configs
mkdir -p /srv/pxe/data
chmod -R 777 /srv/pxe
cp ~/.ssh/id_rsa.pub /srv/pxe/sshkeys.pub
If you don't have a key in ~/.ssh/ you need to generate one with ``ssh-keygen``` before running the last line in the script above. This will enable you to log into your PXE booted images without a password.
Setting up NFS
We'll configure Server 1 to grant access to everyone on the local subnet (192.168.1.0/24 for me) because we're going to save the persistant data here for all devices that don't have their own harddrives.
echo "Setting up NFS for local network"
echo "/srv/pxe 192.168.1.0/255.255.255.0(rw,sync,no_root_squash,no_subtree_check)" >> /etc/exports
echo "Restarting NFS service"
exportfs -ra
Setting up lighttpd
Again, if you already have a webserver installed just point it to /srv/pxe/ but I found lighttpd the smallest and most simple one for this job.
Edit /etc/lighttpd/lighttpd.conf and set server.document-root = "/srv/pxe"
Then restart it with /etc/init.d/lighttpd restart
Test if you can access the folders via http://192.168.1.10/
Lastly let's download the kernel and other needed files
cd /srv/pxe/
wget http://nl.alpinelinux.org/alpine/v3.9/releases/x86_64/netboot/vmlinuz-vanilla
wget http://nl.alpinelinux.org/alpine/v3.9/releases/x86_64/netboot/modloop-vanilla
wget http://nl.alpinelinux.org/alpine/v3.9/releases/x86_64/netboot/initramfs-vanilla
Creating the pxe script
[UPDATE 2021] I've rewritten this paragraph because the webtool I was initially using is offline. But it's really easy to compile the ipxe script yourself
This script will install the dependencies (just build tools and compression libraries), create the ipxe script and compile it for you to use. Change the IP Adress in the script to match your settings
#!/bin/bash

# install requirements
sudo apt-get install -y build-essential liblzma-dev

# get source
git clone git://git.ipxe.org/ipxe.git /tmp/ipxe

# create boot script
cat << EOF > /tmp/ipxe/src/boot.ipxe
#!ipxe
dhcp
chain http://192.168.1.10/gpxe-script
EOF

cd /tmp/ipxe/src

make bin/undionly.kpxe EMBED=boot.ipxe
make bin-x86_64-efi/ipxe.efi EMBED=boot.ipxe

cp bin/undionly.kpxe /srv/tftp/gpxe.kpxe
cp bin-x86_64-efi/ipxe.efi /srv/tftp/ipxe.efi
Great, now we need to create the gpxe-script. This is the most important file because it will tell the DHCP client where to get the settings and what kernel/image to load.
cat << EOF > /srv/pxe/gpxe-script
#!gpxe
kernel http://192.168.1.10/vmlinuz-vanilla apkovl=http://192.168.1.10/configs/${net0/mac}.tar.gz ip=dhcp ssh_key=http://192.168.1.10/sshkeys.pub modloop=http://192.168.1.10/modloop-vanilla modules=loop,squashfs,sd-mod,usb-storage alpine_dev=nfs:192.168.1.10:/srv/pxe alpine_repo=http://nl.alpinelinux.org/alpine/v3.9/main/
initrd http://192.168.1.10/initramfs-vanilla
boot
EOF
Pro tip: If you have your SSH keys in your github account. You can use ssh_key=https://github.com/your-username.keys
Time for the first boot!
Awesome, we can now boot any device and get a shell! Also you should be able to ssh into this machine without needing a password (if you set up the SSH key in the beginning)
Let's make a default config
You could work with this setup but there are a few things that'll make your life a lot easier. One of them is to make a save script that saves the currently installed applications so you don't have to start with a blank image on every reboot.
On the pxe booted laptop first let's add the config folder to the fstab so if we save changes.
echo "192.168.1.10:/srv/pxe/configs /config nfs rw,nolock 0 0" >> /etc/fstab
Then we'll create the save script:
cat << EOF > /etc/save.sh
#!/bin/ash

echo "[+] Saving your changes"
lines=$(cat /sys/class/net/*/address)
printf 'lbu pkg /config/%s.tar.gz\n' $lines | while read line; do $line; done
echo "[+] Done"

EOF

chmod +x /etc/save.sh
Then we'll add an alias to save easier
echo "alias save=\"/etc/save.sh\"" >> /etc/profile
And let's re-mount everything and check if the folders are mounted correctly.
mount -a && df -h
It should output something like this:
Filesystem                Size      Used Available Use% Mounted on
devtmpfs                 10.0M         0     10.0M   0% /dev
shm                       3.8G         0      3.8G   0% /dev/shm
tmpfs                     3.8G    374.5M      3.5G  10% /
tmpfs                   787.4M    148.0K    787.2M   0% /run
/dev/loop0               76.9M     76.9M         0 100% /.modloop
192.168.1.10:/srv/pxe/configs
                          7.0T      1.2T      5.8T  18% /config
Perfect, now let's run the save command save
This should have created some tar-gz files in /config (on the NFS share of the server) These files are the overlay files that will be applied at boot to the file system. They include installed programs and everything in your /etc/ folder. Since we set the gpxe-script up to already include the mac address in the request, you should now be able to save and reboot and have all programs installed when you reboot.
What to do next
If your device has a harddrive or USB storage, you can add that to your /etc/fstab and have local storage. For most programs it would work to just mount /var to a local or NFS device to save program data.
Also you could issue the setup-disk command so you can tell alpine to use a local disk as data disk.
You can even network boot a whole desktop if you install it using this tutorial but don't forget to save (using the save command) every time you changed something in a /etc or installed a program.

Comment using SSH! Info