I was looking for a method to keep the plants happy without spending too much money on irrigation systems. Home improvement stores have awesome systems but if you want to control them via a app it gets expensive fast.
So I challanged myself to do it on the cheap and automate it using MQTT.
Parts

You'll need the following things:
| Part | Price | What it does | |
|---|---|---|---|
| Magnet Valve | 2.5$ | Lets water through if powered | 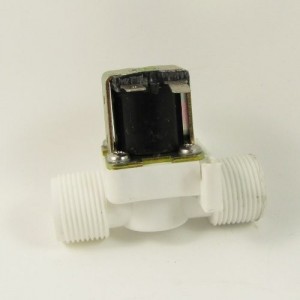 |
| Quick connectors 1/2'' or 3/4'' | 2$ | Connects the threaded valve to a water source or sprinkler | 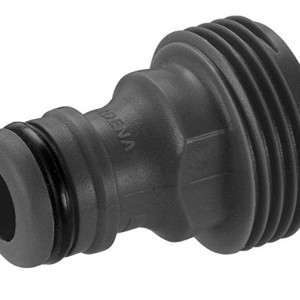 |
| Relay that can be controlled with 3.3V | 0.5$ | Switches power On/Off to the valve and lets water through or not | 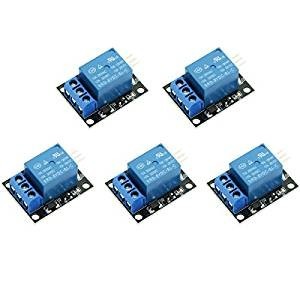 |
| Some Microcontroller. Raspberry Pi, NodeMCU (ESP8266) or Arduino. | 2$ | Controlling the relay. I'm going to use a NodeMCU | 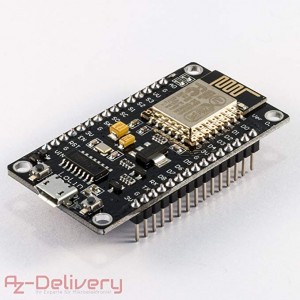 |
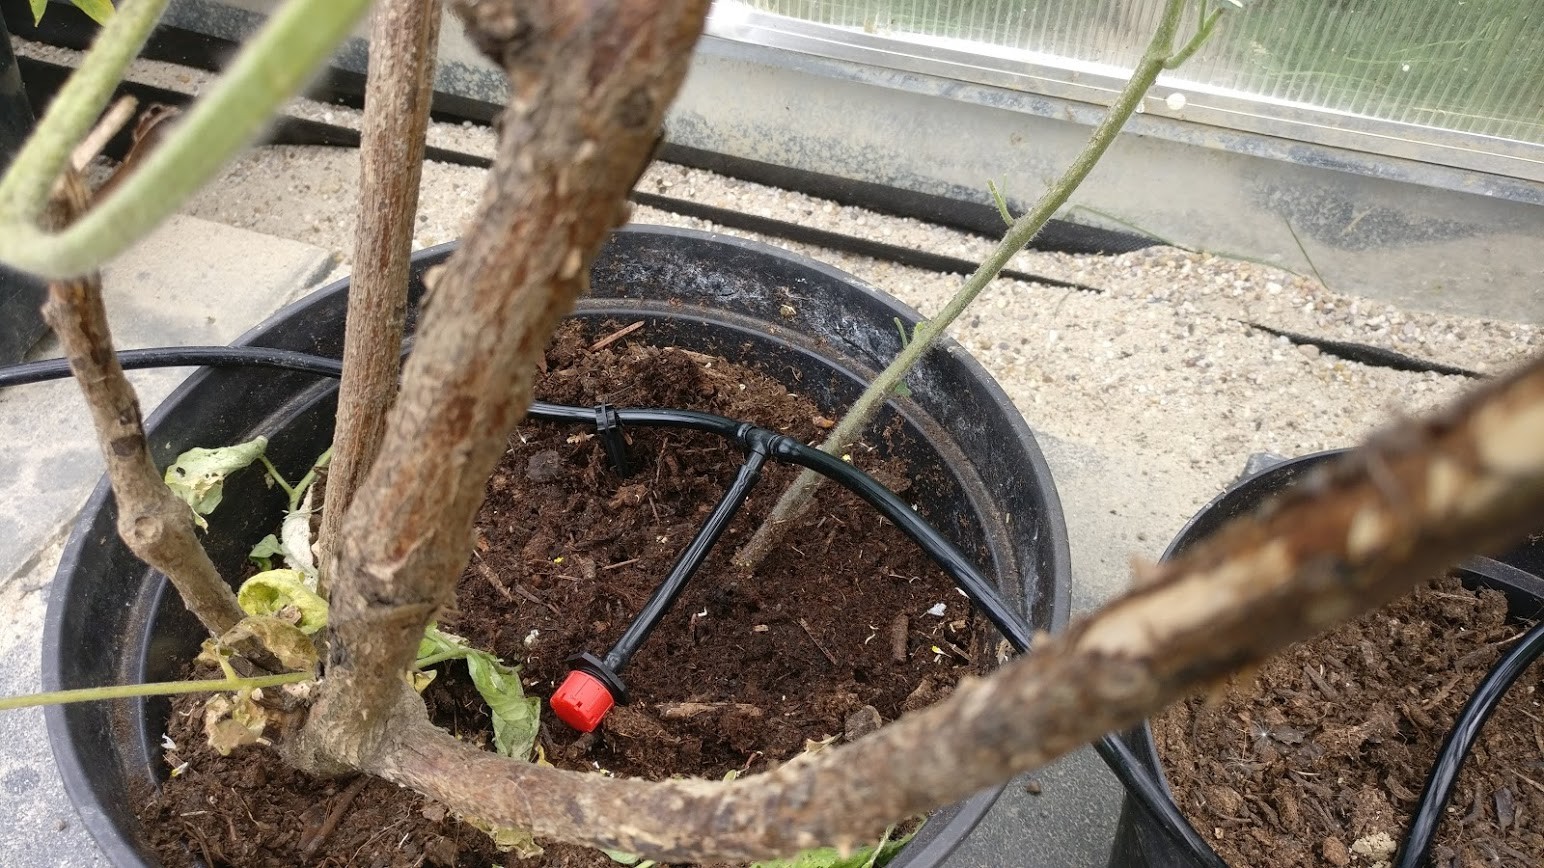
| Something that sprays out water. Eg. a sprinkler | 3$ | You know what this does |  |
| MQTT Server | Free | We're going to control the valve using MQTT which is awesome and you can host it on a Raspberry Pi or in the cloud | 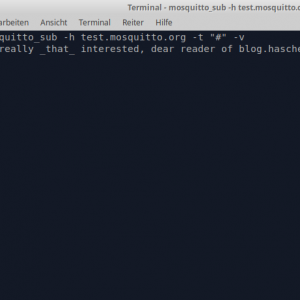 |
Note: I don't link to any specific products because I want to encurage you to shop around and also I don't like the idea of referral links.
How it works
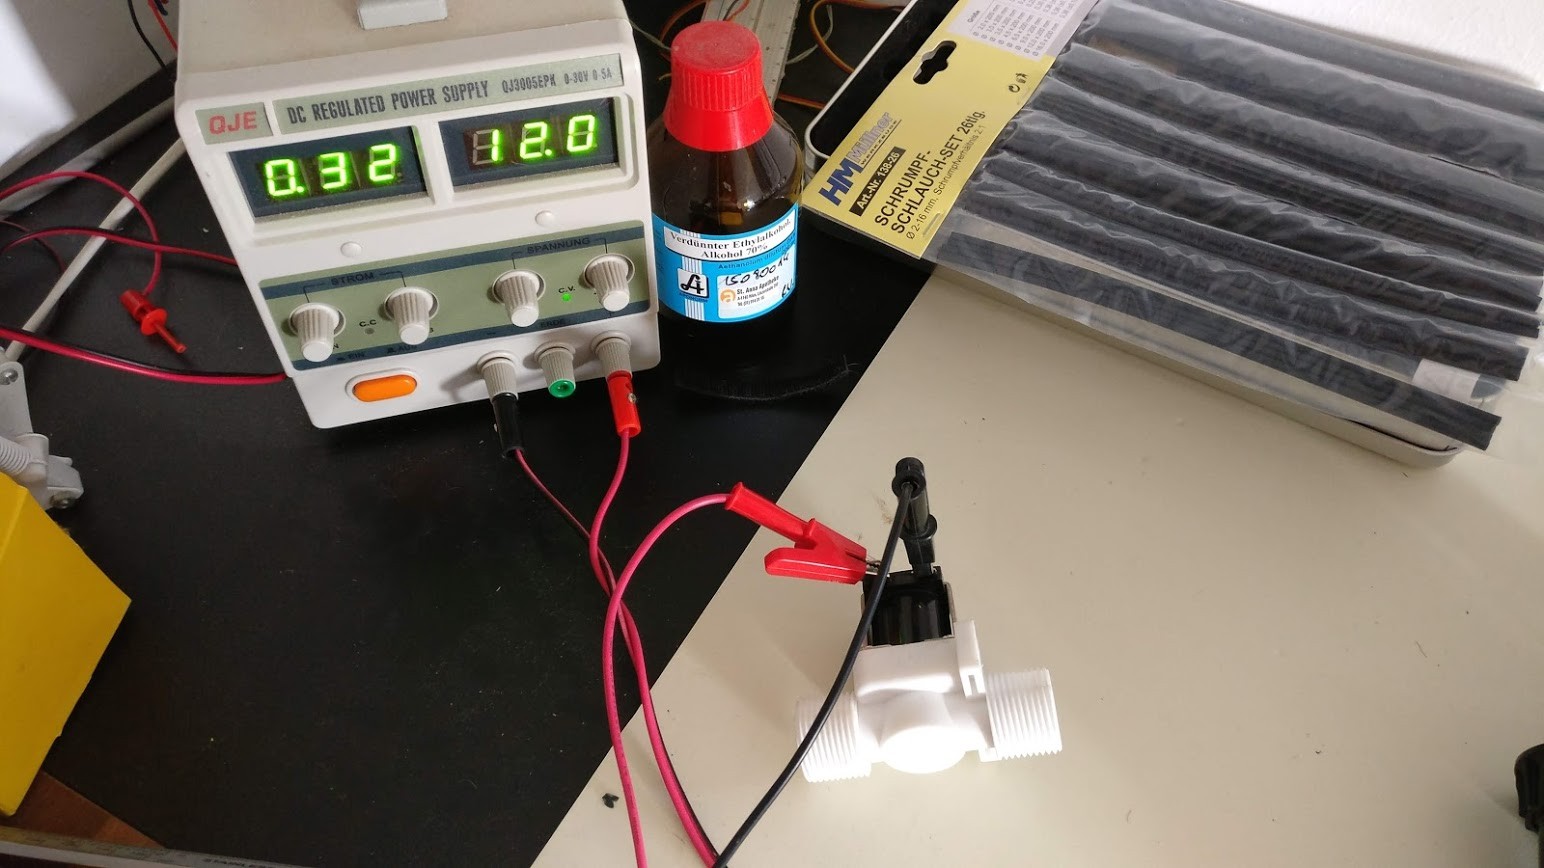
So the awesome thing about magnet valves is that they are normally closed and can work with gasses and fluids to up to 5 Bar pressure. If you apply 12V to the contacts, the valve opens and lets the fluid through.
So all we need to do is use a 12V power source and use the relay to power the pump when we need it.
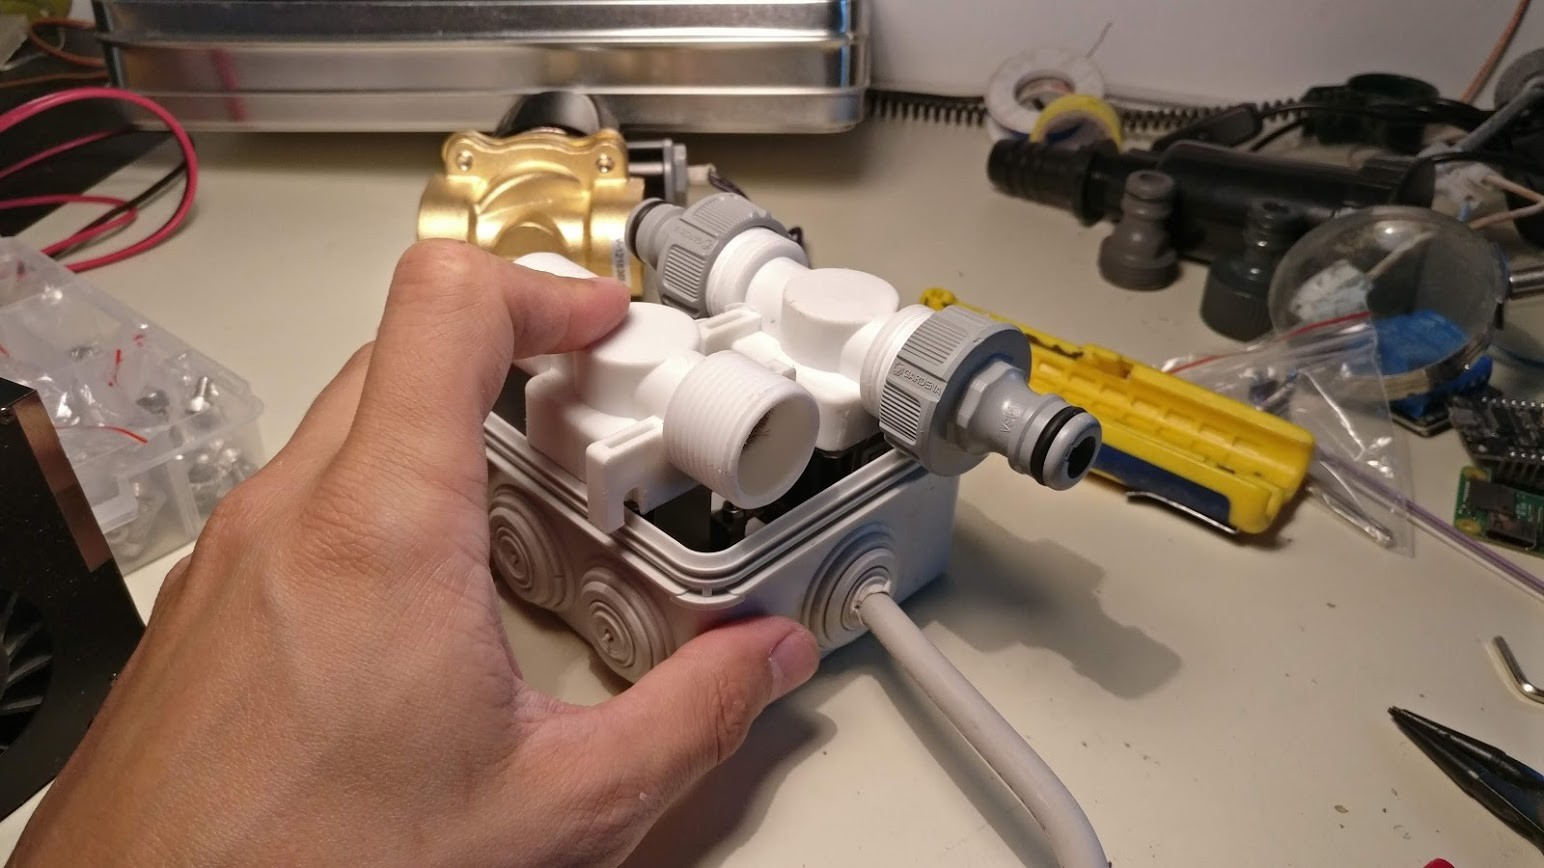
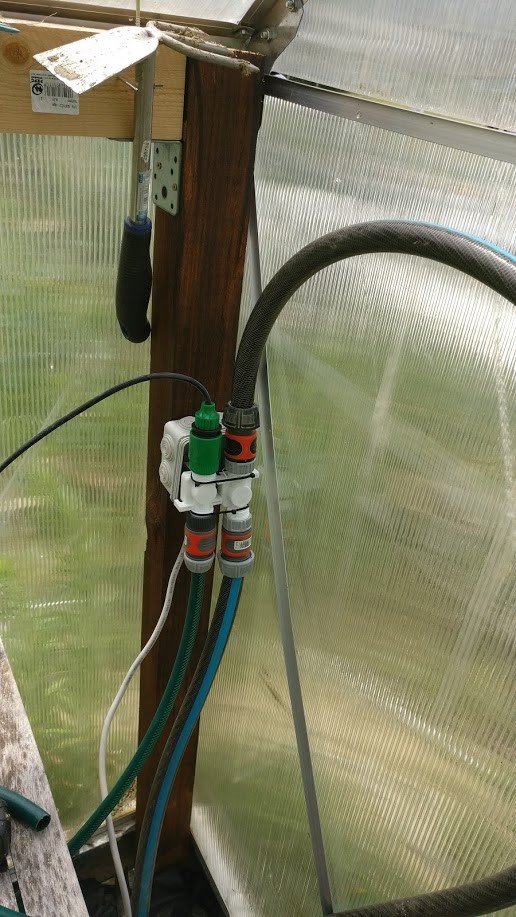
Step 1: Connect the components
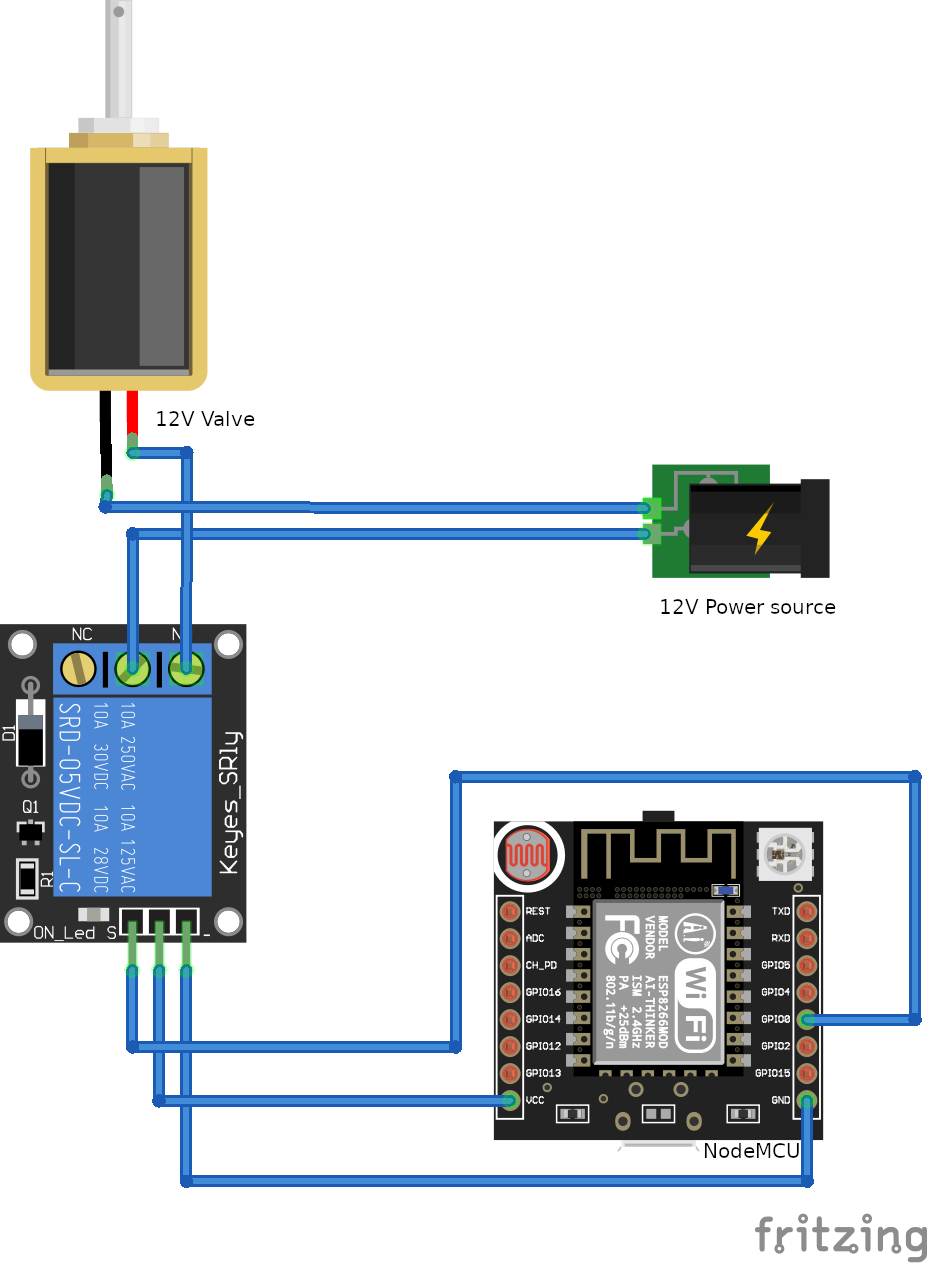
Using these simple schematics we can set up the system to be controlled by the controller (in my case a NodeMCU). We'll flash the controller in the next step.
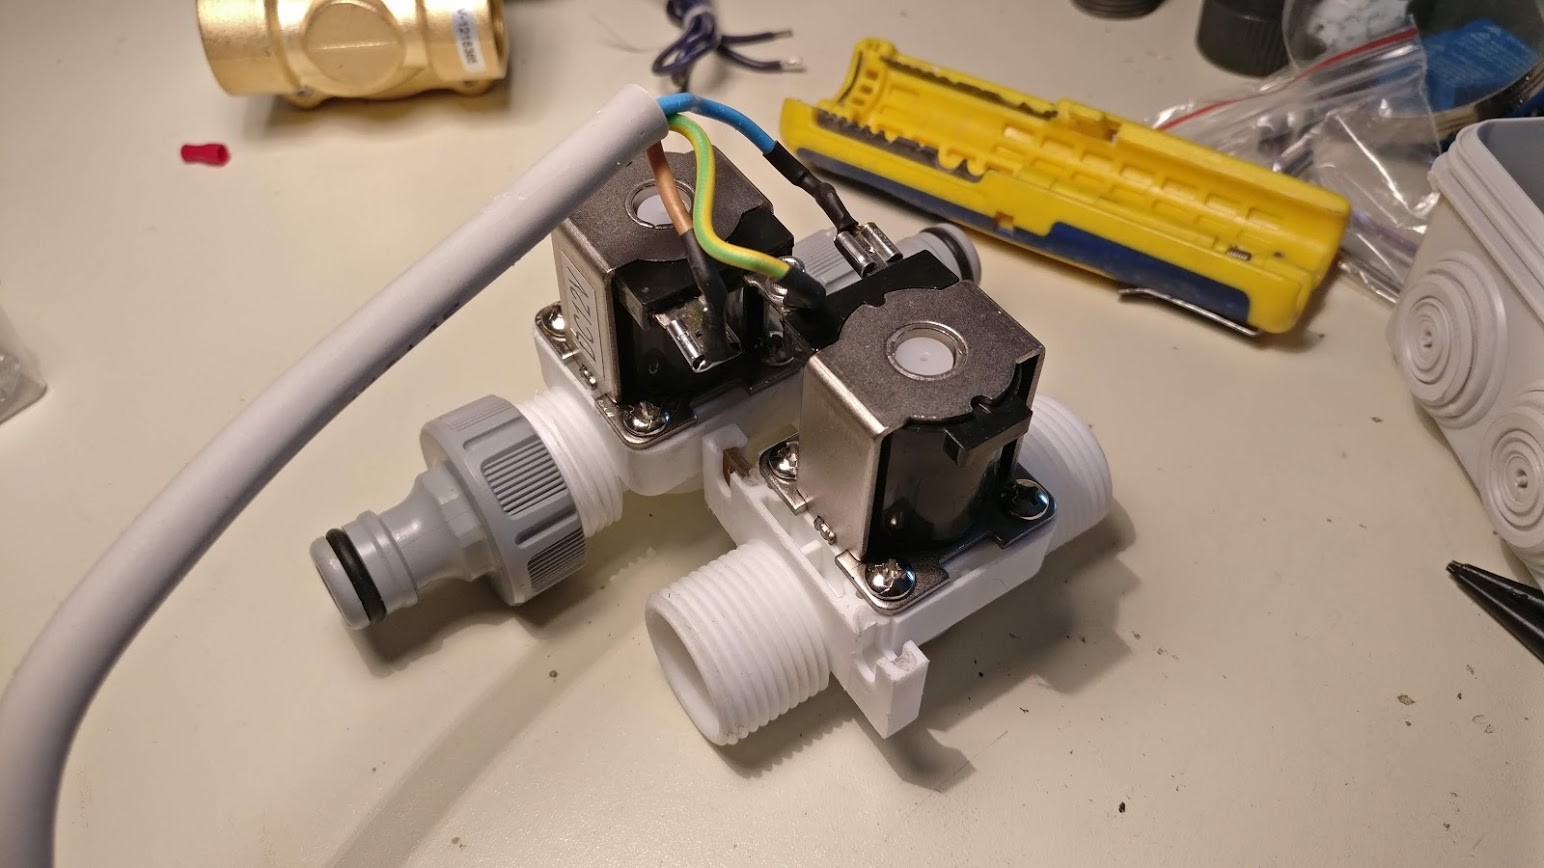
I connected the valves on one terminal and made soldered cables on them. Since the valves have no polarity you can easily connect them with a screw.

Step 2: Prepare the controller
So as I said I'm using a NodeMCU chip for this project.
>>> Get the code for irrigation.ino <<<
What this code does:
- Connect to your Wifi and reconnects if connection is lost
- Connect to your MQTT Server
- Send "ALIVE" message to
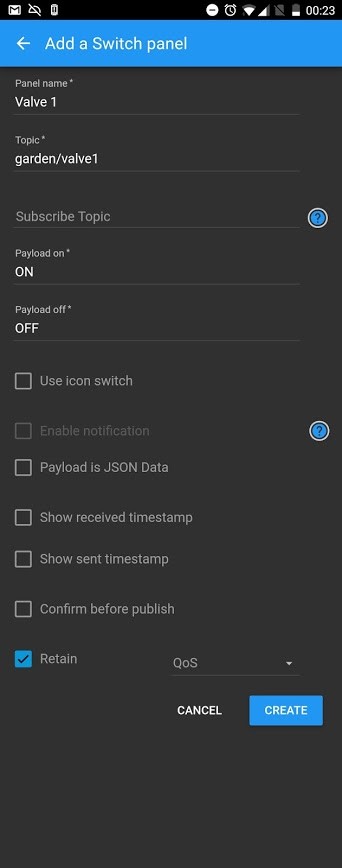
status/valvecontrolwhen the device comes online and set it to "DEAD" via MQTT last will when it goes offline - Listen on
garden/valve1andgarden/valve2for "ON" or "OFF" messages to turn the valves off an on
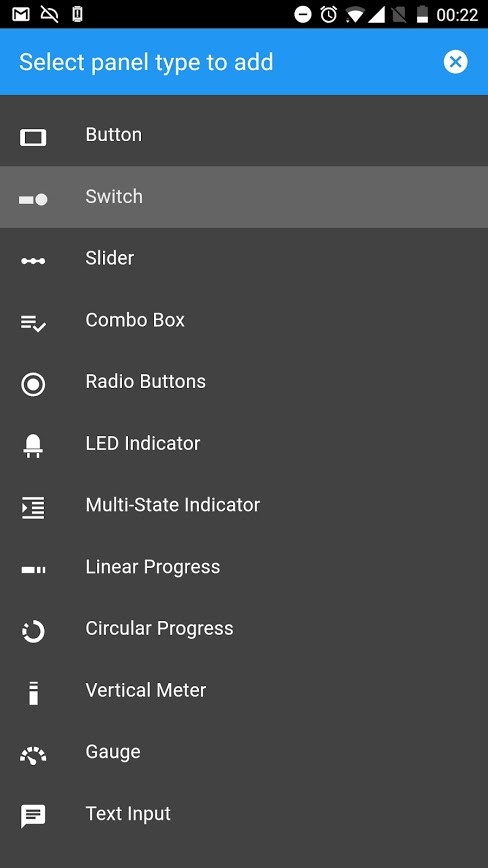
Step 3: Control it via an App
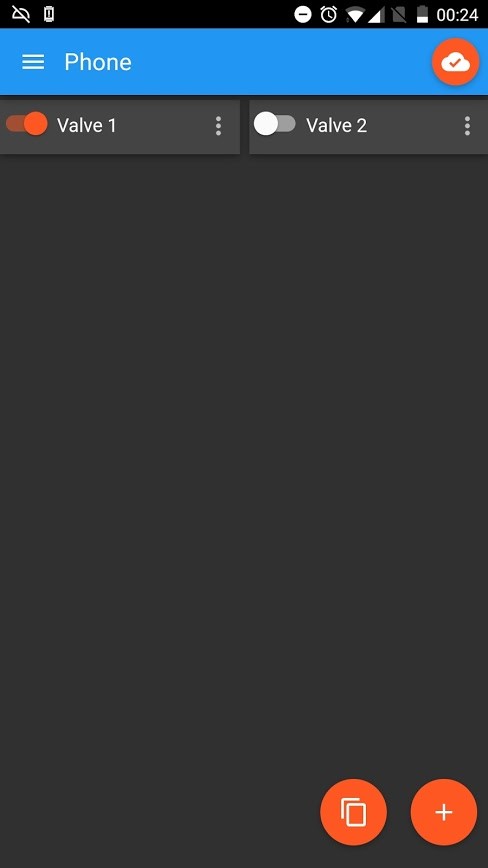
Do you know what's awesome about MQTT? Smartphones can control MQTT devices without you needing to code anything. Just download some MQTT app, set up the connection to your MQTT server and add two switches.
Last step: Actually use it somewhere
My fiancé asked me if we could automate irrigation of the greenhouse so this was the perfect test for my project.

Where to go from here
I can now control the irrigation from my phone and since I set up my MQTT server securely I can even start watering the plants when I'm not at home. That's awesome but doesn't help me from forgetting to actually do it.
So this can easily be automated with Python and if you want to go all-in you can even distribute moisture sensors in the soil so you can only irrigate when the plants really need it.

Comment using SSH! Info