In this project I'll upgrade a cheap fish tank LED light to be dimmable, controllable via Wifi and'll implement a "cloudy mode".

On one of my beloved slow saturdays my girlfriend and I decided that we'd have to clean the fish tank since it's growing over and the fish look sad.
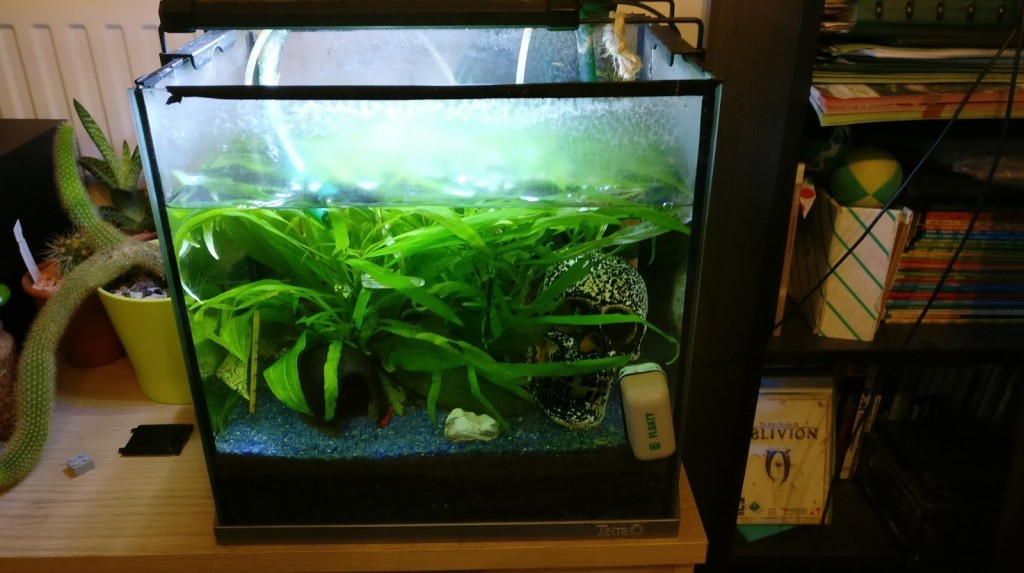
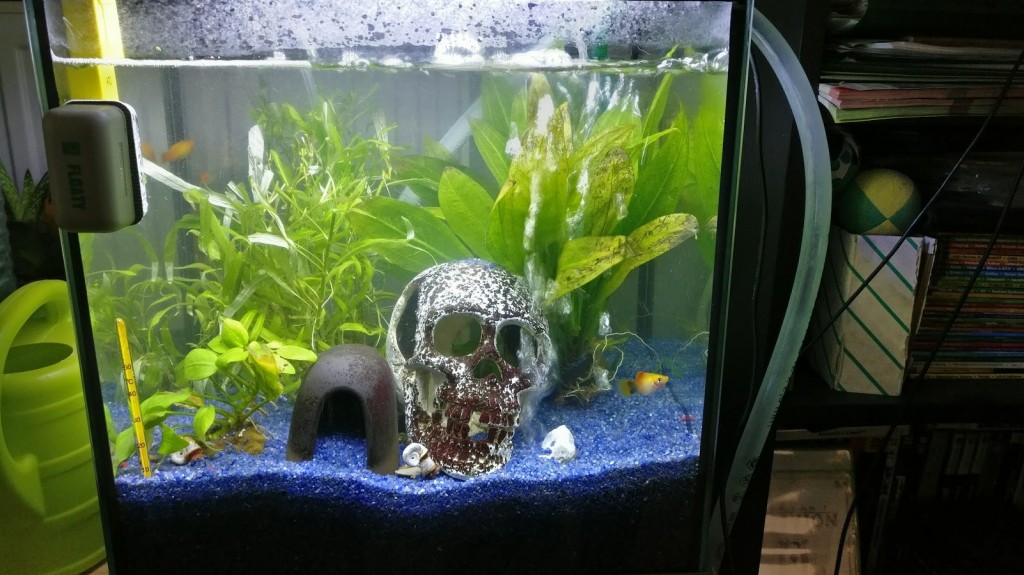
Well you might not seet it but it's much cleaner now and it took us about 3 hours.
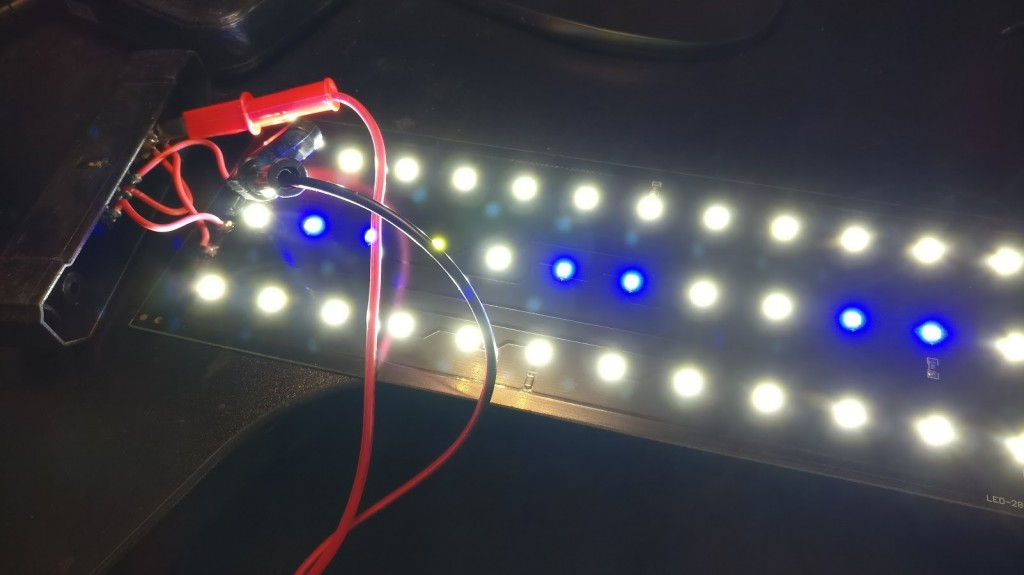
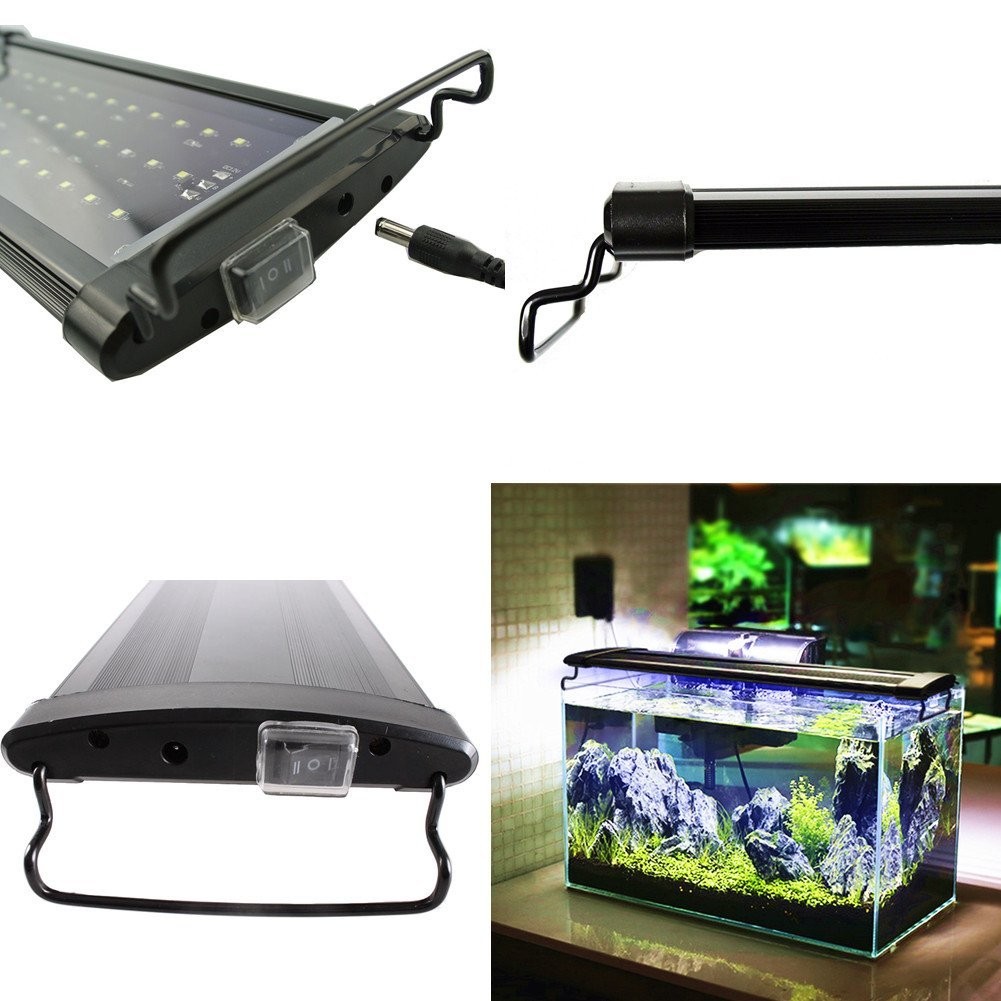
Our fish tank has one of them cheap 17€ LED lights from Amazon.

This light has basically three modes:
- All LEDs full power
- Only blue LEDs full power (they call it moonlight)
- Off
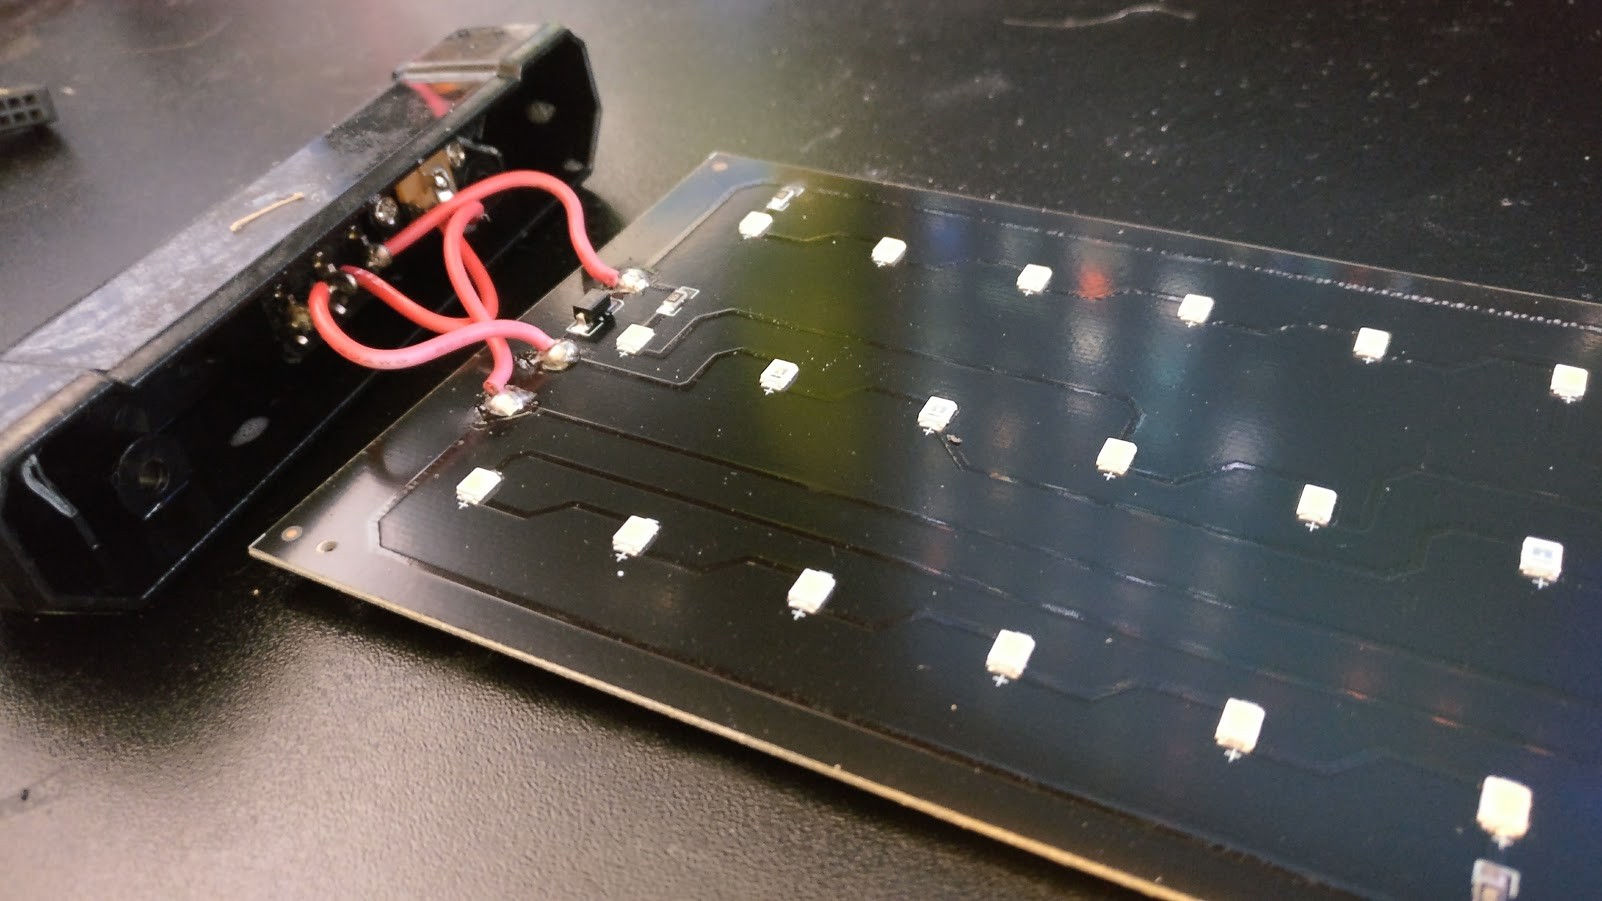
While cleaning I took it apart and thought this dumb light is ready to learn new tricks.

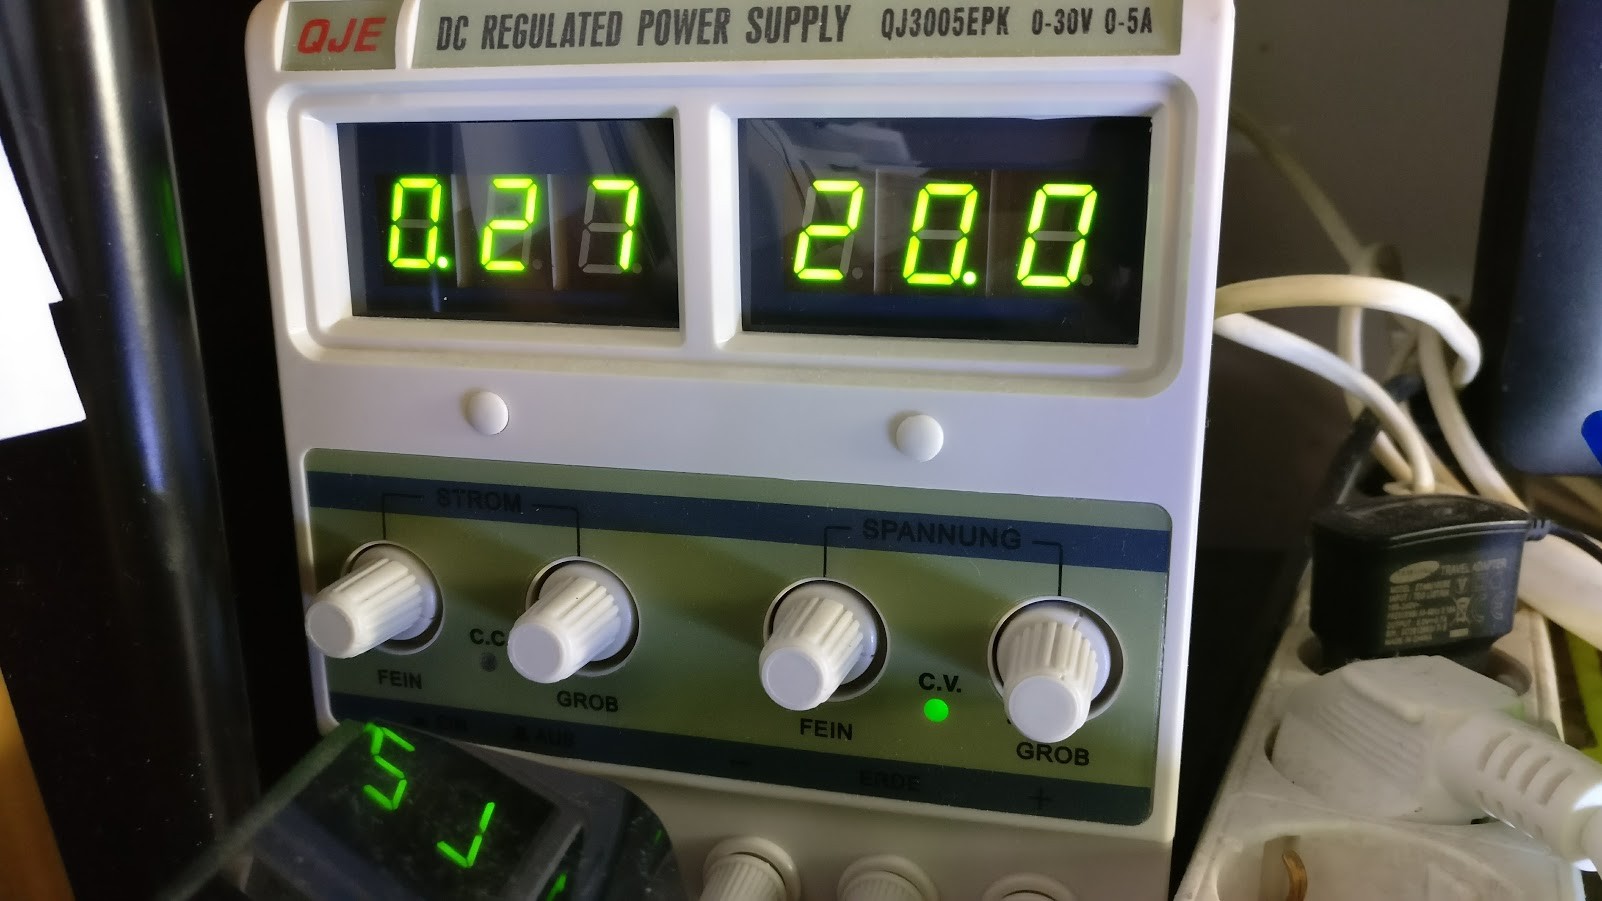
The lamp comes with a 20v power supply and I measured it uses only about 270mAh when all LEDs are active. This screams for some esp2866 controller if you ask me.
Let's upgrade this cheap lamp

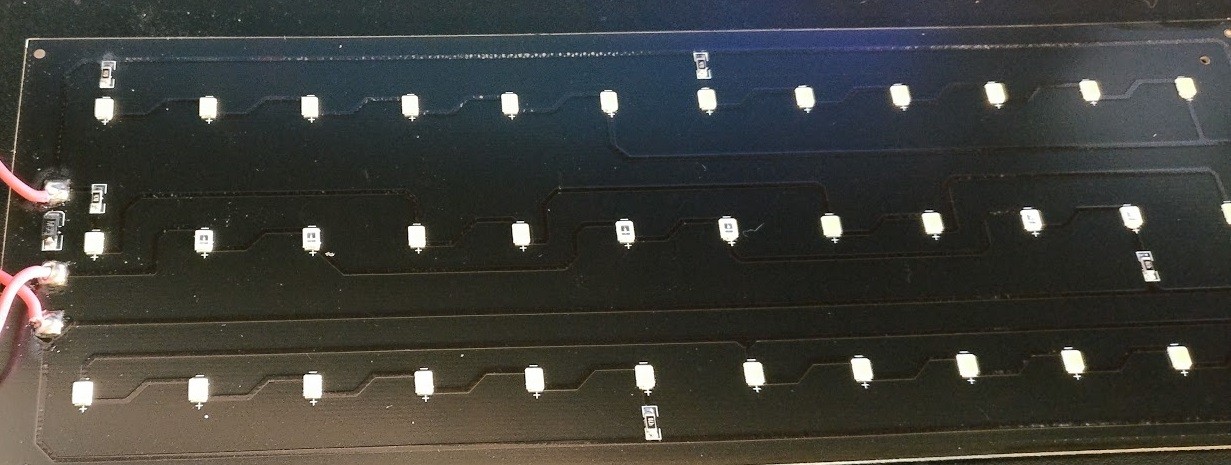
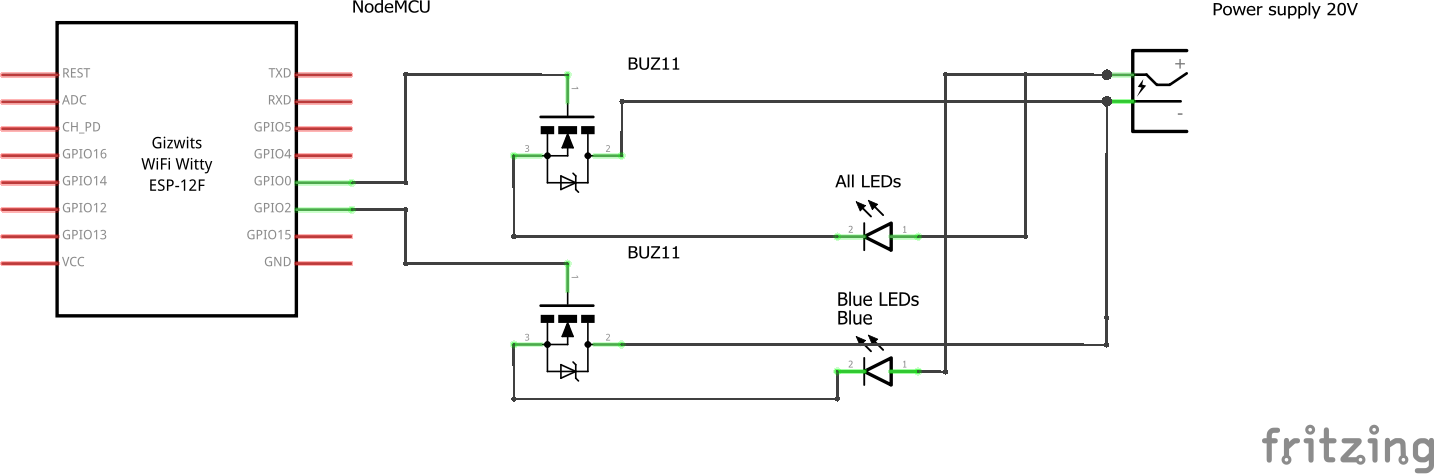
The whole board is very simple as it uses only SMD components and has two power lines. One for all LEDs and one for just the blue ones.

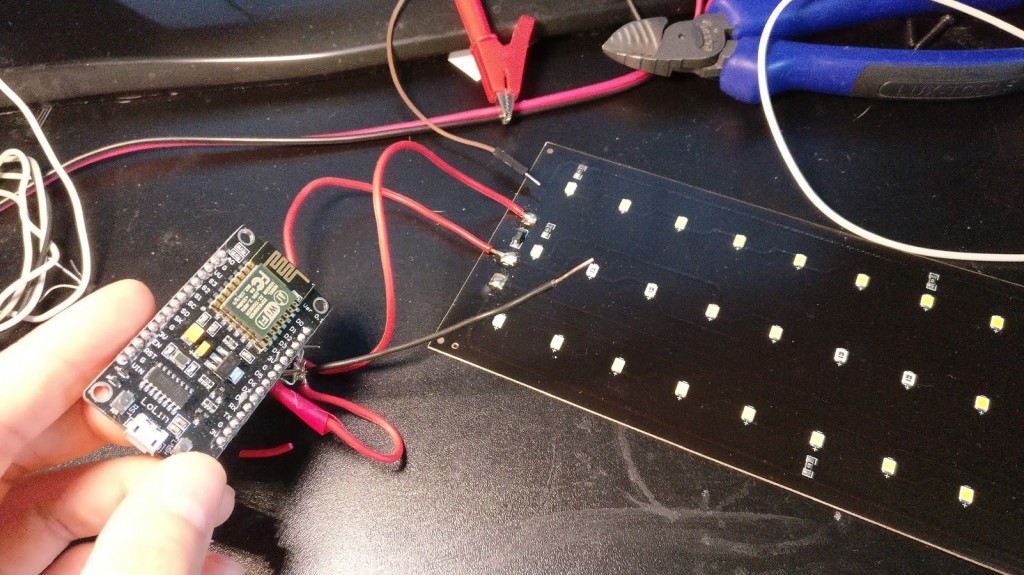
So I figured I just put two N-channel mosfets on this board, slap a NodeMCU (ESP2688) on it and control it via wifi.

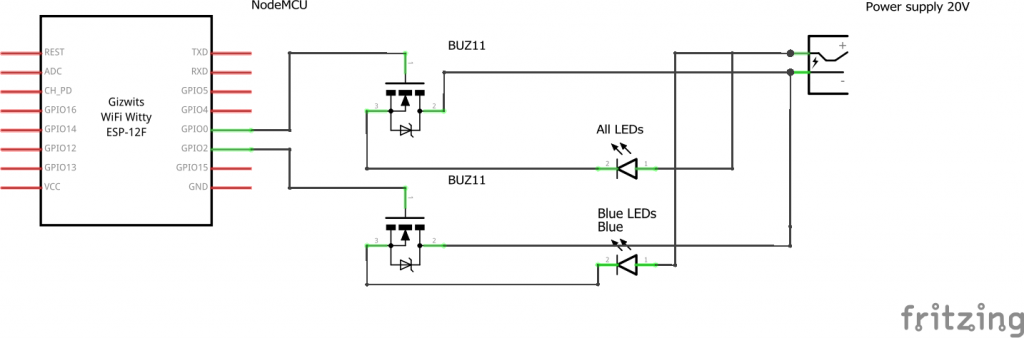
Control it via Wifi
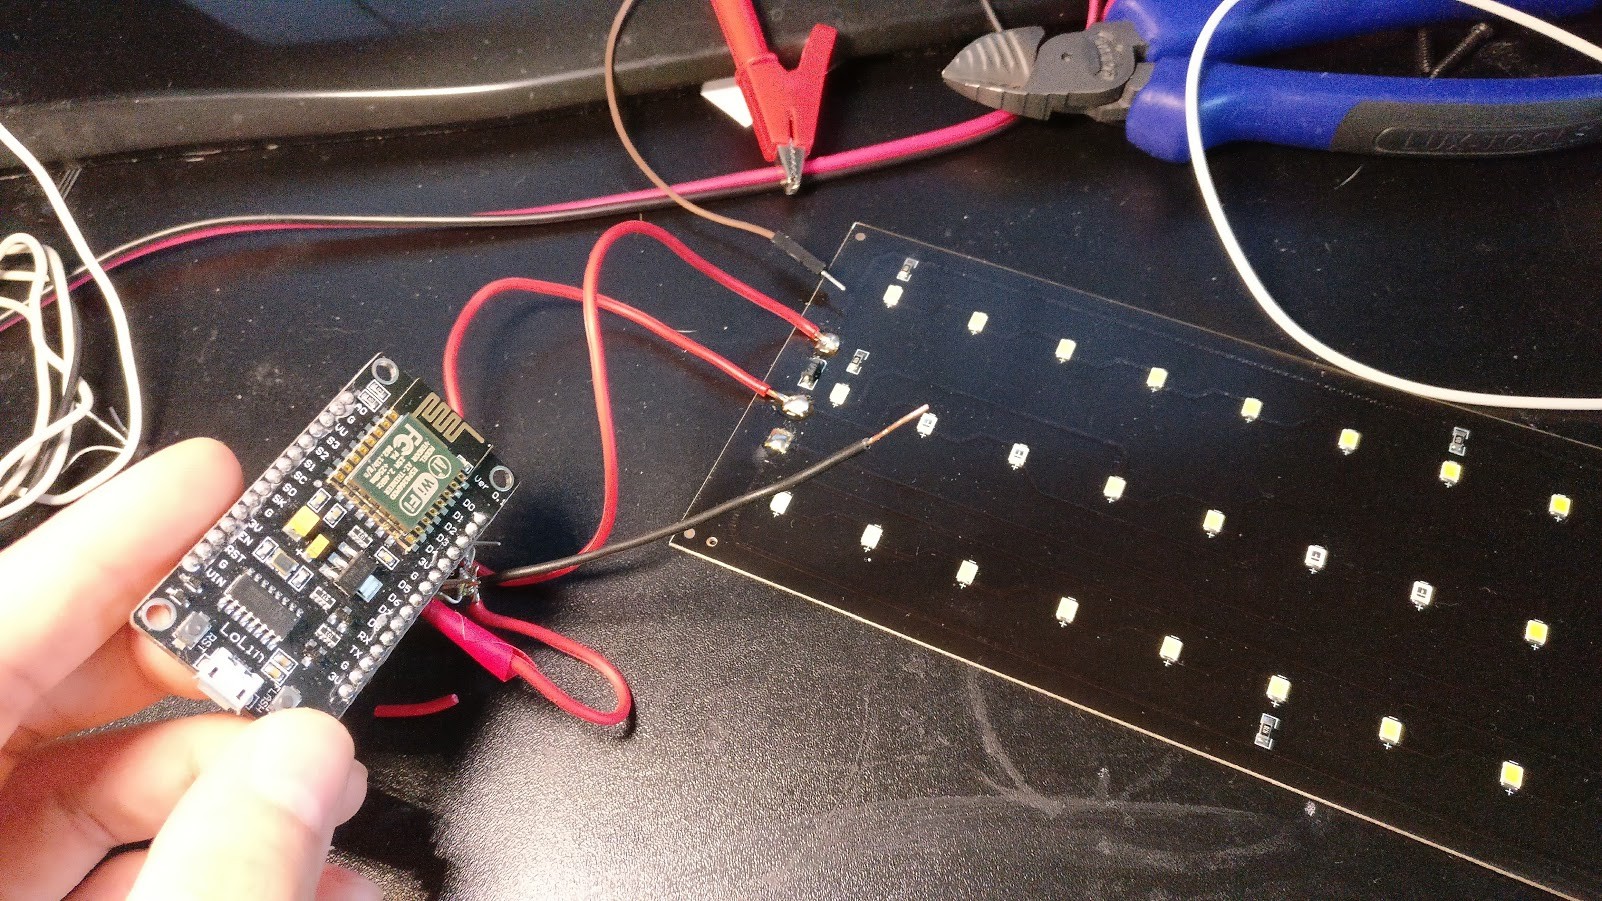
I use a 4€ NodeMCU board from Aliexpress to control everything. This thing has enough PWM enabled GPIO pins to take care of everything we might need.
Set it up
To program the NodeMCU thing I use the Arduino IDE. Here is a simple tutorial on how to set it up: http://www.instructables.com/id/Quick-Start-to-Nodemcu-ESP8266-on-Arduino-IDE/
Now let's just push the code to your NodeMCU and you're almost done
Get the code here
Control it
The code runs a HTTP server on the NodeMCU and you can control it via a webserver by accessing the IP and then use either "blu" or "all", hyphen and the intensity from 0 (off) to 1023 (full power on)
- To turn on only the blue lights:
http://192.168.1.174/blu-1023 - To turn on only the blue lights bit dimmed to 50%:
http://192.168.1.174/blu-512 - To turn on all LEDs full power:
http://192.168.1.174/all-1023 - Very dim LEDs:
http://192.168.1.174/all-30 - Turn off all LEDs:
http://192.168.1.174/all-0
Congratulations now you can control your fish tank lights from your PC
Next we'll program the "cloudy mode" that only the more expensive lights have. Here is my implementation in Bash:
#!/bin/bash

allleds() {
  curl -s "http://192.168.1.174/all $1" > /dev/null 2>&1
}

blueleds() {
  curl -s "http://192.168.1.174/blu $1" > /dev/null 2>&1
}

setfadingtime() {
  curl -s "http://192.168.1.174/fad $1" > /dev/null 2>&1
}

setfadingtime 10 #setting fading time to 10 ms between each step so it seems smoother

while true; do
  intensity=$((500 + RANDOM % 523))
  allleds $intensity
  sleep 0.2
done
Looks awesome (sped up so you can see it better)
Also you can now set cronjobs to turn the lights off or dim them at night.
What else can you think of?

Comment using SSH! Info
