[UPDATE] Test results are in!
Water cooling solutions are usually very expensive and I wanted to see how cheap I can do it using household parts and objects that were designed for a different purpose.
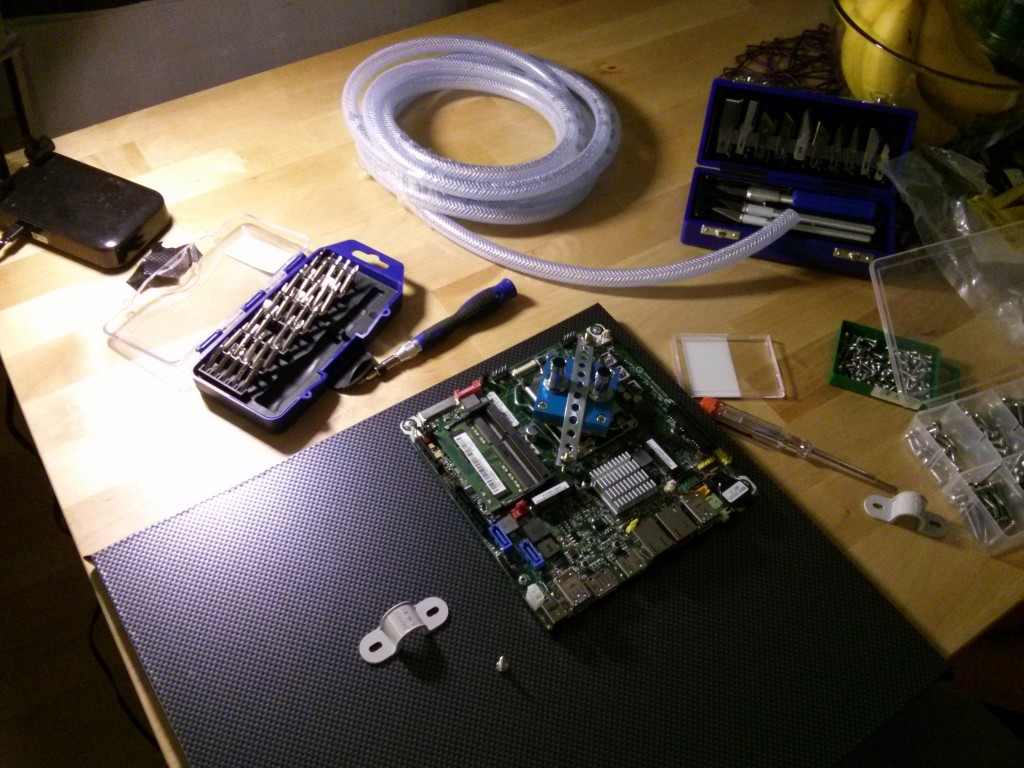
Parts
I'm gonna divide the parts in two sections: Water cooling and wall mounting.
Water cooling parts
| Part | Where I got it | Image | Price |
|---|---|---|---|
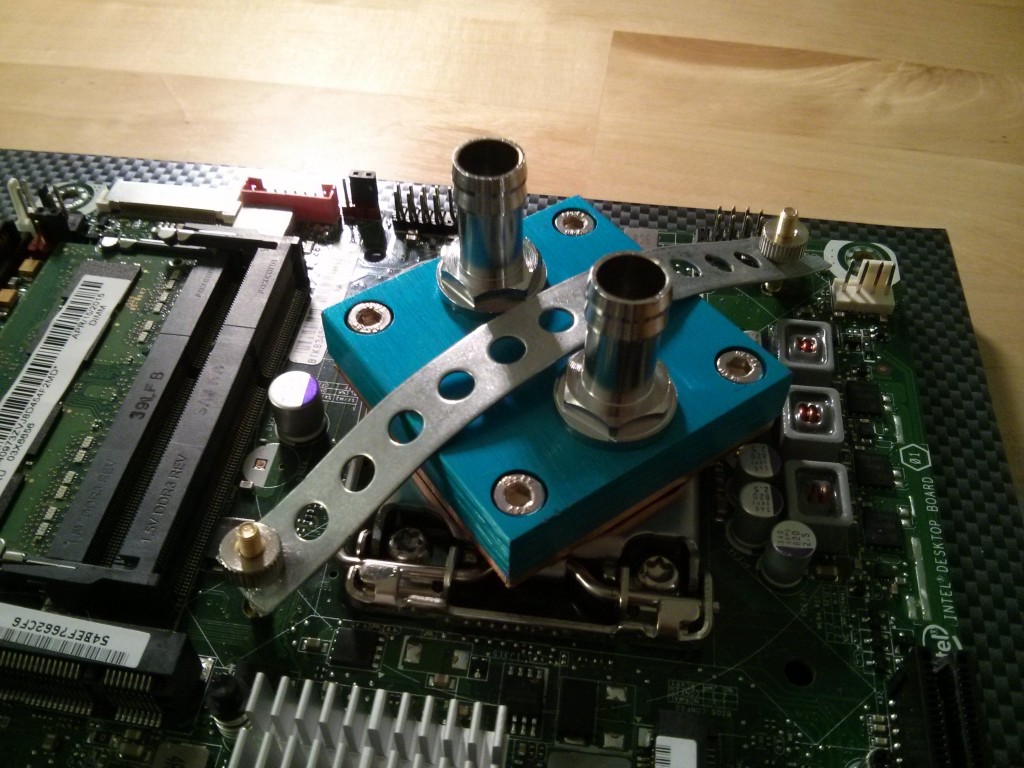
| CPU Waterblock | ebay (german) | 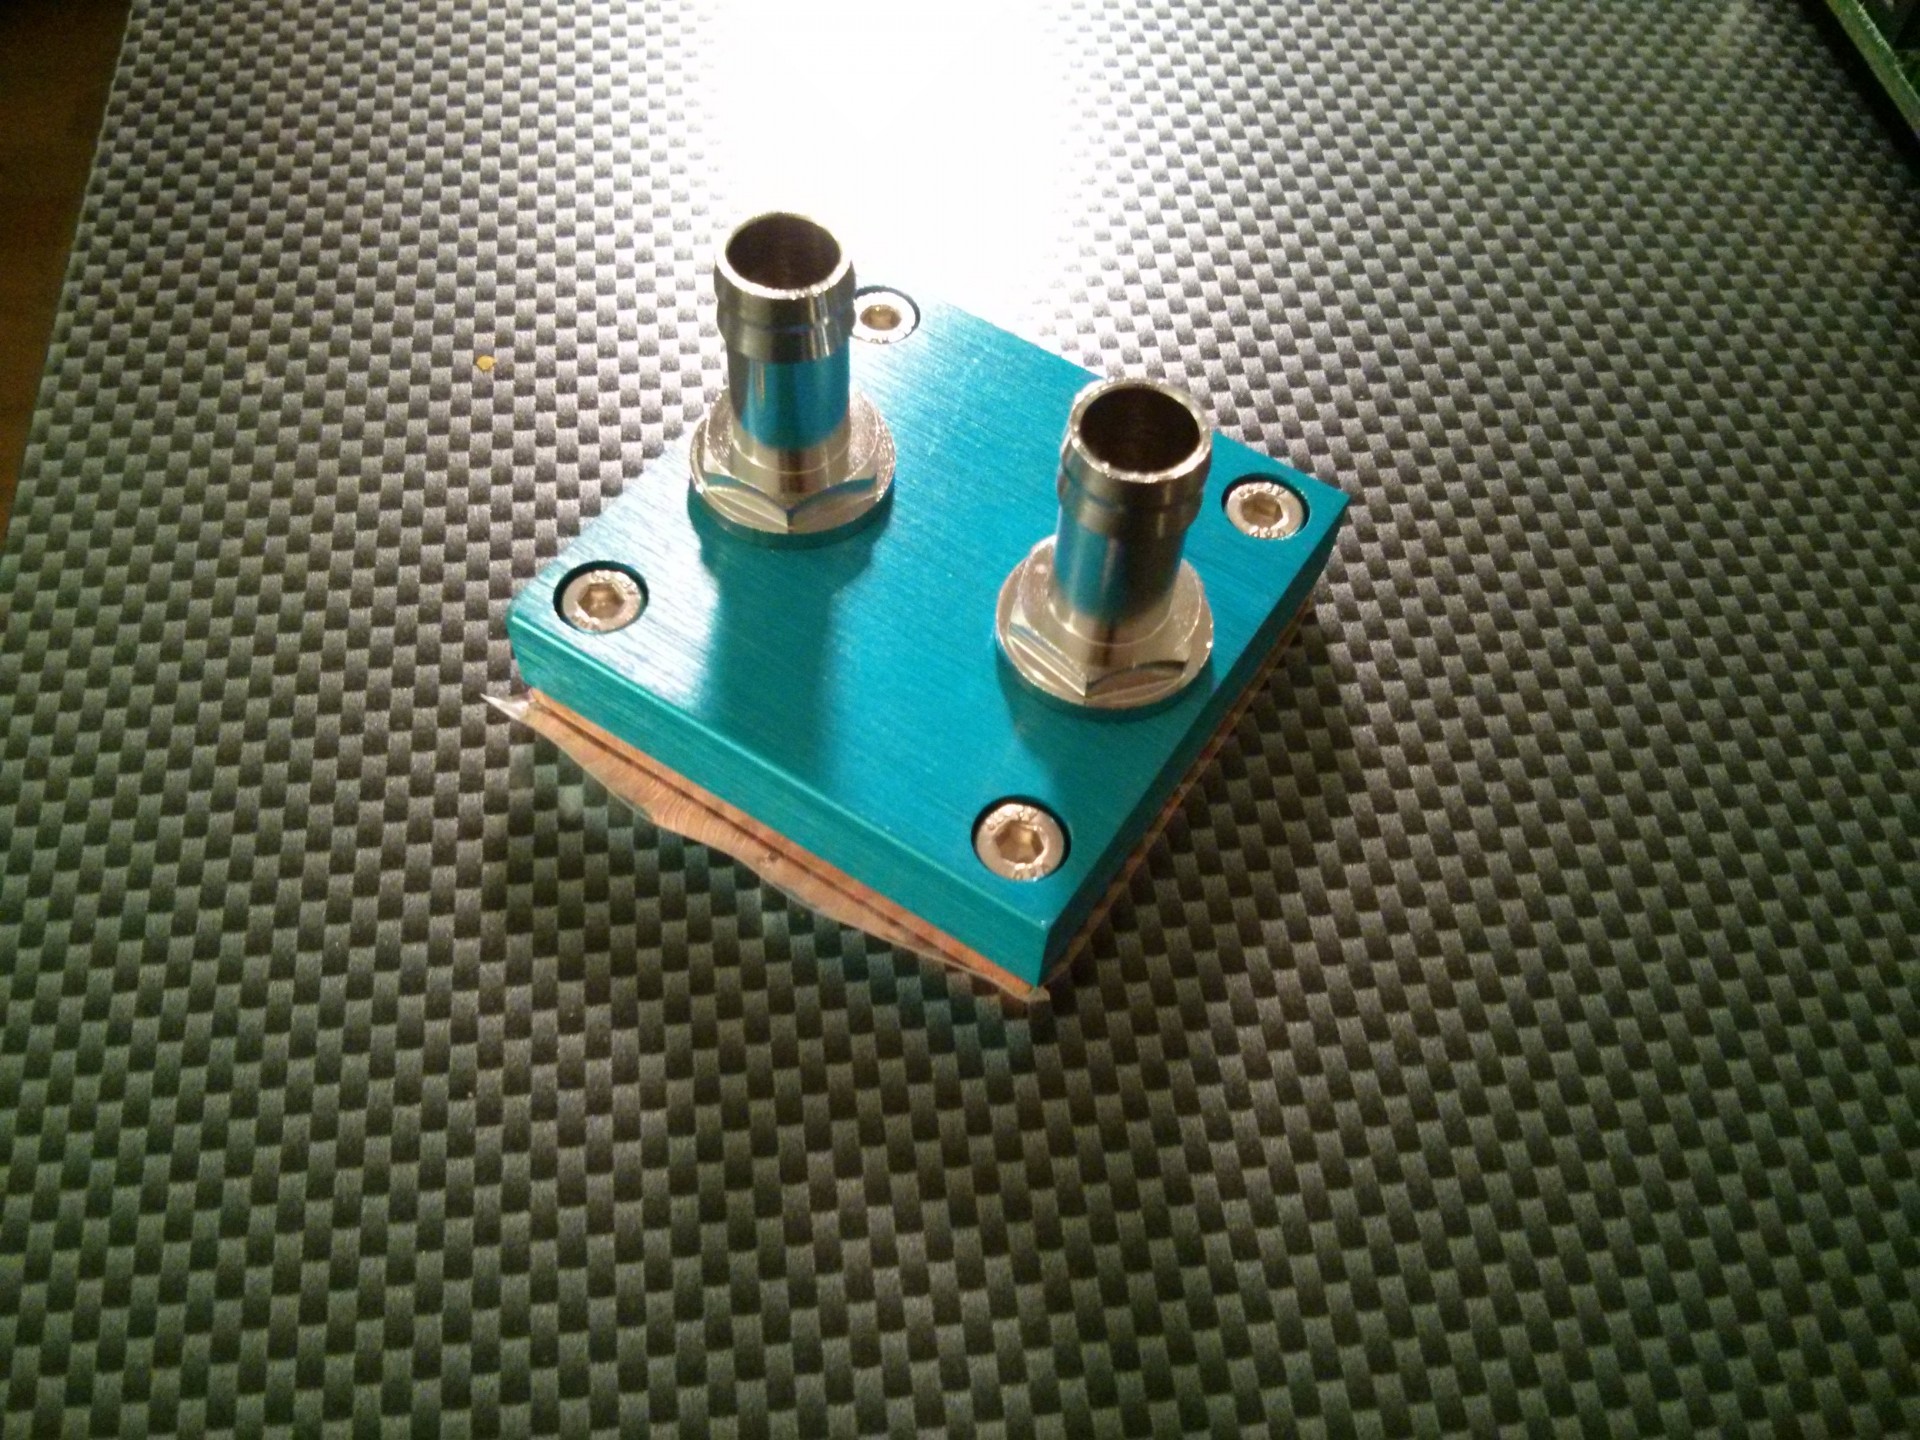 |
14 € |
| Radiator | Local car repair shop | 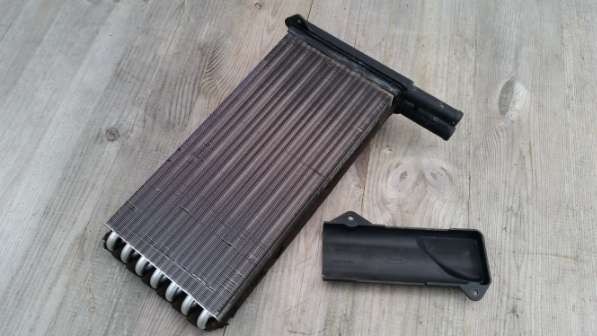 |
20 € |
| Fabric enforced 8mm tube | Local hardware store | 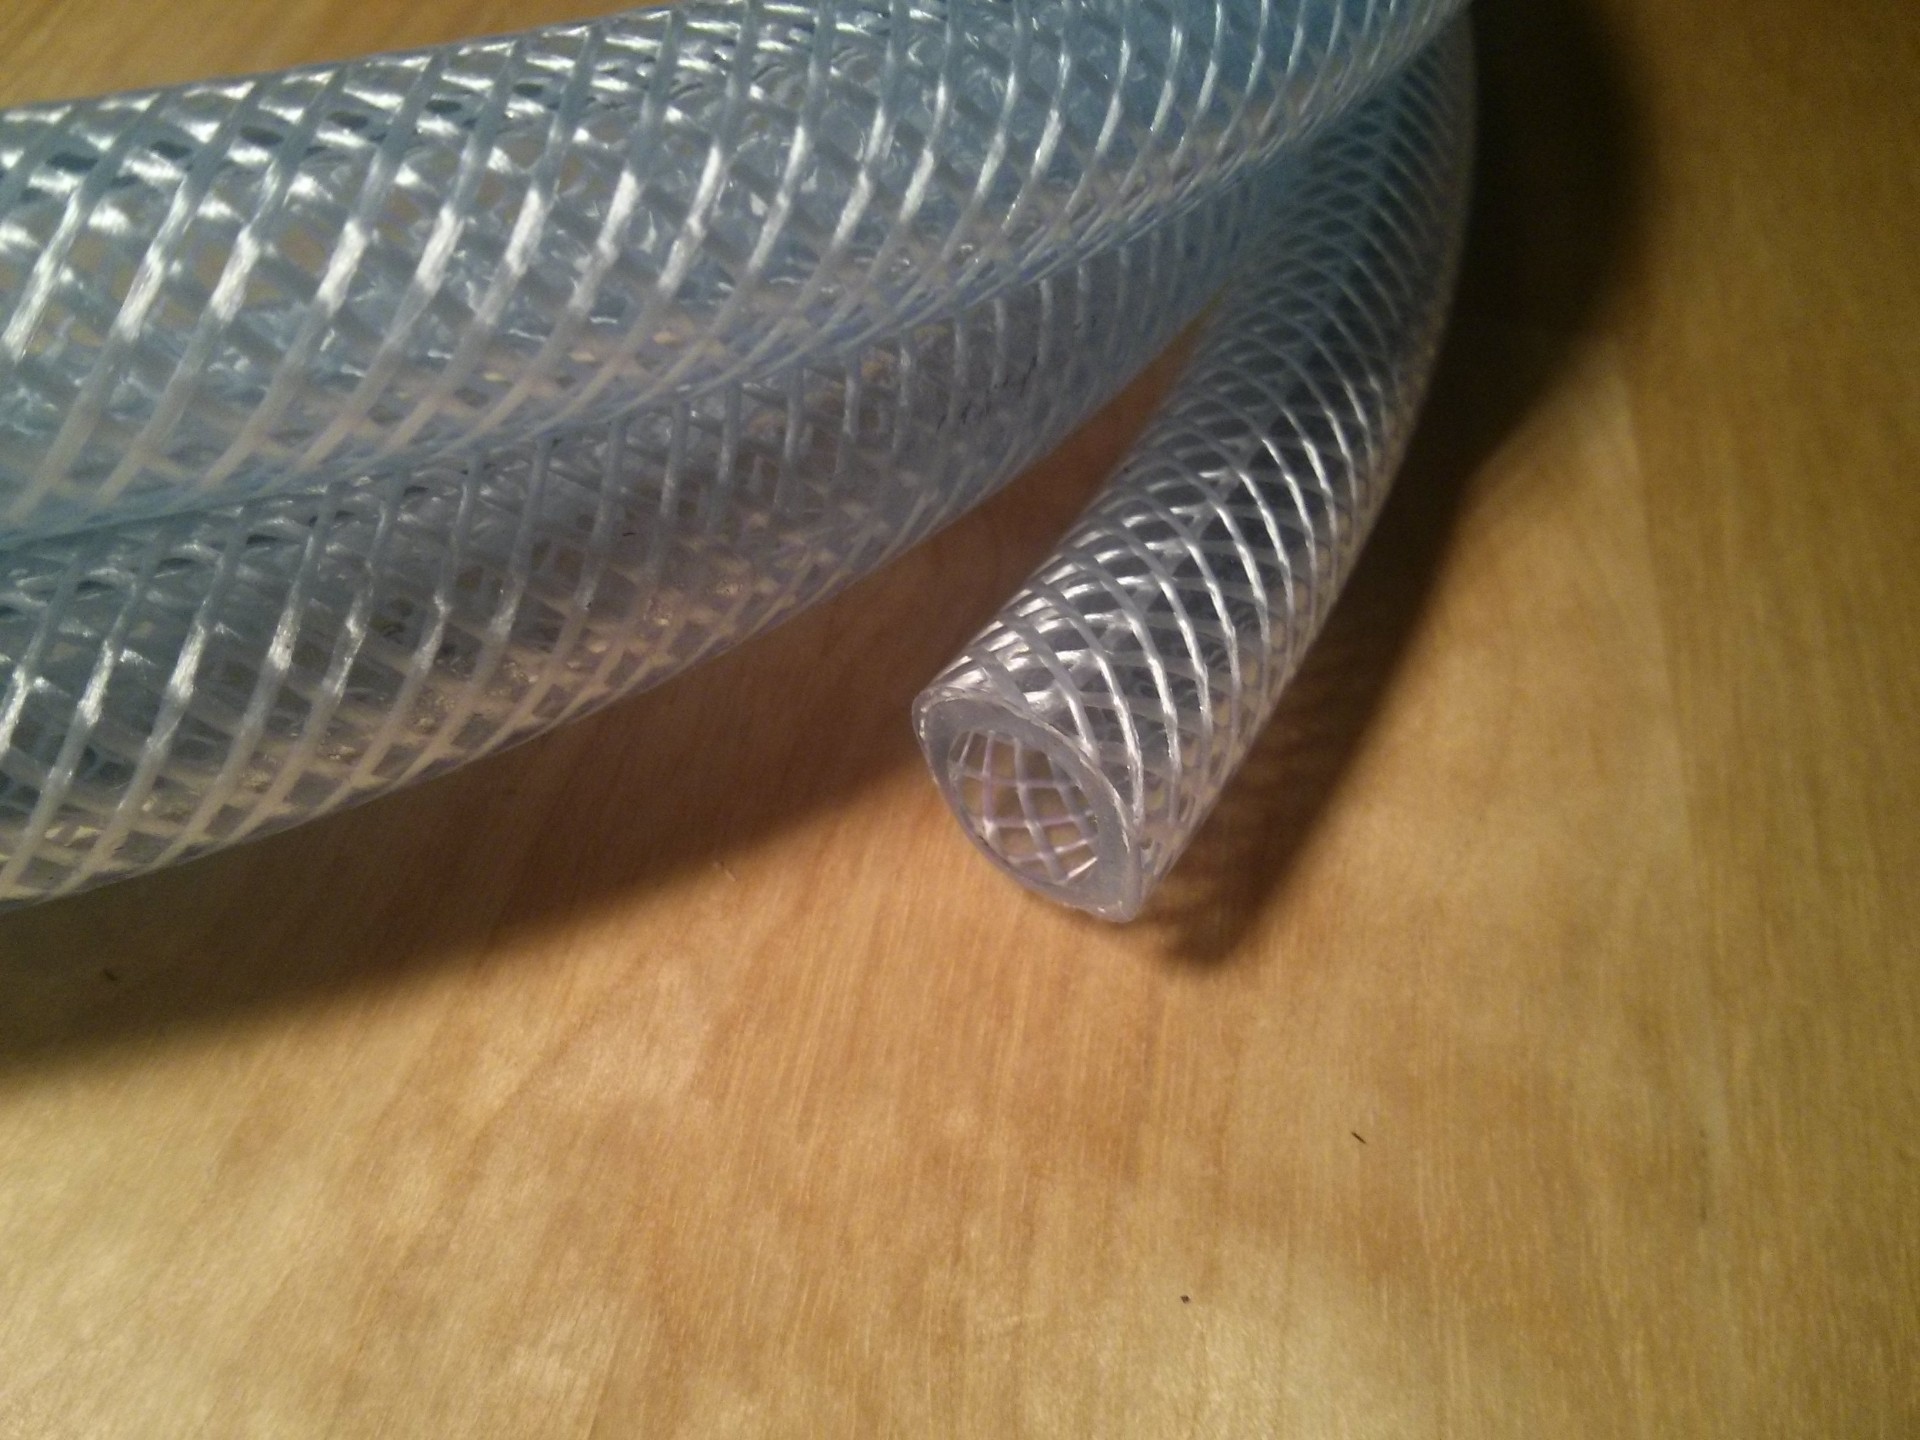 |
3€ |
| Water pump | amazon.com | 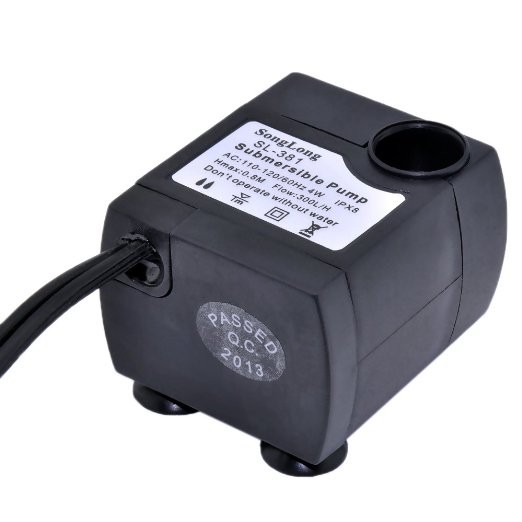 |
7€ |
| Reservoir (could also use a small bottle) | - | 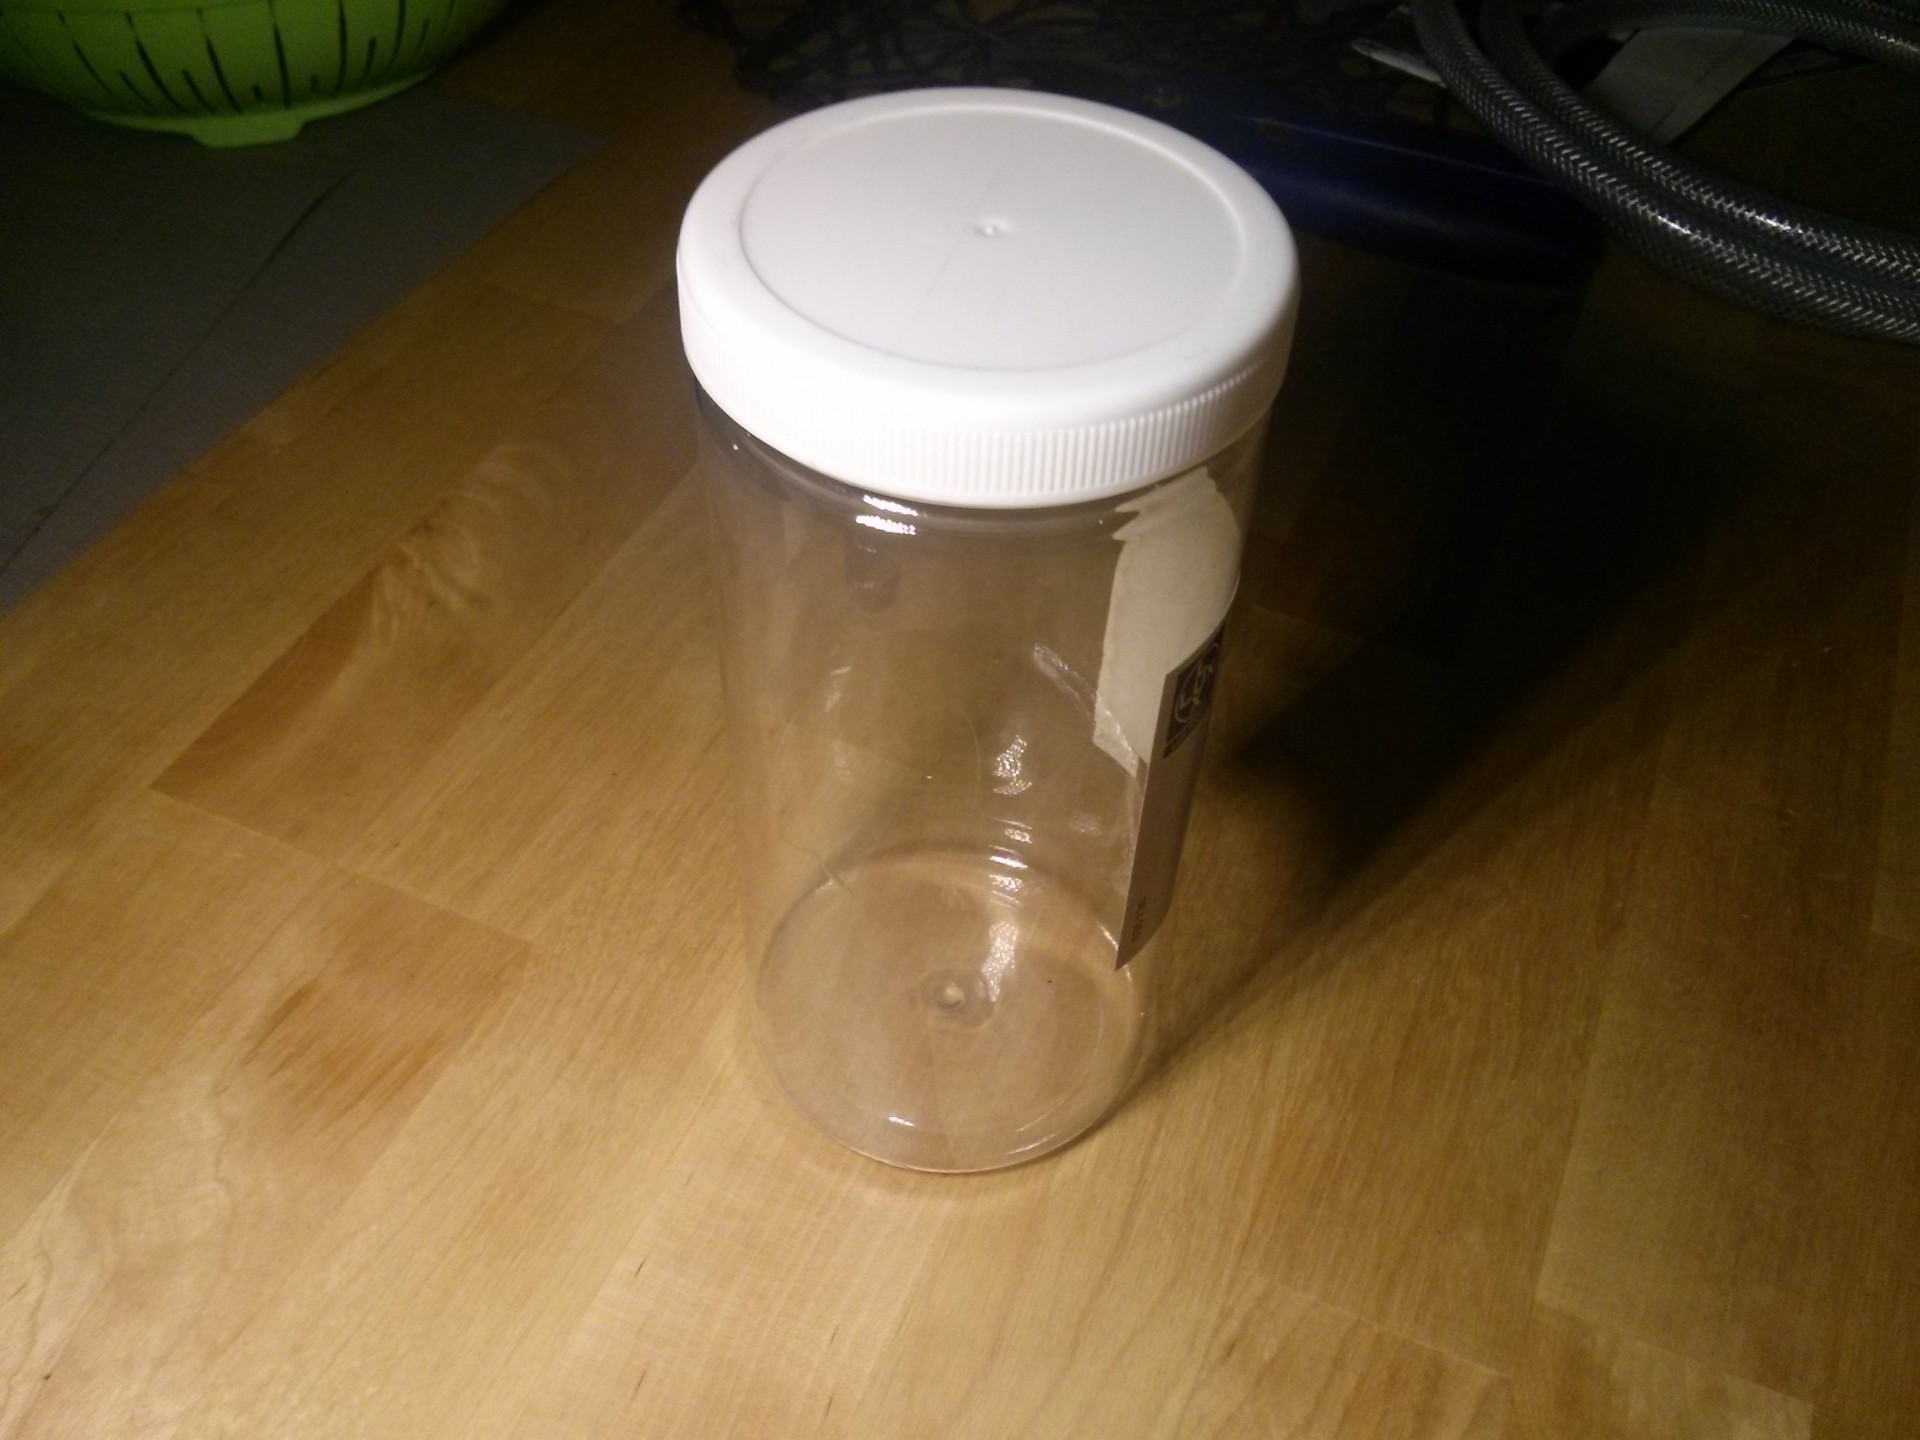 |
0€ |
| Distilled water | Local hardware store Link | 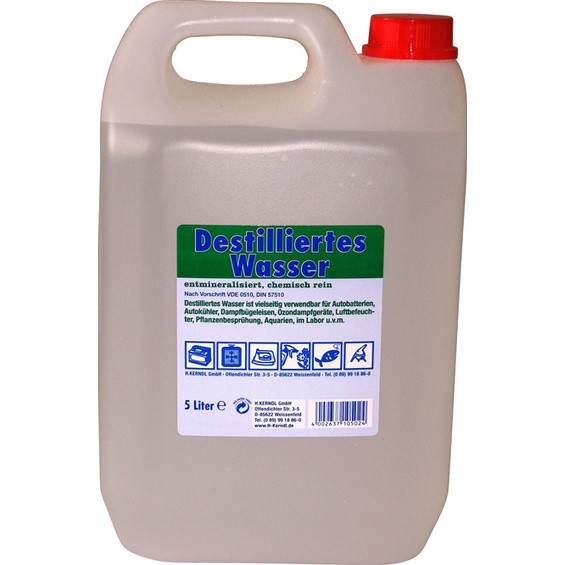 |
2€ |
As you can see I'm using a car radiator since they are very cheap, easy to get and work like charm. Just be sure not to mix aluminium and copper parts.
Water cooling costs: 46€ (51$)
Wall mounting parts
| Part | Where I got it | Price |
|---|---|---|
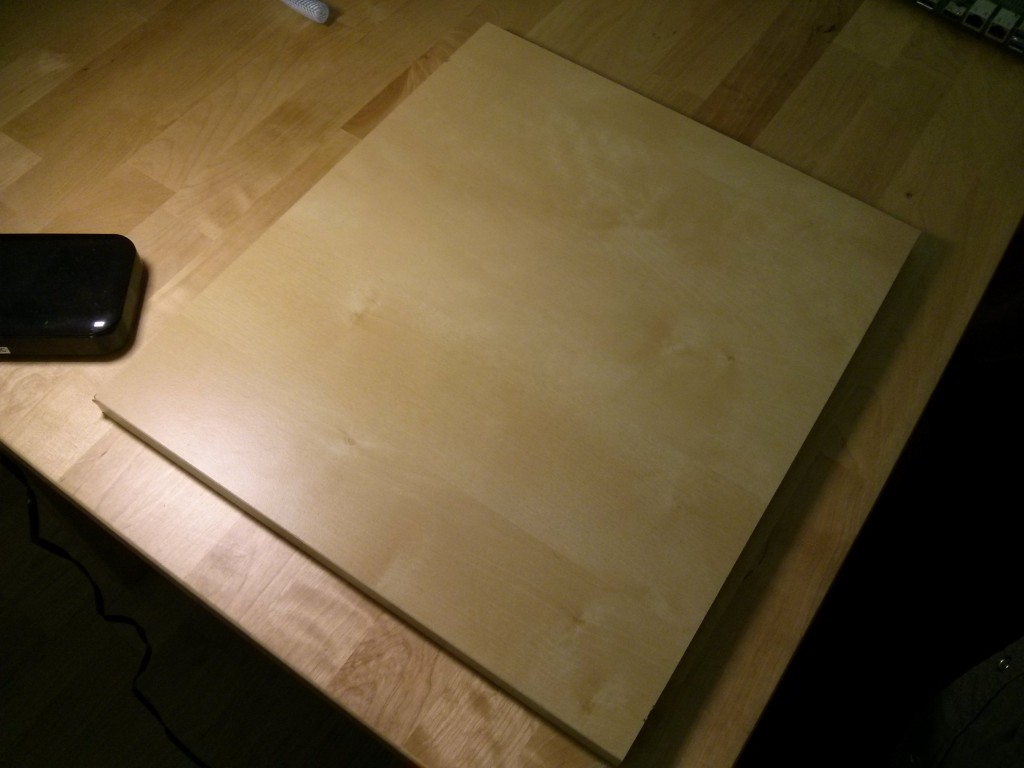
| Backplate (plywood) | Local hardware store | 3€ |
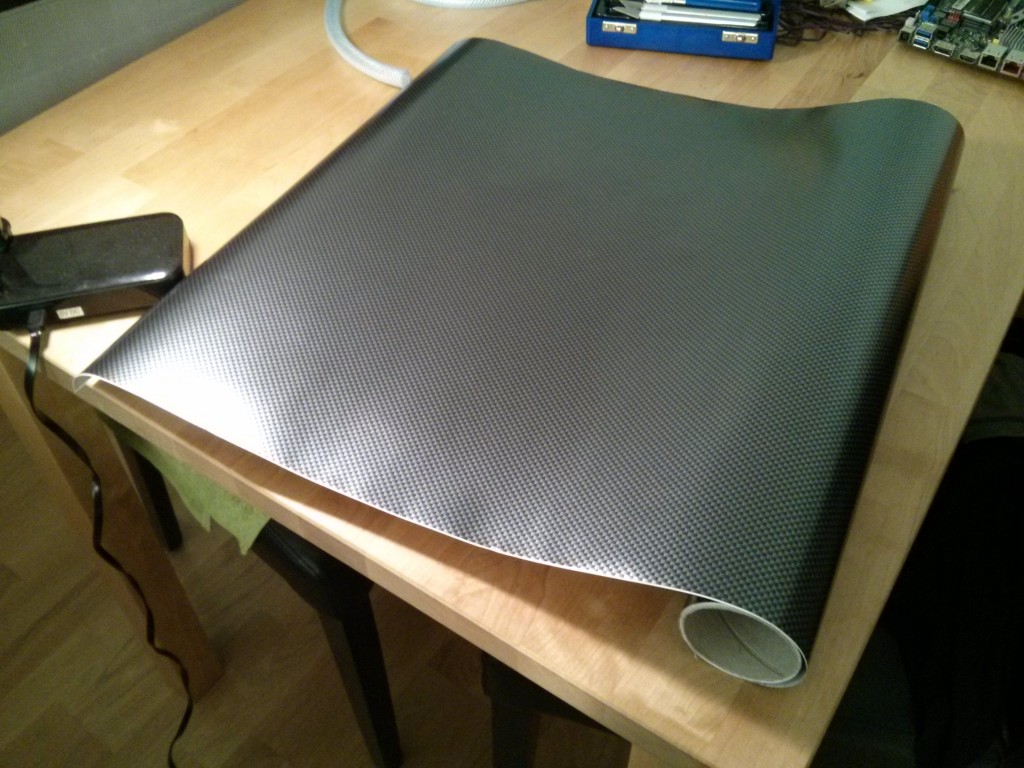
| Carbon foil (looks better than wood) | Amazon.com | 4€ |
| Tube holders | Local hardware store | 1€ |
| LED stripes for backlight | conrad.at (german) | 7€ |
Wall mounting costs: 15€ (16$)
Let's build it!
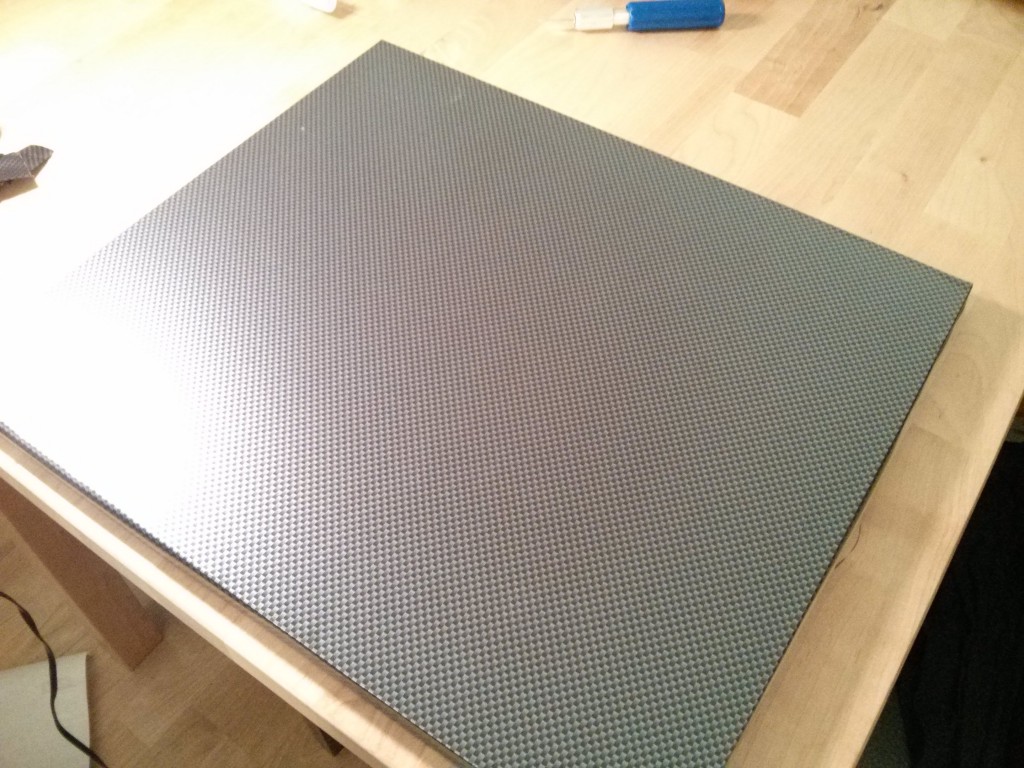
Step 1: put the foil on the backplate
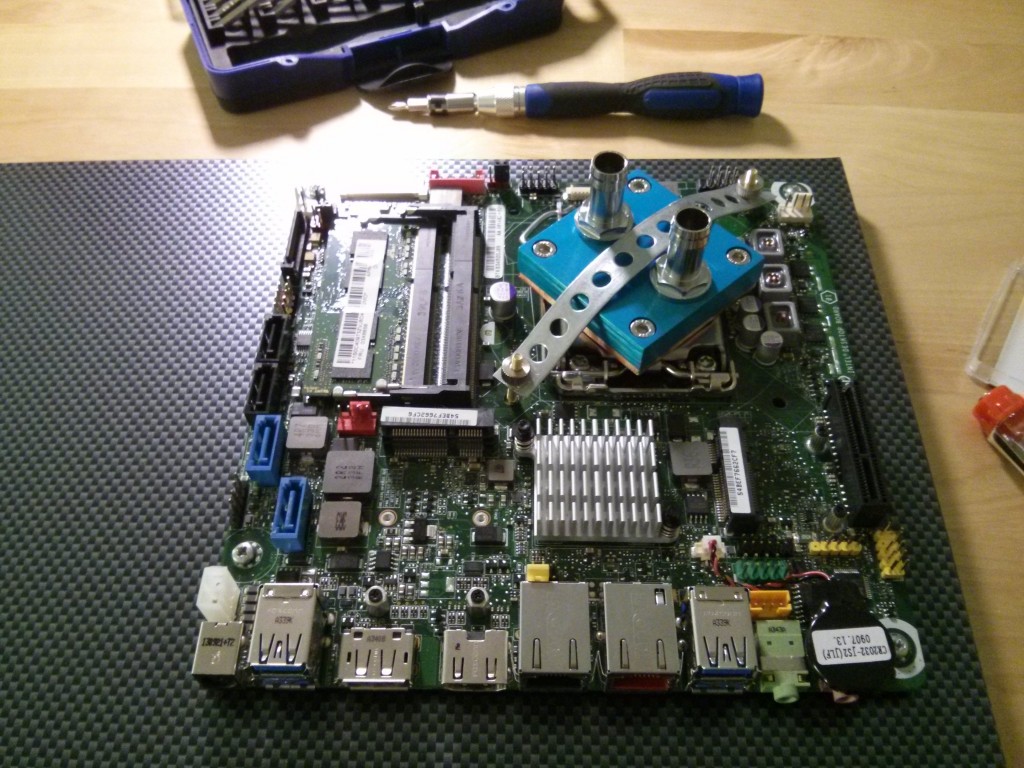
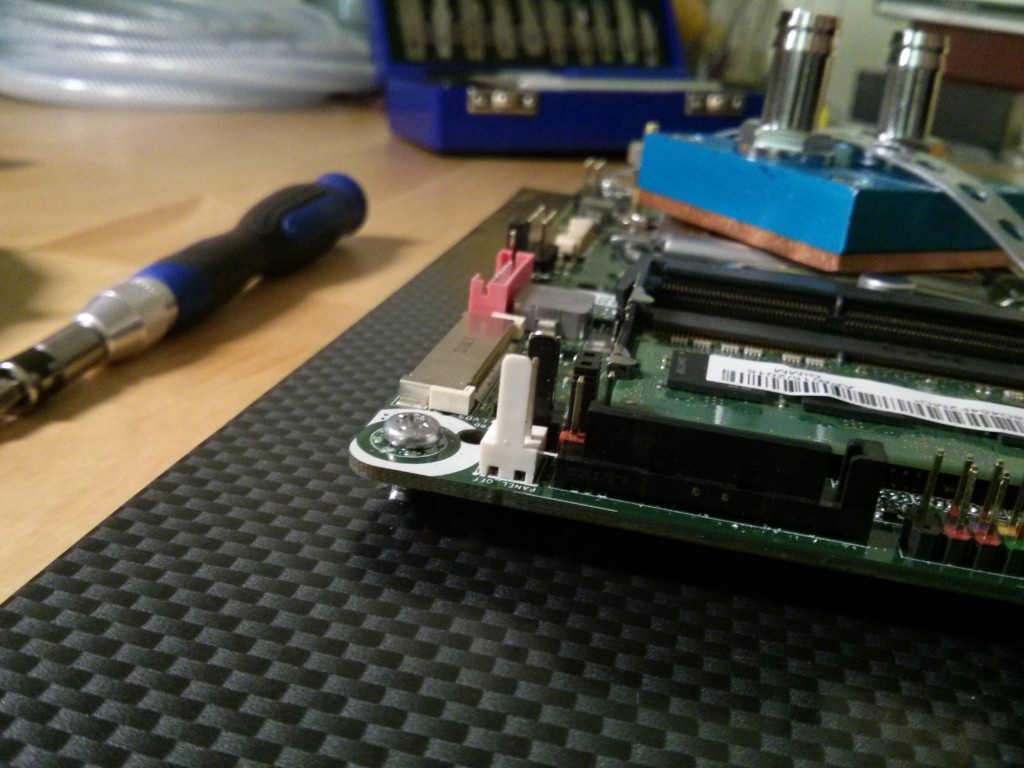
Step 2: Fitting the board on the plate and fixing it with screws
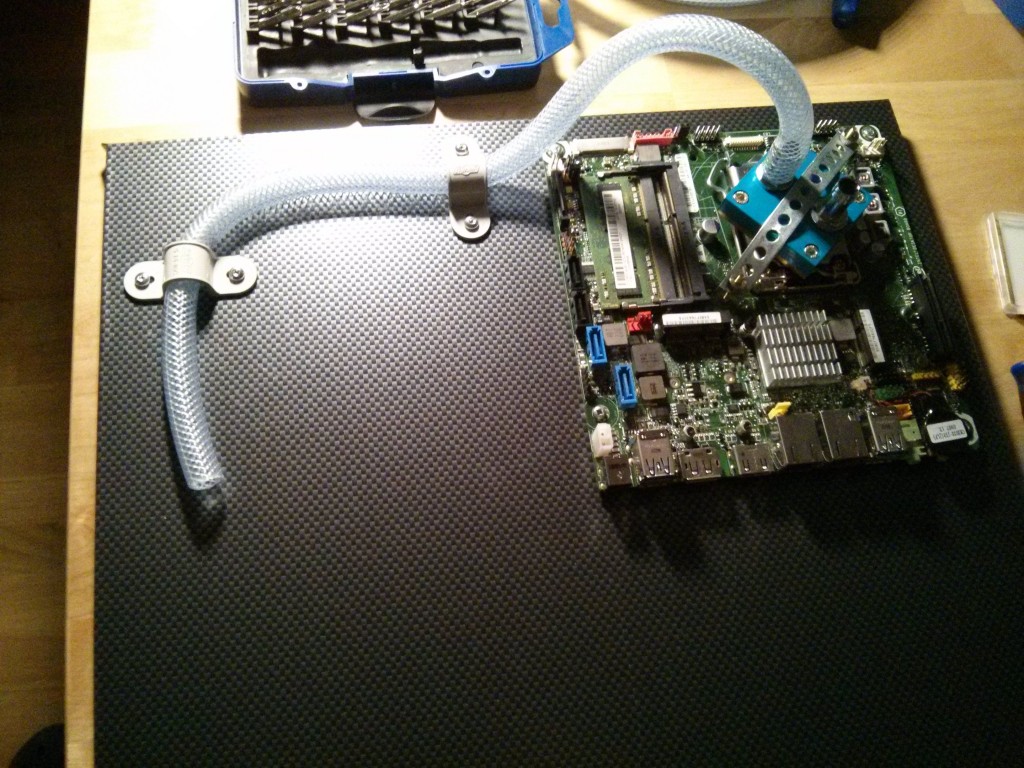
Step 3: Tube management
For tube management I'm using pipe holders. They helped me before managing my cables on my server rack. I'll probably paint them black later so they don't looks as cheap as they do now.
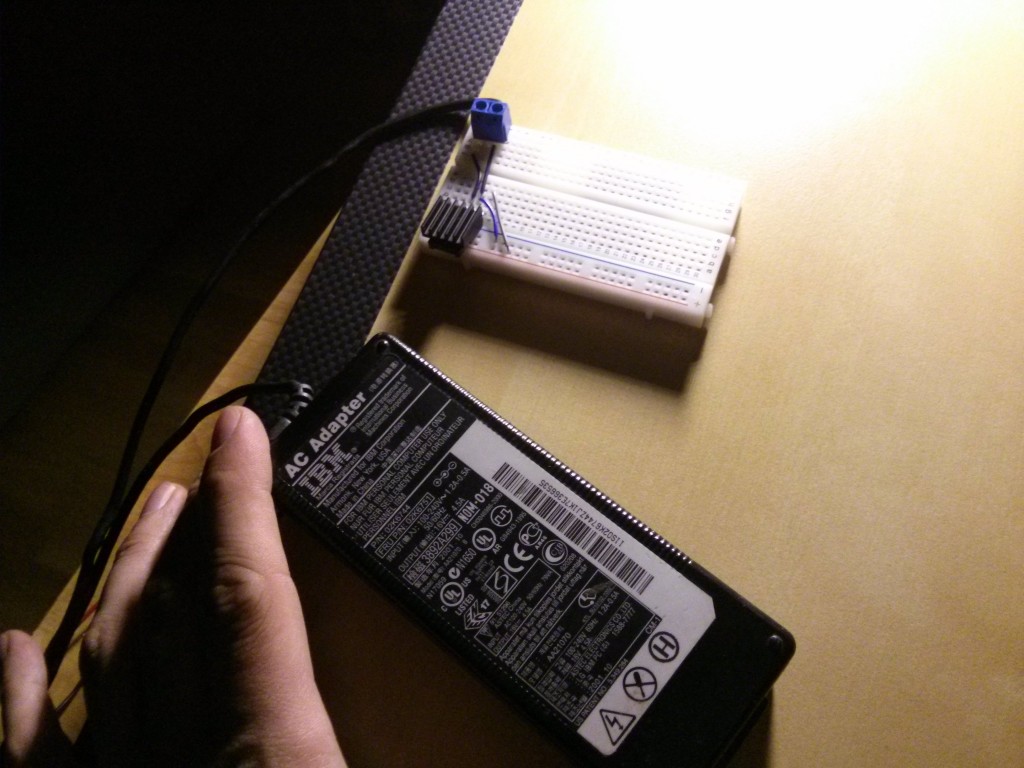
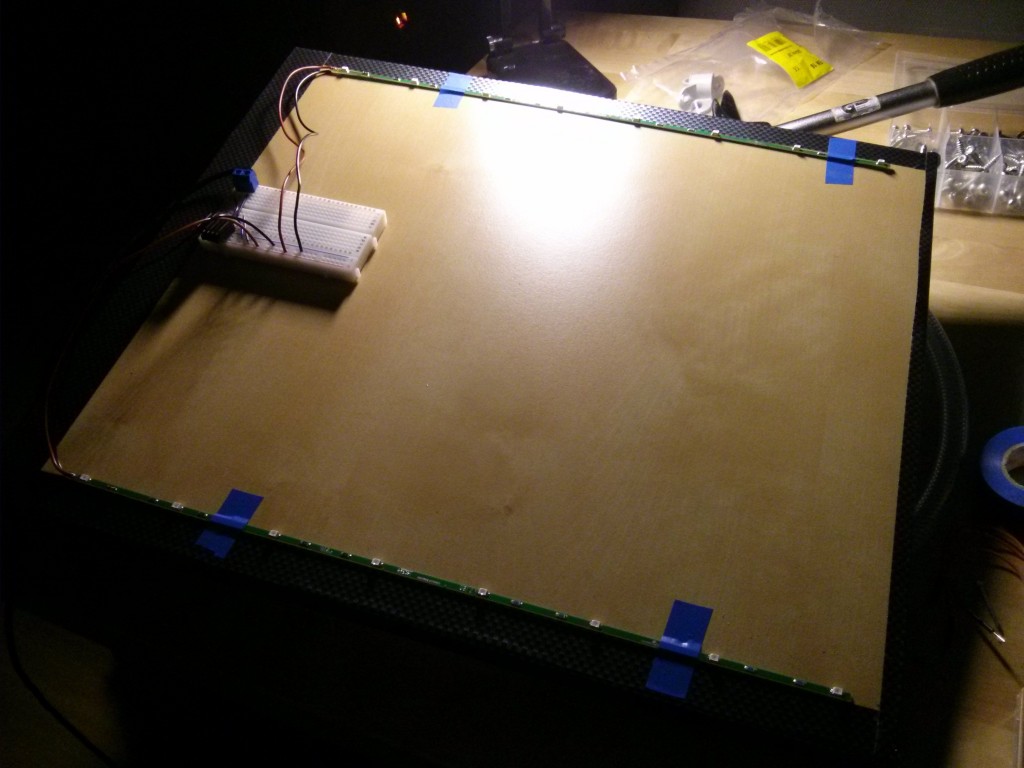
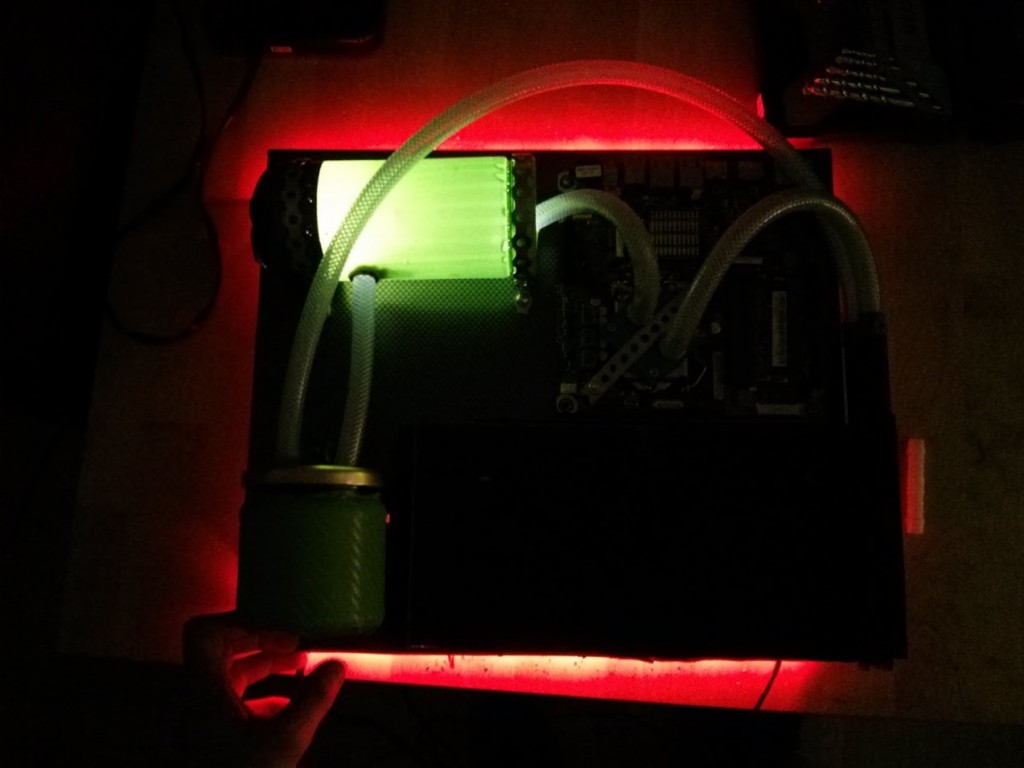
Step 4: Adding an LED backlight
The power supply for the backlight will be a power supply of an old laptop of mine. It's actually 16V but thanks to 12V voltage regulators this is no problem.
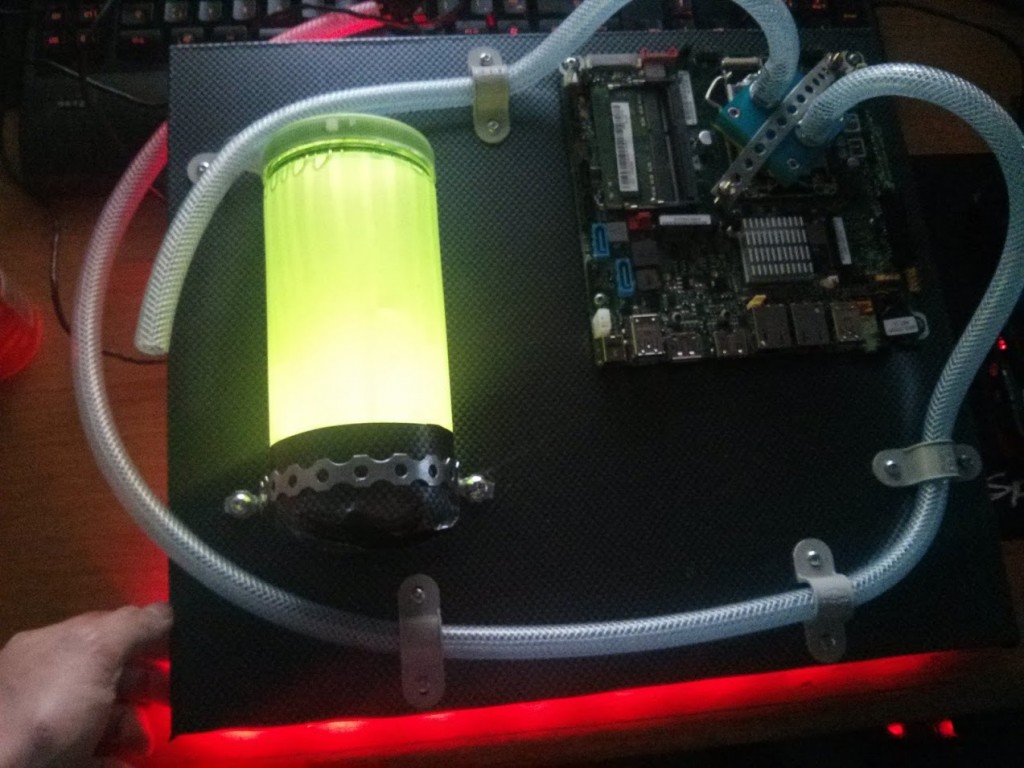
Step 5: The reservoir
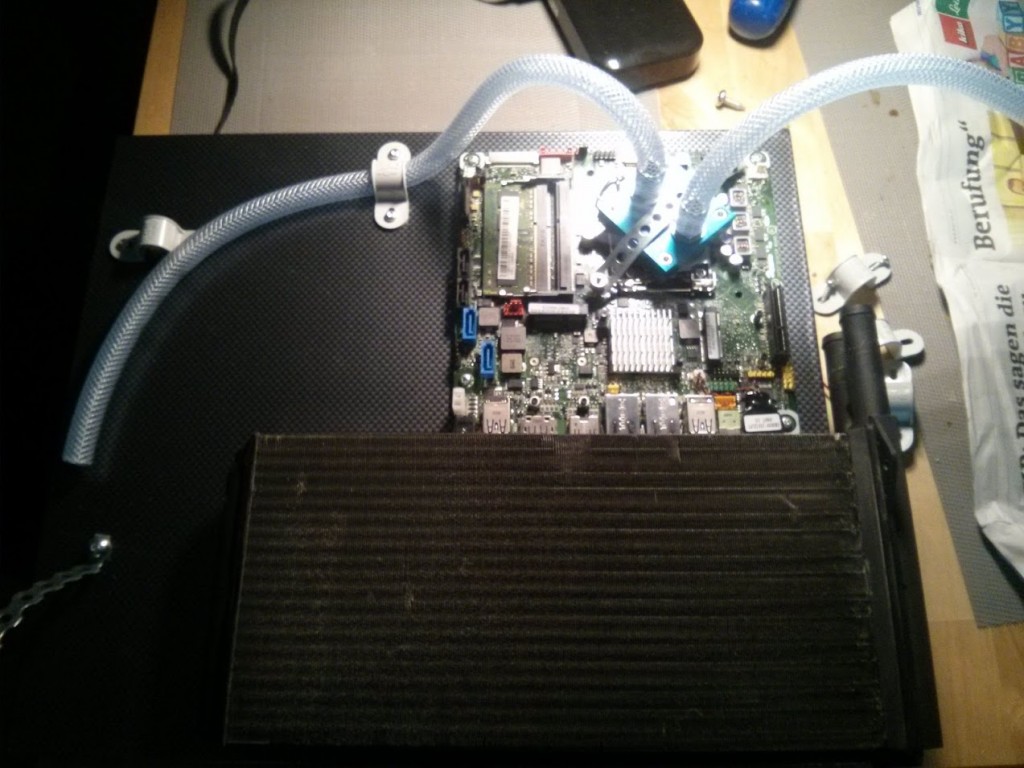
Step 6: The radiator
It finally arrived and wow that thing is larger than I thought. Had to relocate the tubes
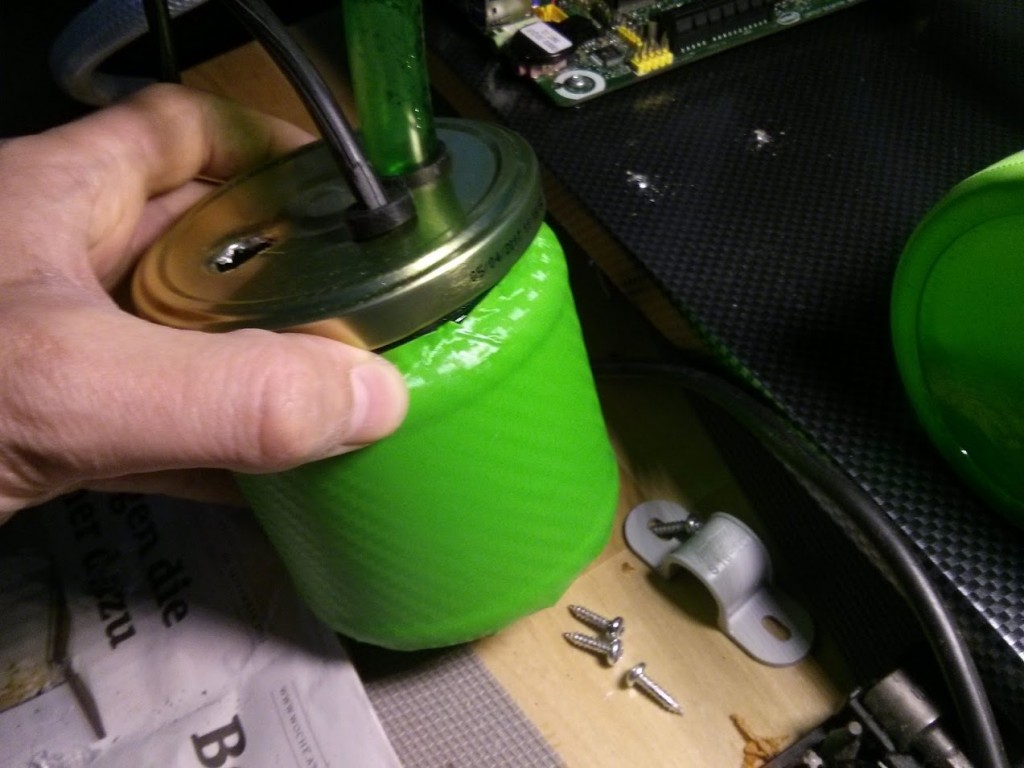
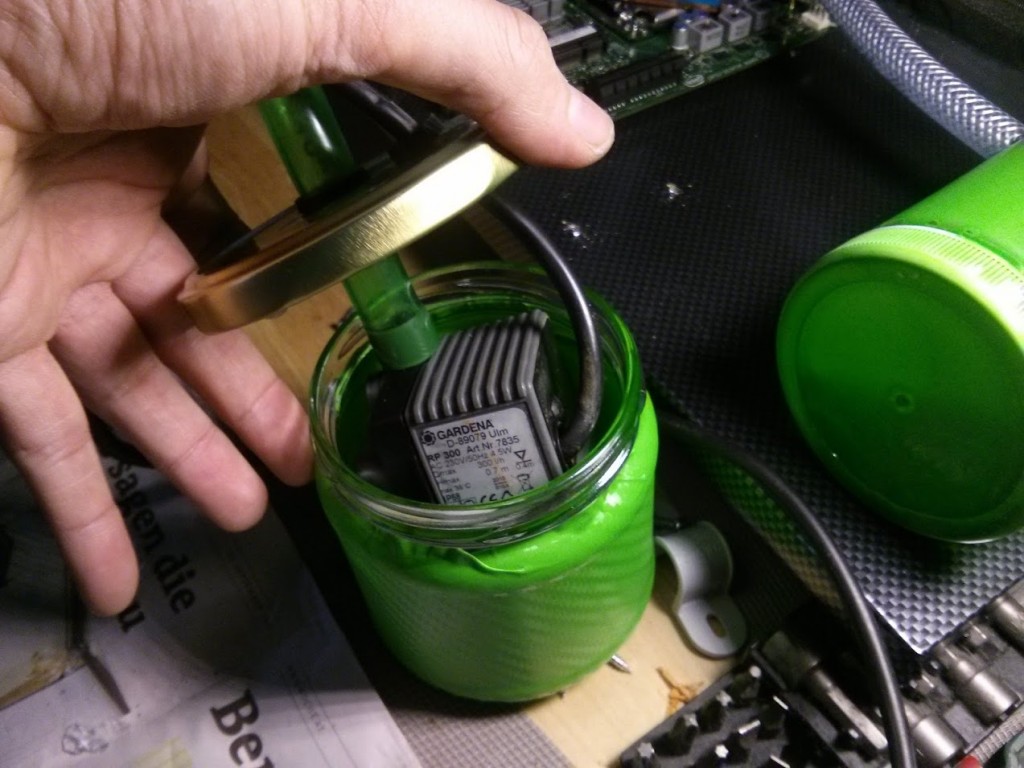
Step 7: The pump
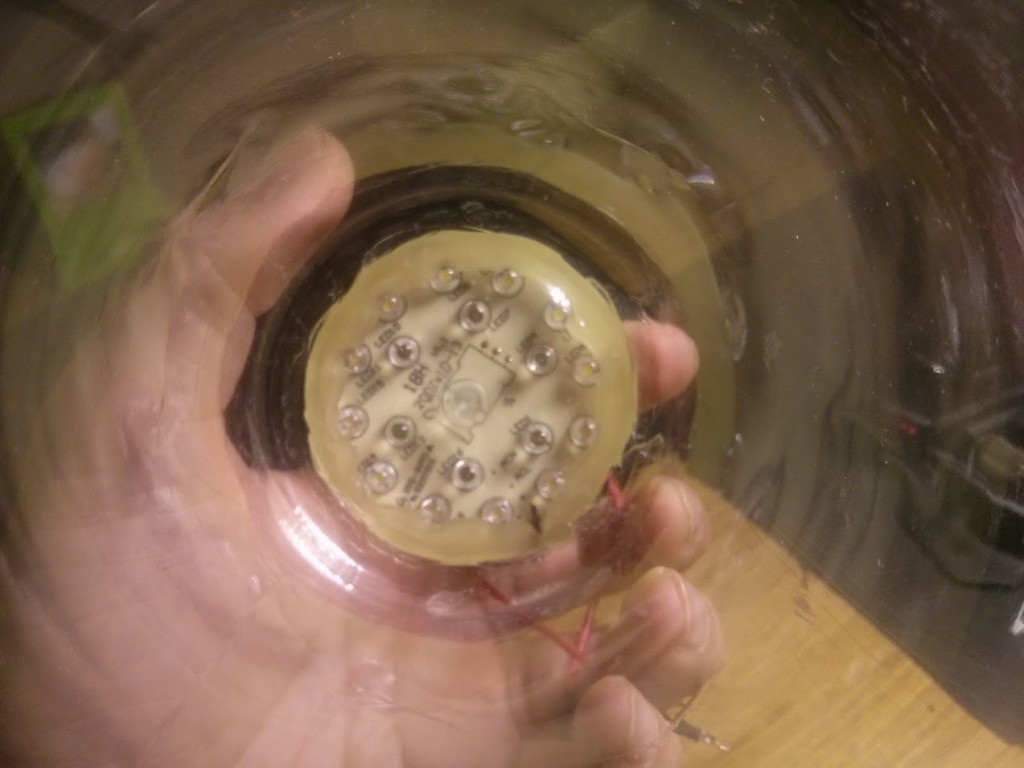
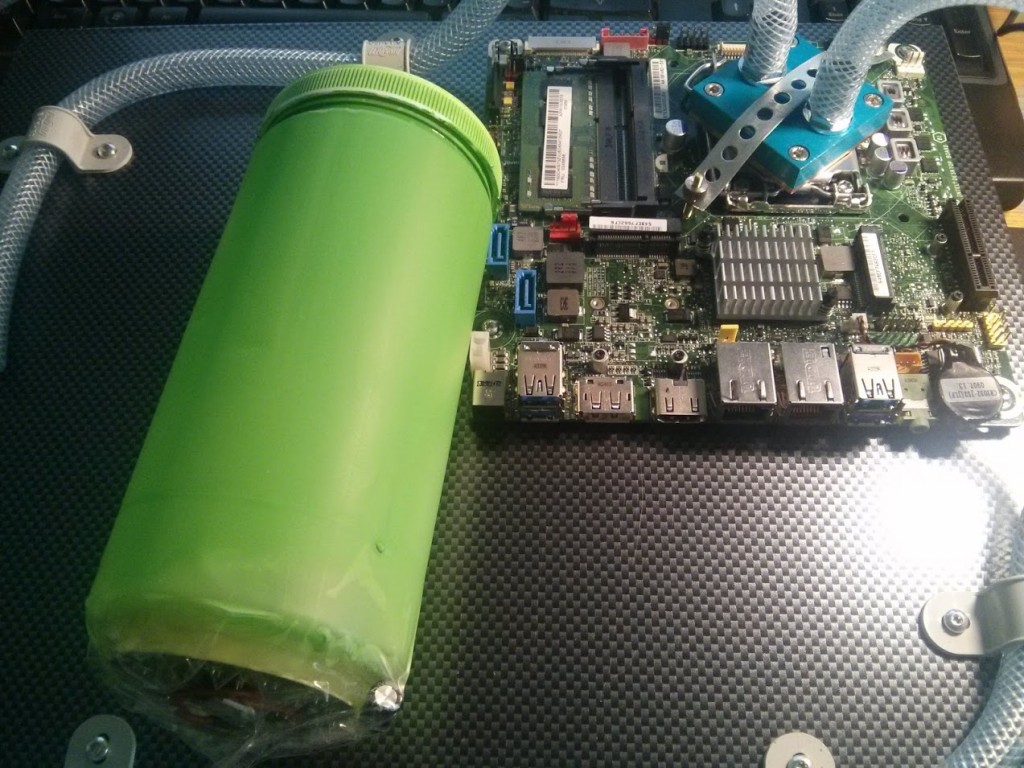
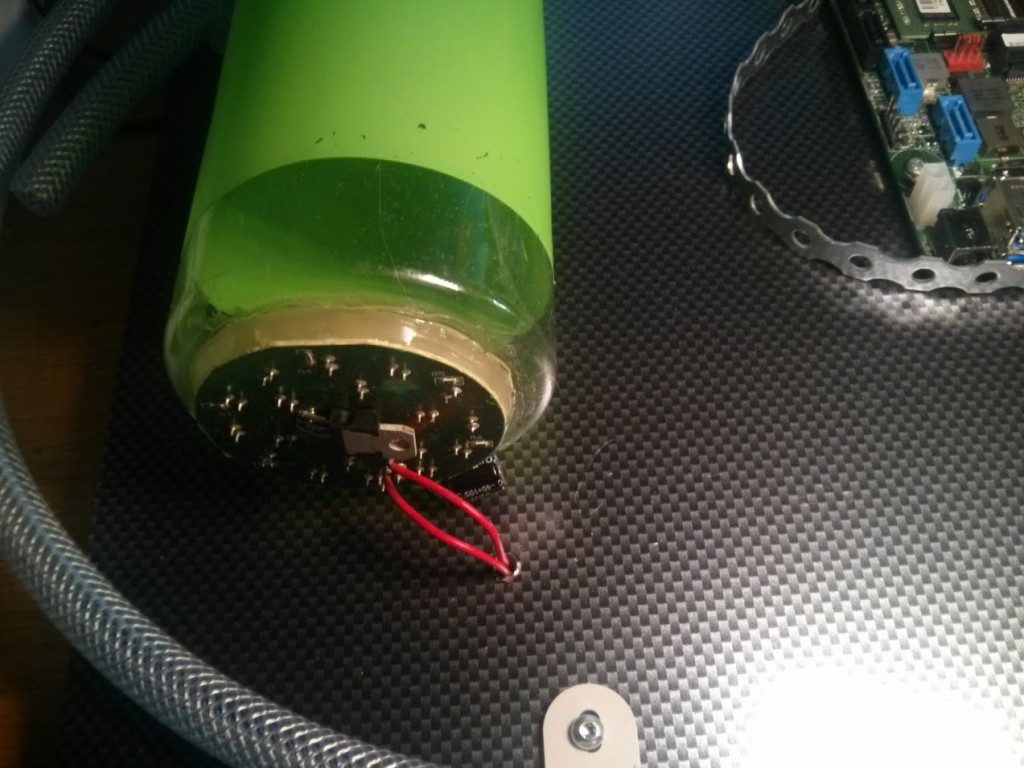
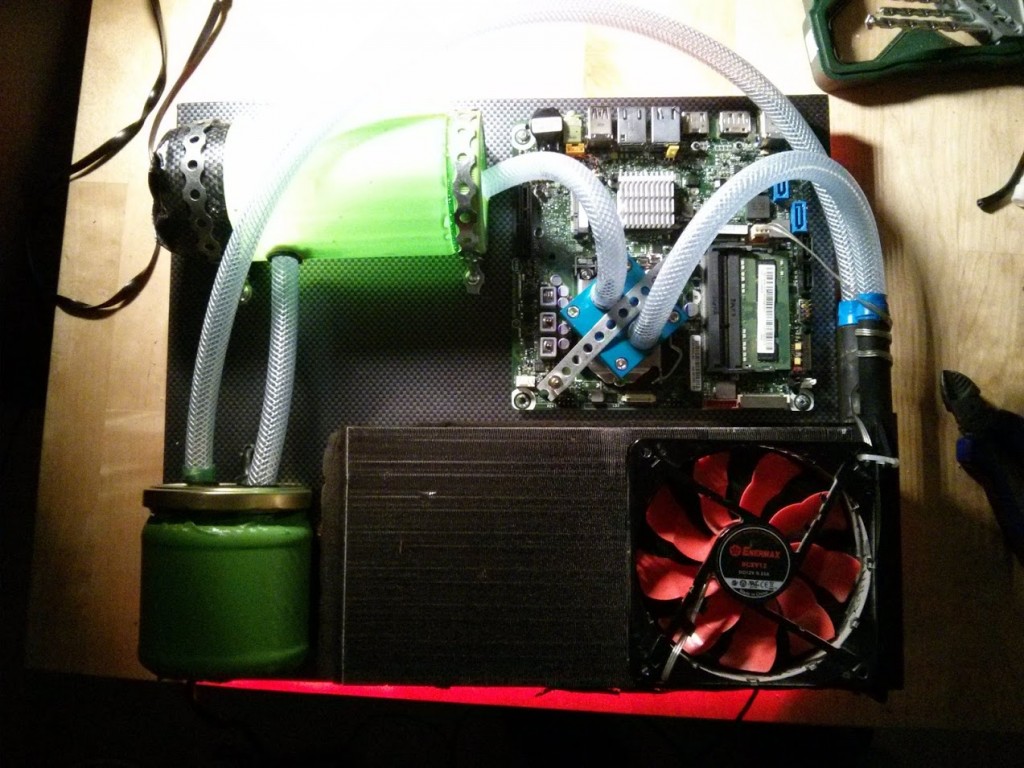
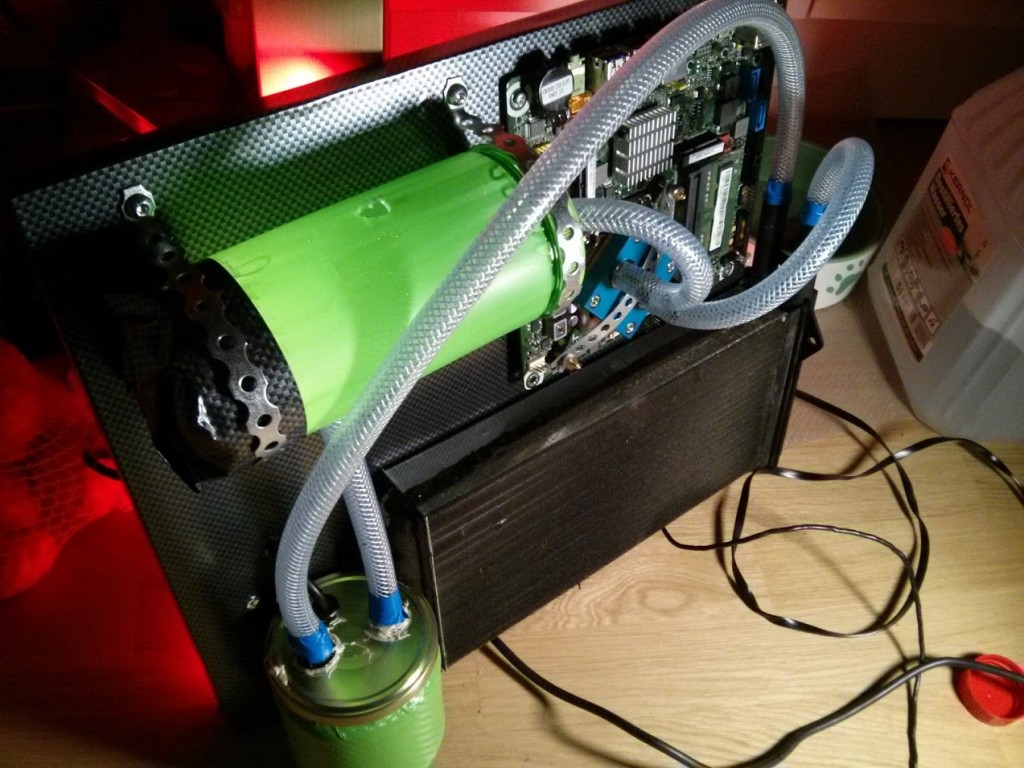
Since I'm using a submersive pump (because they're the cheapest) I had to come up with an idea on where to put it. I initially wanted the pump in the reservoir but it didn't fit so I had an awesome idea: I put it in a glass jar and put green carbon foil around it
I think the jar was once full of spaghetti.. just FYI.. is anyone even reading these texts?
Almost last step: Connecting everything
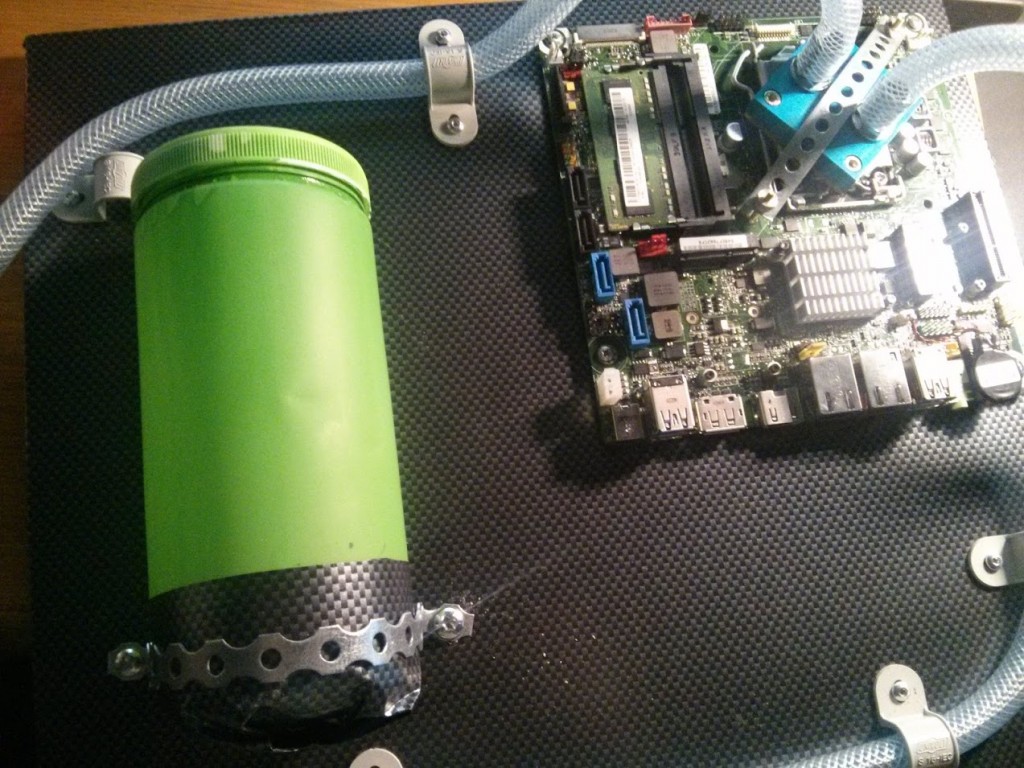
I connected the reservoir with the "pump jar" and sealed it with some industrial glue.

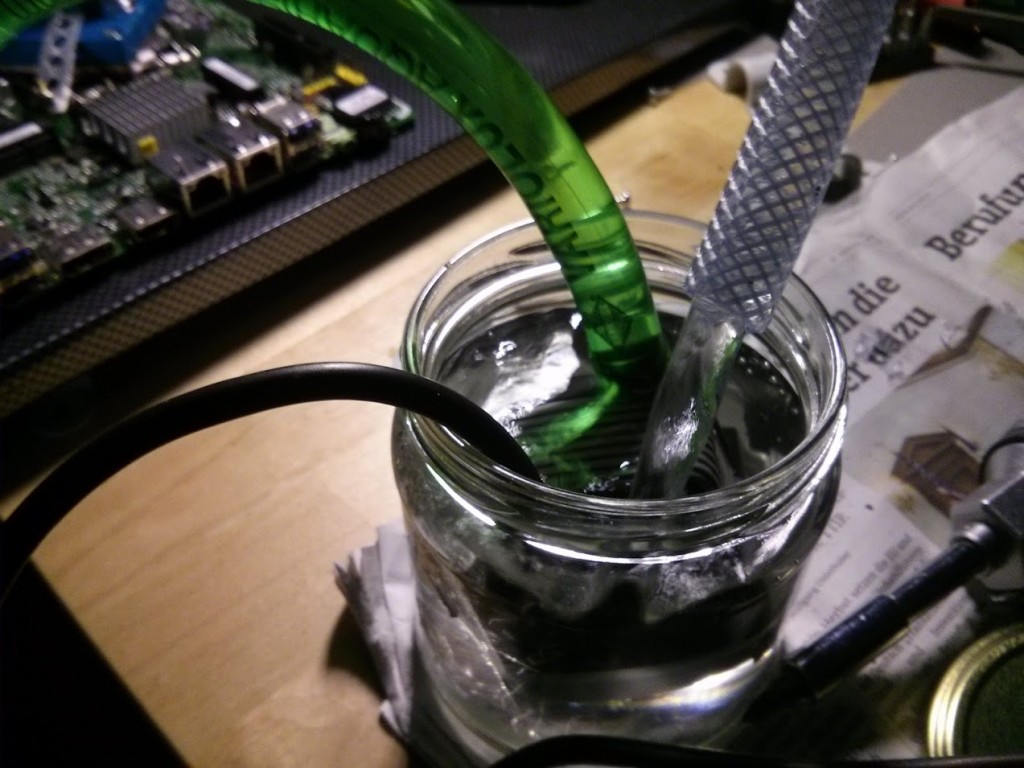
Filling fun
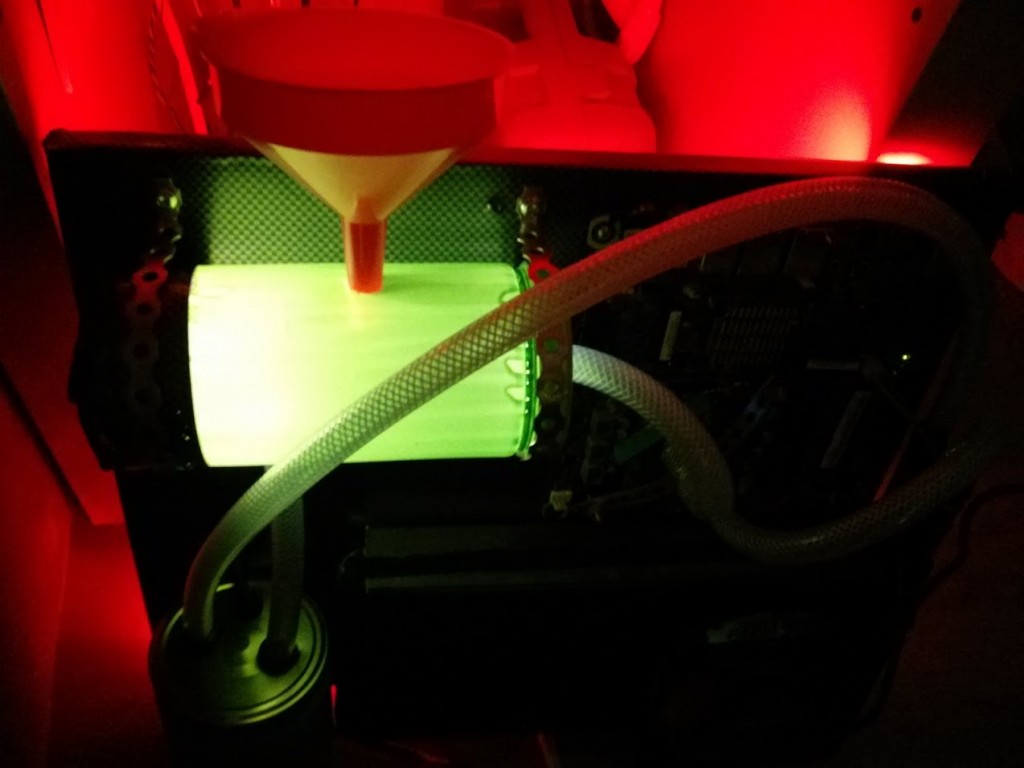
It was... kind of tight.. so, of course it leaked. But there is no leak some more of that industrial glue won't fix
You can see the glue on the lid of the "pump jar". Maybe sometime later I'll paint over that so it doesn't look that shitty
Testing
For testing I removed the fan from the radiator since it should work passively cooled. Let's see if I'm right.
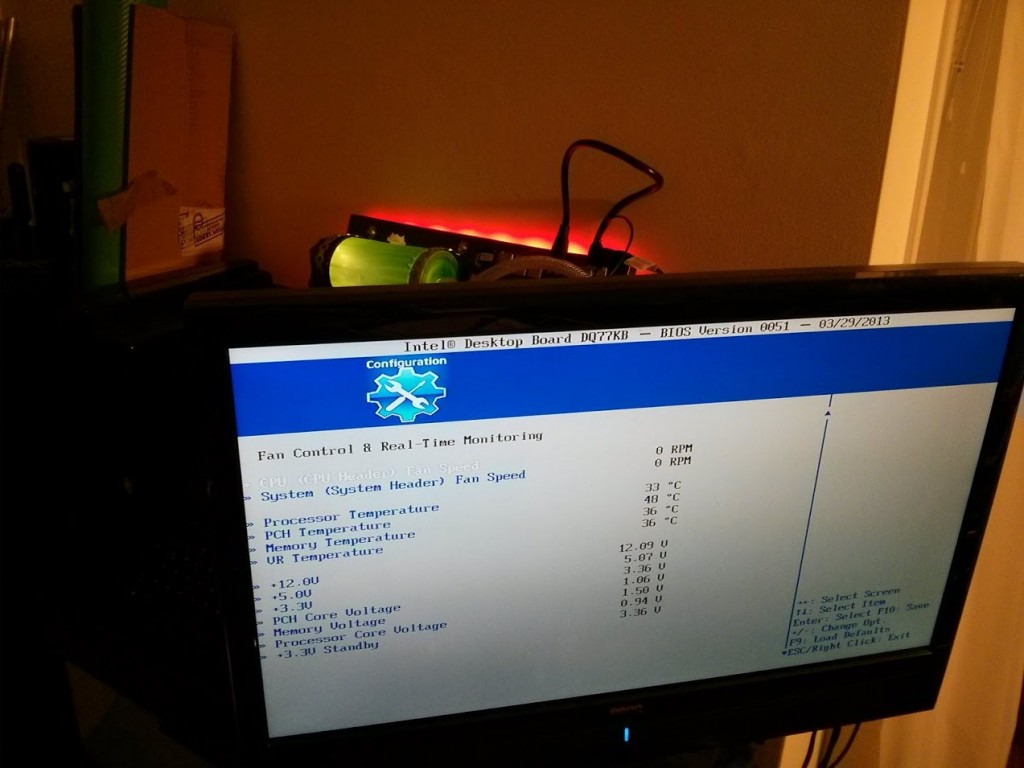
BIOS booting like a charm. Temperatures are good in idle
The Benchmark
For CPU benchmarking I use plain old 7zip benchmark (which is included in 7zip)
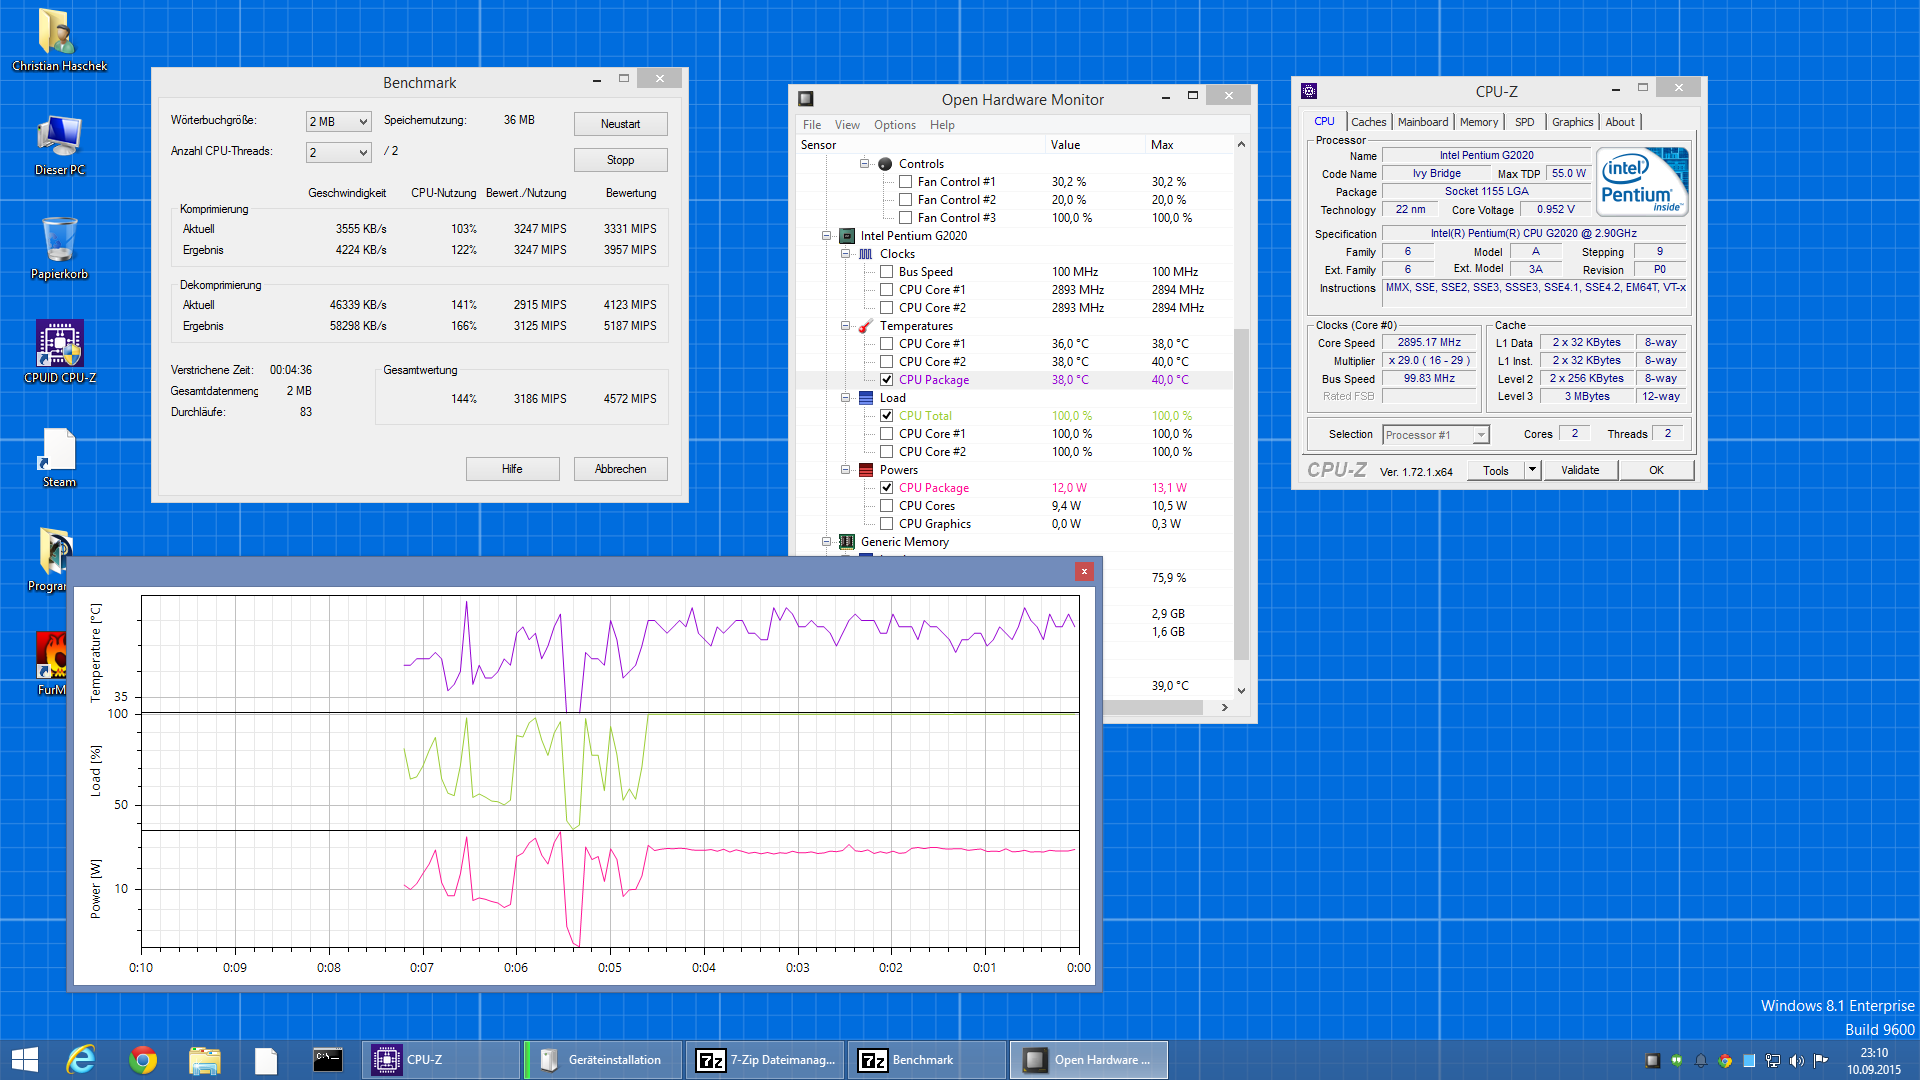
Highest temperature was 40°C which is 16°C above room temperature. This is actually a pretty good temperature for passive cooling.
How loud is it?
Except for the gentle dabble of the water pump there is no sound. Of course not since there is no fan.
What's next?
This monster will become the new face of my webfilter service WEGA (german). I'll hang it one of the schools I work for and it will filter all traffic for inappropriate stuff. The kids will hate it and it'll look great. Should probably protect it with an acrylic glass front.
Will update with pictures asap

Comment using SSH! Info